In a world dominated by smartphones and digital devices, it’s easy to overlook the artistic precision and depth that manual cameras can offer. Whether you’re an aspiring photographer or a seasoned pro, understanding how to use a manual camera can unlock a realm of creative possibilities. In this article, we will delve into the fundamentals of manual photography, guiding you through the intricate process of capturing stunning images by hand. By the end, you’ll have the knowledge and confidence to confidently navigate the intricate dials, focus manually, and fully harness the potential of a manual camera. So, grab your camera and let’s venture into the captivating world of manual photography.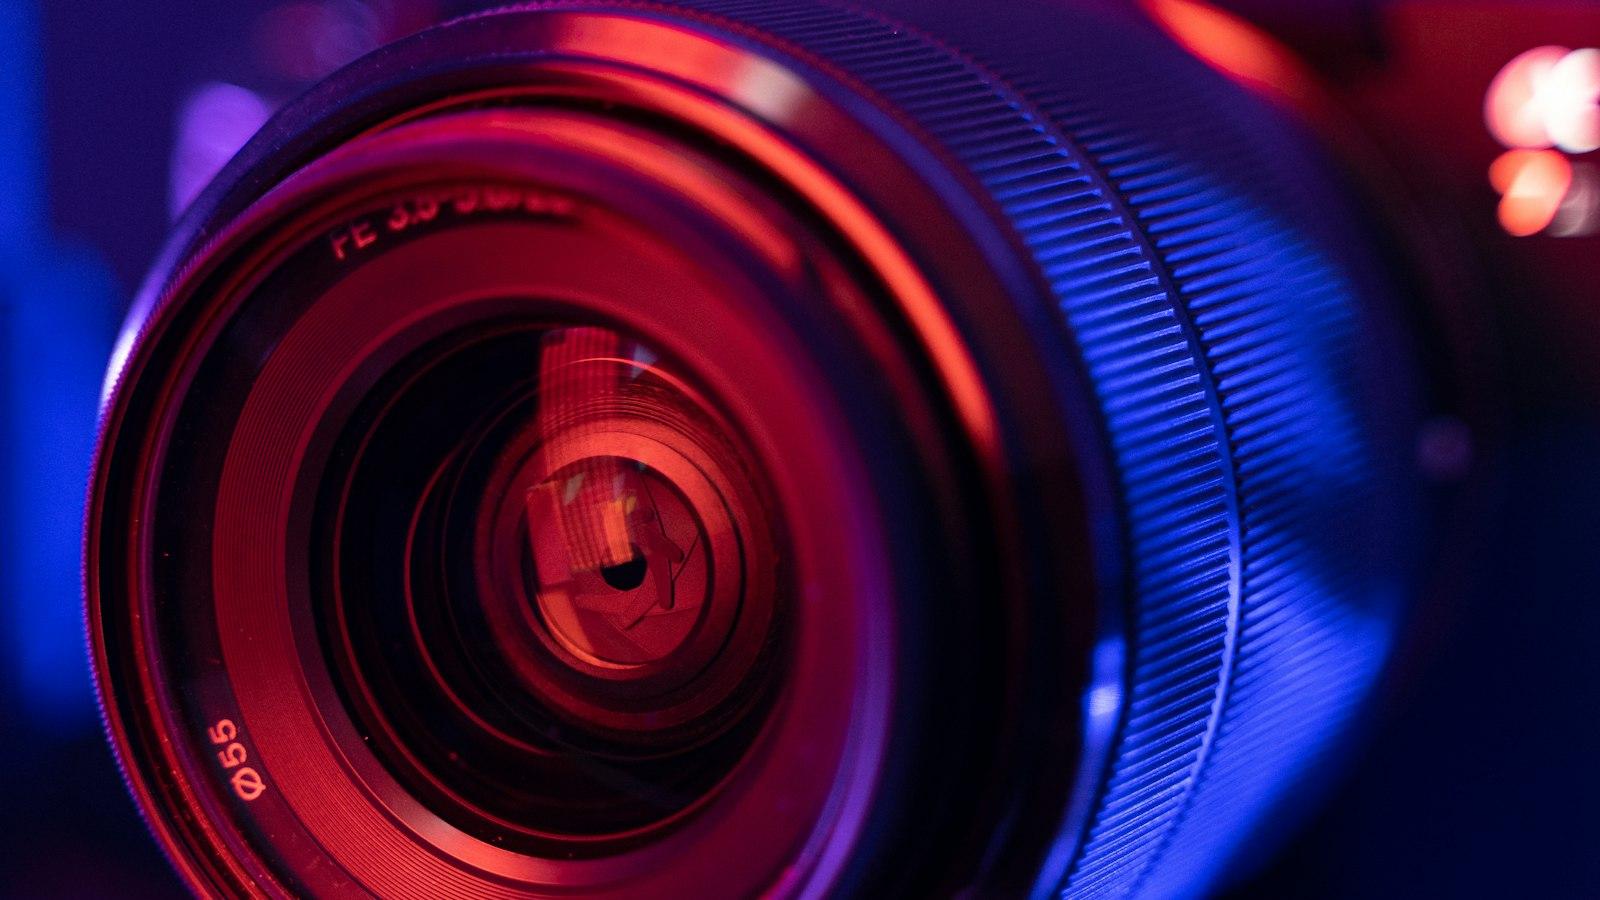
Camera Parts and Functions
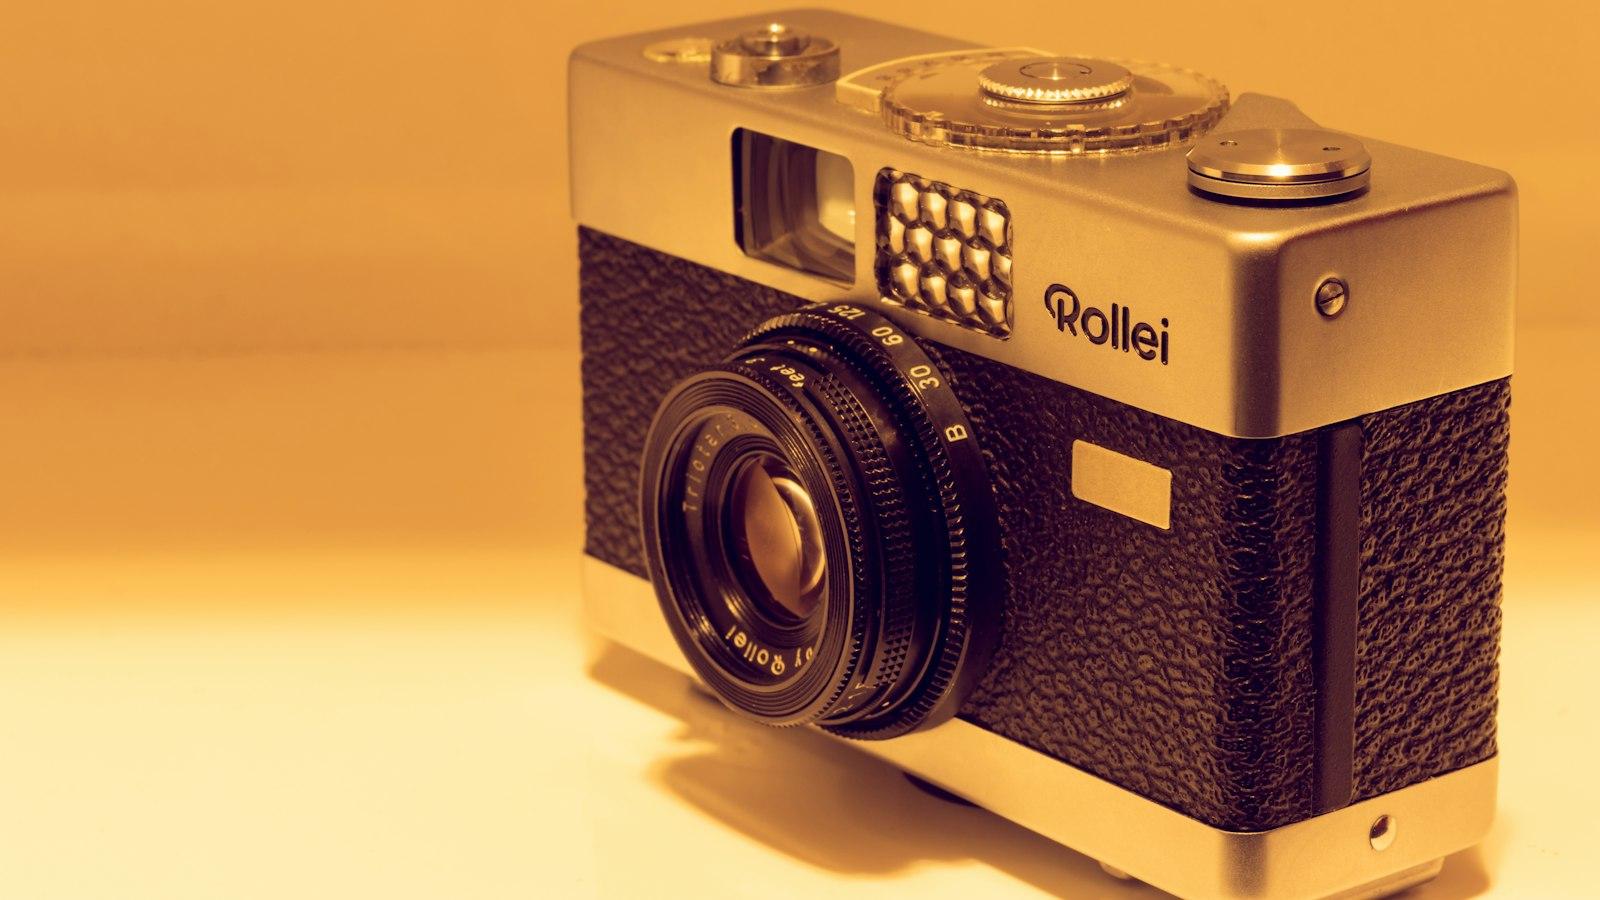
A manual camera is a powerful tool in the hands of a skilled photographer, allowing for greater creative control and precision. To make the most of your manual camera, it is essential to familiarize yourself with its various parts and their functions. Below, we have outlined the key components of a manual camera and their respective roles:
Lens
The lens is perhaps the most important part of a camera, as it determines the quality, sharpness, and field of view of the image. In a manual camera, lenses can be interchangeable, providing photographers with the ability to choose the perfect lens for each situation. Some common types of lenses include wide-angle, telephoto, and macro lenses, each serving unique purposes.
Focusing Mechanism
The focusing mechanism enables photographers to adjust the sharpness and clarity of the image. In a manual camera, the focusing mechanism is typically controlled by a manual focus ring located on the lens barrel. By rotating the focus ring, photographers can achieve precise focusing on their subject, whether it’s a close-up portrait or a distant landscape.
Aperture
The aperture is the opening within the lens that regulates the amount of light entering the camera. It is denoted by an “f-number” and directly affects the depth of field in an image. A wide aperture (small f-number) results in a shallow depth of field, while a narrow aperture (large f-number) increases the depth of field, bringing more of the image into focus. Controlling the aperture allows photographers to be selective in highlighting specific subjects or creating dreamy blurred backgrounds.
Shutter Speed
The shutter speed refers to the amount of time the camera’s shutter remains open, exposing the camera sensor to light. It determines the level of motion blur in a photograph and is measured in seconds or fractions of a second. A fast shutter speed freezes action, whereas a slower speed creates intentional blur, allowing for creative effects. Mastering the art of shutter speed can result in stunning images of moving subjects or long-exposure night photography.
Light Meter
A light meter is a built-in or external device that measures the amount of light in a scene, helping photographers determine the correct exposure settings for their photographs. It provides information about the brightness of the subject and allows photographers to adjust the aperture, shutter speed, or ISO accordingly. Understanding how to read and interpret the light meter readings is crucial for capturing properly exposed images.
By understanding the various parts and functions of a manual camera, you can unlock your full creative potential and capture stunning photographs in any setting. Experiment with different settings and techniques to make the most of your manual camera’s capabilities.
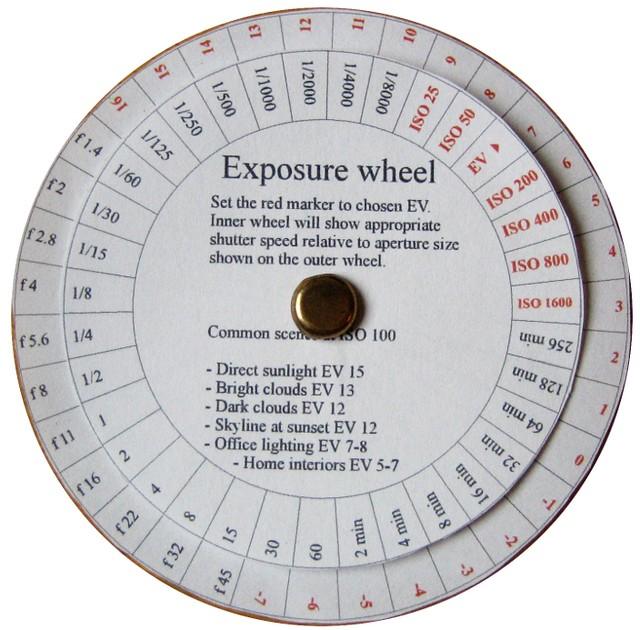
Understanding the Exposure Triangle
is crucial when it comes to using a manual camera. This concept involves three key elements: aperture, shutter speed, and ISO. By mastering these elements, you will gain full control over your camera settings and be able to capture amazing photographs in any lighting condition.
Aperture refers to the opening of the camera’s lens. It controls the amount of light that enters the camera. The aperture is measured in f-stops. A large aperture (smaller f-stop number) allows more light to enter the camera, resulting in a shallow depth of field and a blurred background. On the other hand, a small aperture (larger f-stop number) limits the amount of light, resulting in a larger depth of field and a sharper background. Understanding how aperture affects your photos will allow you to create different effects and focus on specific subjects.
Shutter speed is the length of time the camera’s sensor is exposed to light. It determines how motion is captured in your photos. Fast shutter speeds freeze action, making them ideal for capturing sports or fast-moving subjects. Slow shutter speeds, on the other hand, create motion blur, perfect for capturing flowing water or light trails. Understanding the different shutter speed settings will enable you to capture dynamic and creative photographs.
ISO refers to the sensitivity of the camera’s sensor to light. A low ISO setting (such as 100 or 200) is ideal for brightly lit conditions, as it produces less noise and creates sharp images. On the other hand, a high ISO setting (such as 800 or above) is suitable for low-light situations but can introduce more noise to the image. Understanding ISO will allow you to choose the appropriate setting for the lighting conditions you are shooting in, ensuring optimal image quality.
To understand the exposure triangle better, it’s helpful to visualize the relationship between aperture, shutter speed, and ISO. Imagine a table where each element represents a leg of a tripod. The balance of these three elements is crucial in achieving a well-exposed photograph. If one leg is too long or too short, the photo will be underexposed or overexposed. By adjusting these settings harmoniously, you can achieve the desired exposure for your photos.
Mastering the exposure triangle takes practice, patience, and experimentation. Start by understanding how each element works individually, then gradually blend them together. Capture a variety of subjects in different lighting conditions and review the results. With time and experience, you will gain confidence in using a manual camera and be able to take complete control of your photography. Remember, the exposure triangle is your foundation for creativity, so embrace it and let your imagination soar!
Choosing the Right Lens for the Job
When it comes to using a manual camera, one important aspect to consider is . Your lens selection can greatly impact the overall look and feel of your photographs, so it’s crucial to understand the different options available and how they can enhance your images.
1. Prime Lenses vs. Zoom Lenses:
There are two main types of lenses to choose from: prime lenses and zoom lenses. Prime lenses have a fixed focal length, which means they don’t zoom in or out. On the other hand, zoom lenses offer a range of focal lengths, allowing you to zoom in and out without changing lenses. Each type has its advantages and disadvantages, so consider your photography style and needs before making a decision.
2. Focal Length:
Focal length determines the angle of view and magnification of your lens. A shorter focal length, such as a wide-angle lens, can capture a wider perspective and is great for landscape or architectural photography. A longer focal length, like a telephoto lens, can capture distant subjects and is ideal for sports or wildlife photography. Understanding the lens’s focal length will help you choose the right lens for the specific job you have in mind.
3. Aperture:
The aperture of a lens refers to its maximum opening, which affects the amount of light that enters the camera. A wider aperture, indicated by a smaller f-number, allows more light to pass through, resulting in a shallower depth of field and blurred background. This is useful for portraits or capturing subjects in low-light conditions. A narrower aperture, indicated by a larger f-number, lets in less light but increases the depth of field, leading to sharper images throughout the frame.
4. Lens Compatibility:
Before purchasing a lens, ensure it is compatible with your camera body. Different camera manufacturers have their own lens mounts, so make sure the lens you choose fits your camera. Additionally, consider whether the lens is specifically designed for full-frame or crop-sensor cameras, as this can affect the effective focal length. Doing your research and checking compatibility will save you from any frustrating surprises.
5. Lens Budget:
Last but not least, consider your budget when choosing a lens. Lenses come in a wide range of prices, and while it’s tempting to go for the most expensive option, it may not always be necessary. Take into account your skill level, shooting preferences, and the value you expect to get from the lens. There are often affordable lenses available that deliver excellent results, especially for beginners or hobbyists.
Remember, the right lens choice will depend on your specific requirements, so consider factors like focal length, aperture, compatibility, and budget before making your decision. Experimentation and practice with different lenses will ultimately help you find the perfect lens for each job and enhance your photography skills.

Mastering Manual Settings
When it comes to photography, understanding and is essential for capturing the perfect shot. While it may seem intimidating at first, using a manual camera allows for greater control and creativity in your photographs. In this post, we will guide you through the process of utilizing manual settings on your camera to enhance your photography skills.
1. Aperture
The first manual setting to consider is the aperture, which determines the depth of field in your image. It controls how much of the scene is in focus. A wide aperture (small f-number) will blur the background, ideal for portraits and isolating subjects. However, for landscape photography, a narrow aperture (large f-number) is preferred to maintain sharp focus throughout the image. Experiment with different aperture settings to achieve the desired effect.
2. Shutter Speed
Shutter speed controls the duration that the camera’s shutter remains open. This setting has a significant impact on the exposure and sharpness of your images. A fast shutter speed (1/1000s or faster) freezes motion, ideal for sports photography. On the other hand, a slower shutter speed (1/30s or slower) creates motion blur, perfect for capturing the movement of flowing water or traffic lights at night. Adjust your shutter speed accordingly to capture the desired effect.
3. ISO
ISO determines the sensitivity of your camera’s image sensor to light. It plays a crucial role in controlling the exposure of your image, especially in challenging lighting conditions. A lower ISO (e.g., 100) is suitable for well-lit situations, providing higher image quality with less noise. Increase the ISO (e.g., 800 or more) when shooting in dimly lit environments but be cautious as higher ISO settings may introduce digital noise in your images.
4. White Balance
White balance is often overlooked, but it plays an essential role in achieving accurate color representation in your photographs. Different lighting conditions can give a warm (yellowish) or cool (bluish) cast to your images. Adjust the white balance setting to match the lighting situation or experiment with different presets such as daylight, tungsten, or cloudy to achieve the desired color temperature.
5. Manual Focus
While autofocus is commonly used, manual focus enables you to have complete control over what is in focus and can add a unique touch to your photography. Experiment with focusing on different elements of your scene to create depth and emphasize the subject. Utilize the focus assist features on your camera, such as focus peaking or magnification, to ensure precise focus.
By on your camera, you will elevate your photography skills to new heights. Take the time to experiment with different settings and techniques, and don’t be afraid to make mistakes. The more you practice and explore, the better you will understand manual settings and unlock your full creative potential.
Tips for Perfect Composition
Mastering the art of composition is essential for capturing stunning photographs with a manual camera. By carefully arranging the elements within your frame, you can create visually appealing and impactful images. Here are some valuable tips to help you improve your composition skills.
1. Rule of Thirds
One of the most fundamental principles of composition is the rule of thirds. Imagine your frame divided into nine equal sections by two horizontal and two vertical lines. Place your main subject or point of interest along these lines or at their intersection points. This technique creates a sense of balance and visual interest, making your photos more captivating.
2. Leading Lines
Utilizing leading lines is an effective way to guide the viewer’s eyes through your image. Look for natural or man-made lines such as paths, roads, or fences that can lead towards your subject. These lines help create depth, add a sense of motion, and draw attention to the main focal point of the photograph.
3. Framing
Adding a frame within your frame can enhance the composition of your photos. This can be achieved by incorporating natural elements like branches, arches, or doorways, or even using nearby objects. By framing your subject, you create a sense of depth and draw attention to what’s within the frame.
4. Symmetry and Patterns
Symmetry and patterns can bring a pleasing sense of balance and order to your compositions. Look for symmetrical elements or repetitive patterns in your surroundings and carefully position them within your frame. This technique can create impactful and visually striking images.
5. Negative Space
Don’t be afraid of empty space in your compositions. Negative space refers to the empty areas surrounding the main subject. Including negative space can help emphasize the subject, convey a sense of tranquility, or add a minimalist aesthetic to your images.
Q&A
Q: What is a manual camera?
A: A manual camera is a type of camera that requires the user to manually adjust various settings, such as focus, aperture, shutter speed, and ISO.
Q: Why would someone choose to use a manual camera?
A: Using a manual camera offers more control over the photography process and allows the photographer to achieve creative effects that may not be possible with automatic settings. It also helps users better understand the technical aspects of photography.
Q: What are the main components of a manual camera?
A: A manual camera typically consists of a body, lens, viewfinder, shutter button, aperture ring, focus ring, and multiple dials or buttons to control various settings.
Q: How do I set the focus manually?
A: To set the focus manually, rotate the focus ring on the lens until the subject appears sharp in the viewfinder. Some cameras may also provide focus-assist tools like digital zoom or focus peaking to help with precise focusing.
Q: How can I adjust the aperture on a manual camera?
A: Adjusting the aperture is done by rotating the aperture ring on the lens. Aperture determines the depth of field (how much of the image appears in focus) and affects the amount of light entering the camera.
Q: How do I control the shutter speed in a manual camera?
A: Manual cameras allow you to adjust the shutter speed through a dial or button. The shutter speed controls how long the camera’s shutter remains open, impacting the exposure time and motion blur in a photo.
Q: What is ISO and how can I change it on a manual camera?
A: ISO refers to the camera’s sensitivity to light. It can be adjusted on a manual camera by using a dedicated ISO dial or button. Increasing the ISO allows for better performance in low-light conditions, but may introduce more digital noise to the image.
Q: Are there any other settings to consider when using a manual camera?
A: Yes, besides focus, aperture, shutter speed, and ISO, you may also need to adjust white balance, metering mode, exposure compensation, and flash settings depending on the situation and desired outcome.
Q: Are manual cameras difficult to use for beginners?
A: While manual cameras can initially seem intimidating, they are not necessarily difficult to use. It requires some practice and understanding of the technical aspects, but with time, it can become an enjoyable and rewarding experience.
Q: How can I improve my photography skills with a manual camera?
A: To improve your photography skills, it’s essential to experiment with different settings and techniques while using a manual camera. Practice regularly, learn from your mistakes, study composition, and seek inspiration from professional photographers and online resources. In conclusion, mastering the art of using a manual camera can be a rewarding endeavor for any photography enthusiast. While it may seem intimidating at first, with practice and patience, you can unlock a whole new level of creativity and control over your images. By understanding the essential functions of aperture, shutter speed, and ISO, you will be able to manipulate the exposure of your photographs to suit your artistic vision. Additionally, familiarizing yourself with various focusing techniques, such as manual focus and zone focusing, will enable you to capture images with pinpoint precision. Remember to keep experimenting, as photography is an ever-evolving process of learning and exploration. With time, you will develop your own unique style and become more confident in utilizing your manual camera to its fullest potential. So grab your camera, venture out into the world, and capture the beauty that unfolds before your lens. Happy shooting!


