Printers are ubiquitous in offices, homes, and schools, yet many individuals still find themselves puzzled by the seemingly straightforward task of using one. Whether you’re new to the world of printers or simply seeking to master the basics, this article is here to help. In a step-by-step guide, we will walk you through the essential components, functions, and settings of a printer, ensuring that you have all the knowledge required to confidently operate this indispensable machine. So, if you’re ready to unlock the full potential of your printer and refine your printing skills, let’s dive into the fascinating world of printing.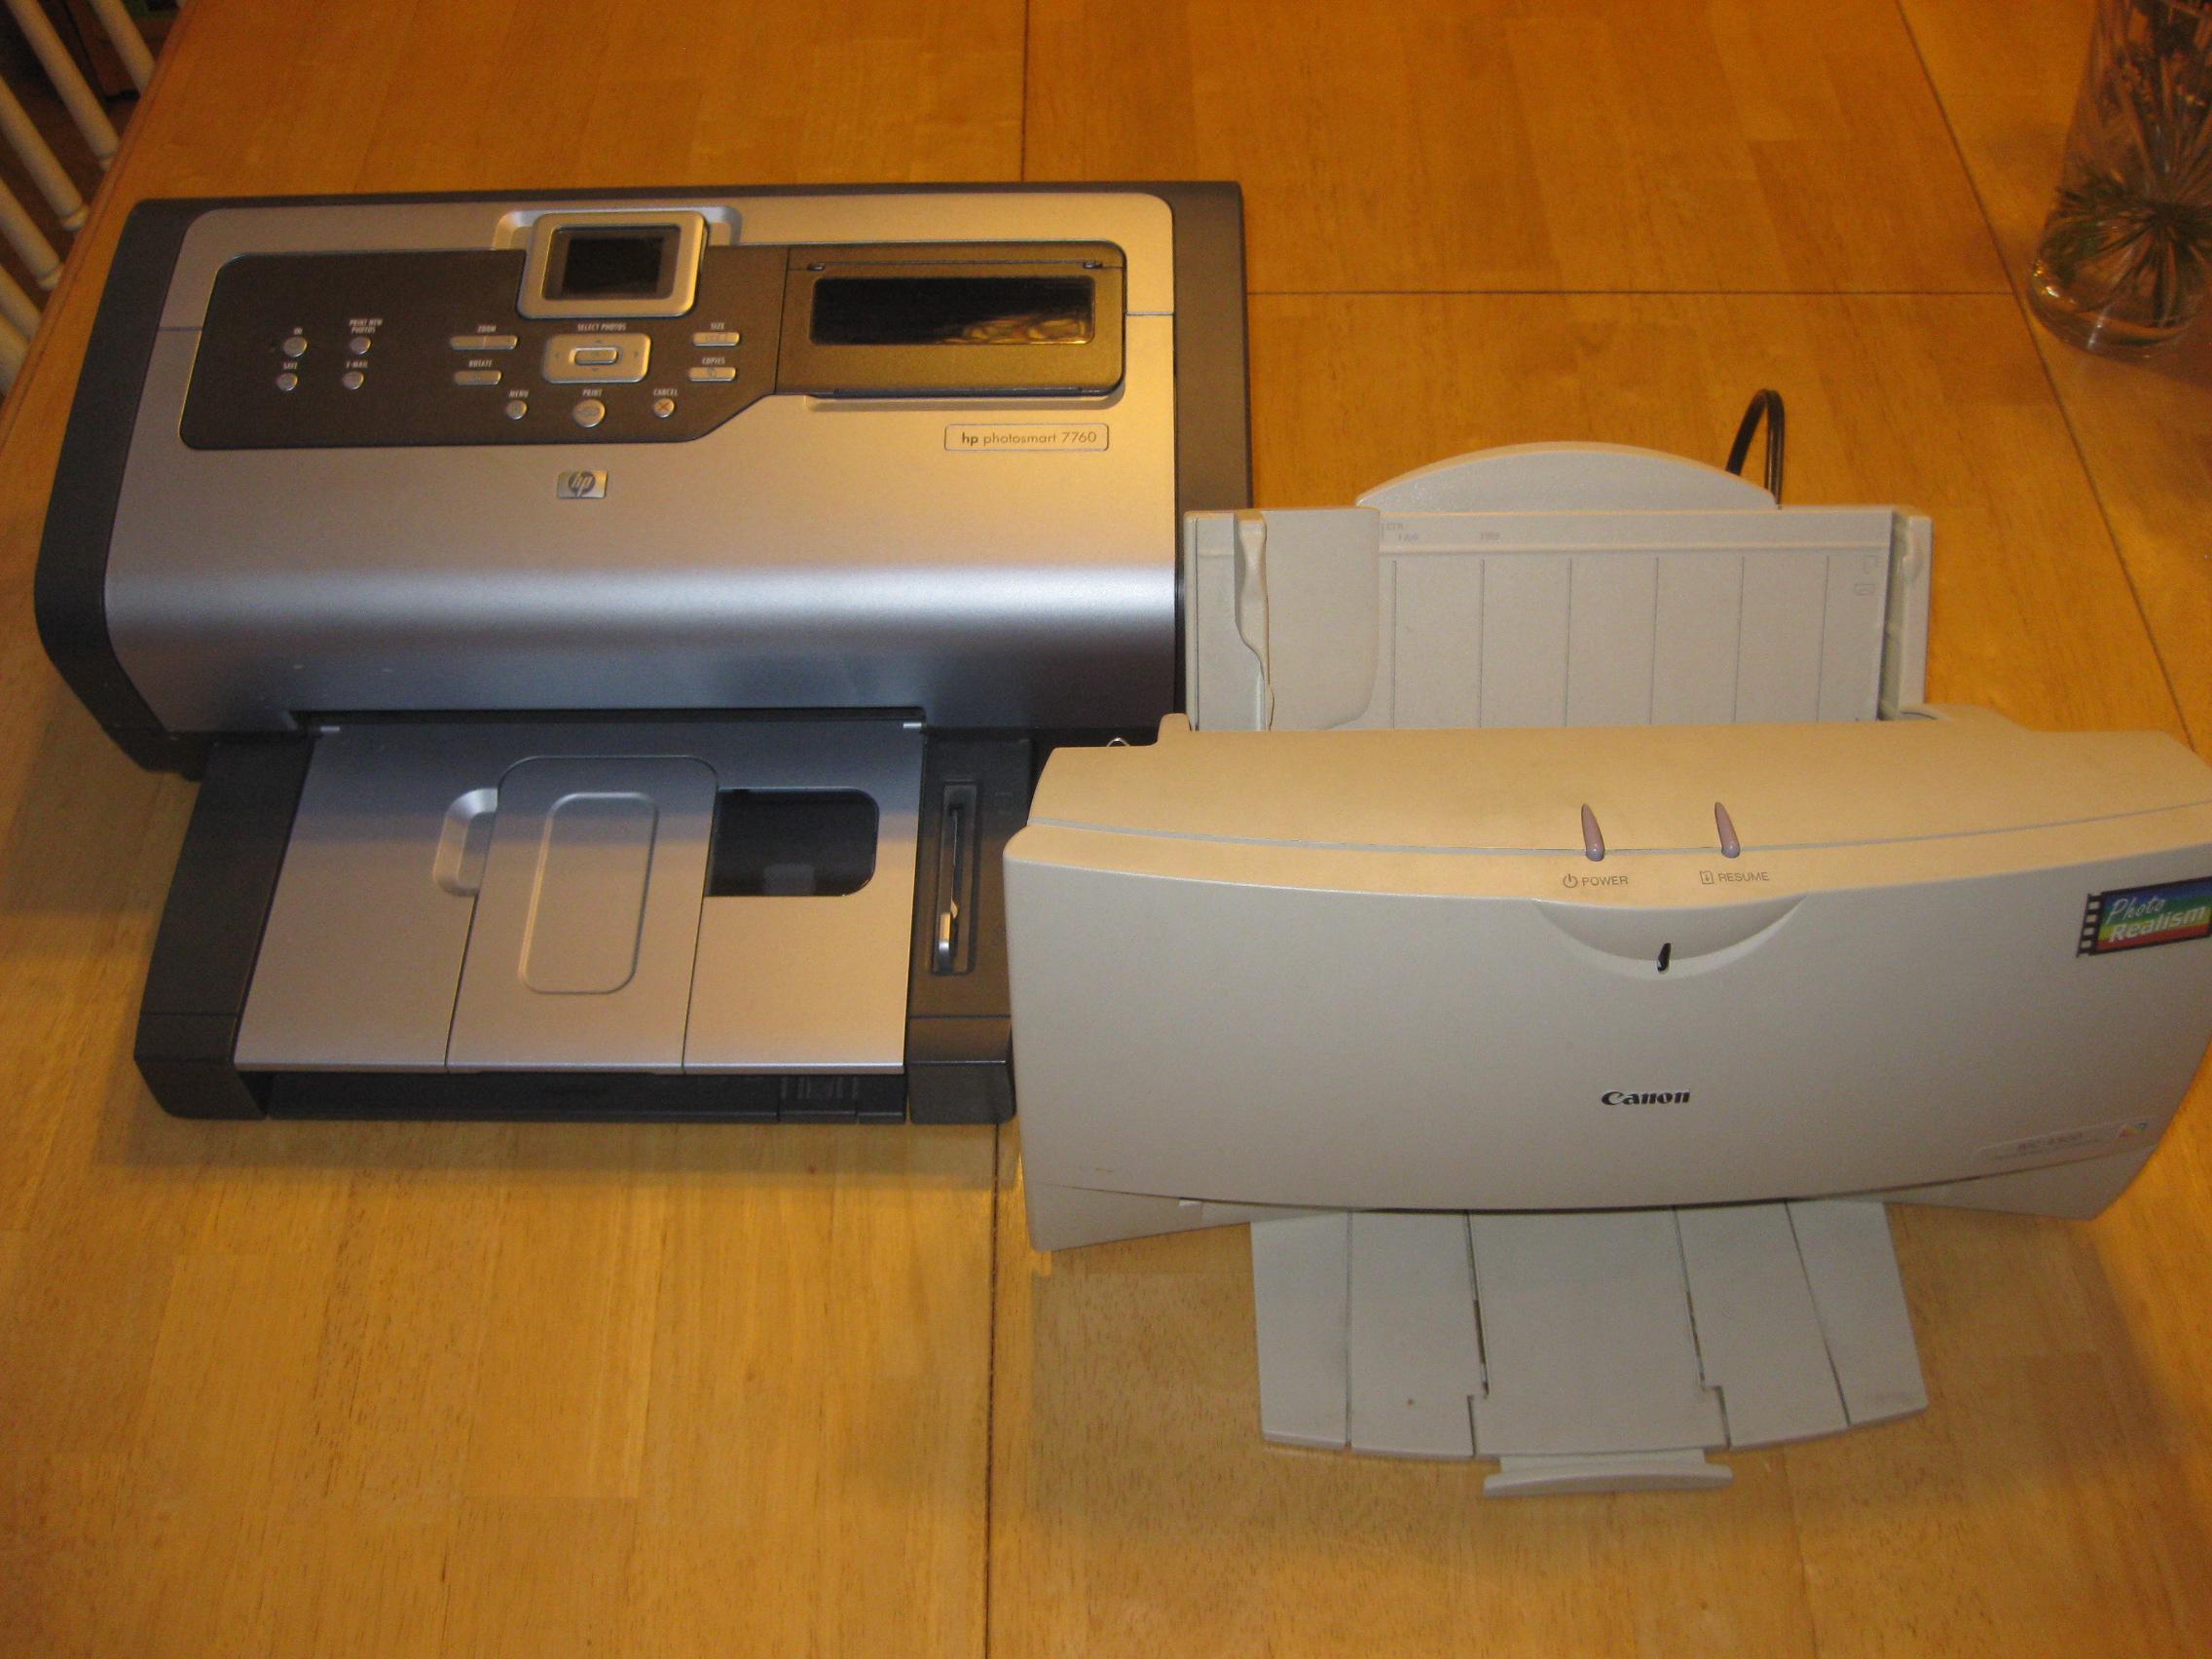
Types of Printers
Printers are an essential tool in today’s digital era. Whether you’re a student, a professional, or simply someone who needs to print documents occasionally, knowing how to use a printer is a valuable skill. In this post, we will explore the different available and how to use them effectively.
-
Inkjet Printers: Inkjet printers are the most common type of printer used in homes and small offices. They work by spraying tiny droplets of ink onto the paper to create the desired image or text. These printers are cost-effective and suitable for printing documents and photos. To use an inkjet printer, you need to install the necessary drivers on your computer and connect it via USB or Wi-Fi.
-
Laser Printers: Laser printers are widely used in business settings due to their fast printing speed and high-quality output. They operate by using a laser beam to transfer toner onto the paper. Laser printers are ideal for printing large volumes of documents and offer sharp, crisp text. To use a laser printer, connect it to your computer and install the required drivers.
-
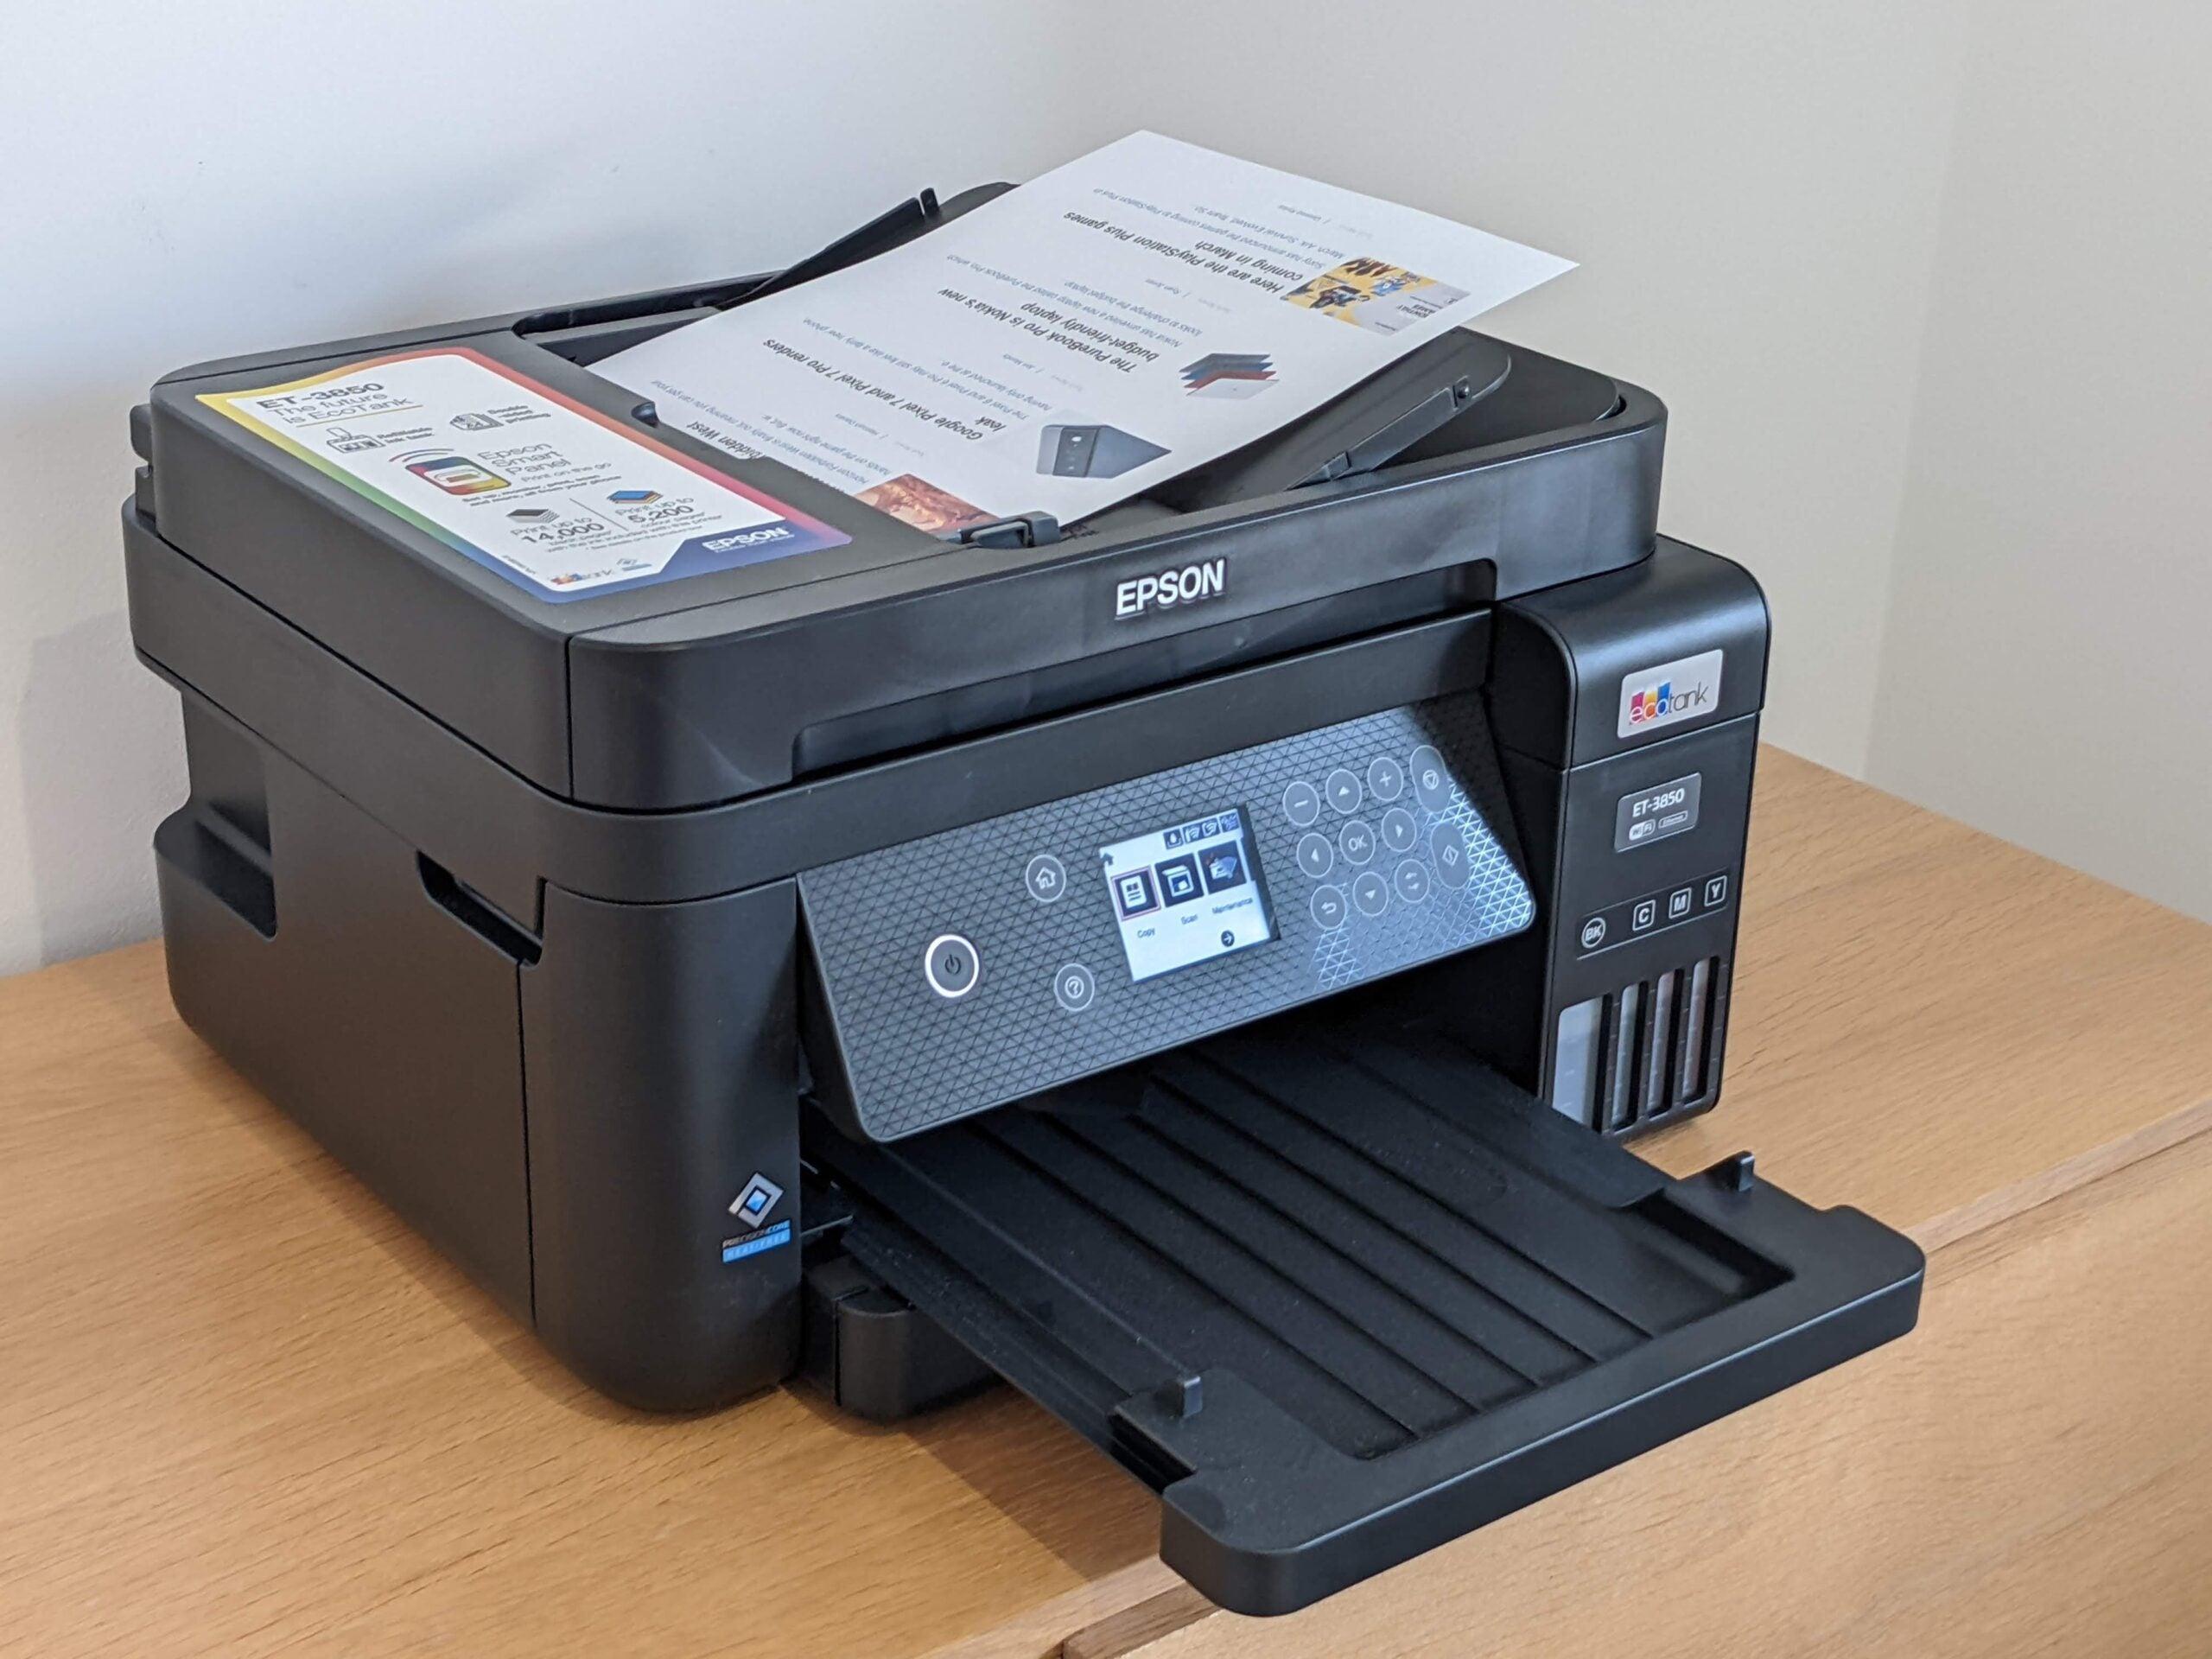
All-in-One Printers: All-in-one printers, also known as multifunction printers, combine the functionalities of a printer, scanner, copier, and sometimes a fax machine into one device. These printers are versatile and can handle various tasks efficiently. To use an all-in-one printer, connect it to your computer, install the necessary drivers, and familiarize yourself with the different functions and settings.
-
Wireless Printing: Many printers today offer wireless printing capabilities, allowing you to print directly from your smartphone, tablet, or laptop without the need for cables. To use wireless printing, ensure that your printer and device are connected to the same Wi-Fi network. Install the printer’s mobile app or use AirPrint (for Apple devices) or Google Cloud Print (for Android devices) to send print jobs wirelessly.
-
Maintenance and Troubleshooting: To ensure optimal performance, it’s important to maintain your printer regularly. This includes cleaning the printhead, replacing ink or toner cartridges when necessary, and keeping the printer’s software up to date. If you encounter any issues, such as paper jams or poor print quality, consult the printer’s user manual or online resources for troubleshooting tips.
In conclusion, using a printer effectively involves understanding the different available and their capabilities. Whether it’s an inkjet printer for home use or a laser printer for a business setting, knowing how to connect, install drivers, and utilize various features is crucial. By familiarizing yourself with the printer’s functions and maintaining it properly, you can ensure reliable and high-quality prints every time.
Setting Up the Printer
In order to start using your printer, setting it up correctly is crucial. Follow these steps to ensure a smooth and hassle-free printing experience.
Step 1: Unbox and Inspect
Begin by carefully unboxing your printer and removing any packaging materials. Take a moment to inspect the printer for any visible damage. If you notice any issues, contact the manufacturer or retailer for assistance.
Step 2: Connect the Power
Locate the power cable provided with your printer and connect one end to the printer’s power port. Plug the other end into a power outlet. Ensure that the power outlet is easily accessible and located near the printer.
Step 3: Install the Ink Cartridges
Next, open the printer’s ink cartridge bay. Typically, this can be done by lifting the top cover or a designated access panel. Refer to your printer’s manual for detailed instructions on how to insert the ink cartridges correctly. Ensure that the cartridges are securely seated in their respective slots.
Step 4: Load the Paper
Most printers have a paper tray located at the bottom or front of the device. Pull out the tray and adjust the paper guides to match the size of the paper you will be using. Place the paper neatly into the tray, ensuring it is not bent or crumpled. Slide the tray back into the printer.
Step 5: Connect to a Computer
To connect your printer to a computer or other devices, you have multiple options. The most common method is using a USB cable. Simply locate the USB port on the printer and connect it to a USB port on your computer. Alternatively, you can connect wirelessly using a Wi-Fi network or Bluetooth, if supported by your printer.
WordPress Table CSS Styling Example:
| Printer Model | Print Speed | Connectivity Options |
|---|---|---|
| Epson WorkForce WF-3640 | 19 ppm | USB, Wi-Fi, Ethernet |
| HP OfficeJet Pro 9015 | 22 ppm | USB, Wi-Fi, Bluetooth |
| Canon PIXMA TS9120 | 15 ppm | USB, Wi-Fi, Bluetooth |
Remember, each printer model may have slightly different steps for setup. Consult the printer’s manual for detailed instructions specific to your device. Once you have completed these setup steps, your printer should be ready to use. Now you can enjoy effortlessly printing your documents, photos, and creative projects.

Loading Paper and Ink Cartridges
Inserting paper and ink cartridges into your printer is an essential step in being able to print your documents and images successfully. Follow these simple instructions to ensure a smooth and hassle-free printing experience.
- Loading Paper:
- Before loading paper, make sure to adjust the paper settings on your printer to match the type and size of paper you are using.
- Open the paper tray or the paper input tray located at the front or top of the printer.
- Take a stack of paper, align the edges, and tap it on a flat surface to even out the sheets.
- Place the stack of papers into the tray, making sure not to overload it. Adjust the paper guides to snugly fit the paper stack.
- Close the paper tray or input tray securely. Your printer is now ready to print!
- Loading Ink Cartridges:
- Ensure that your printer is turned on and the ink cartridge access door is open. Consult your printer manual to locate the access door if unsure.
- Wait for the ink cartridge carriage to move to the center, indicating it is ready for cartridge replacement.
- Remove the protective tape from the new ink cartridge. Be careful not to touch the copper-colored contacts or the ink nozzles.
- Insert the cartridge into its corresponding slot until it clicks into place. Repeat the process for any additional ink cartridges.
- Close the ink cartridge access door. The printer will then perform an alignment process, and you can begin printing once it’s complete.
- Printer Maintenance Tips:
- Regularly clean the printer’s paper feed rollers with a soft, lint-free cloth. This will help prevent paper jams and ensure smooth paper feeding.
- Check the ink levels regularly to avoid running out of ink during a print job. You can usually find the ink level status in the printer software or on the printer’s control panel.
- When not in use, keep the printer covered or in a dust-free environment to prevent dust buildup, which can affect print quality.
- Ensure that you are using the correct type of paper for your printer. Using the wrong type may result in poor print quality or paper jams.
- If you encounter any issues with your printer, consult the printer manual or visit the manufacturer’s website for troubleshooting tips or contact customer support for assistance.
- Printer Troubleshooting:
- If you experience paper jams, check for any obstructions in the paper path and remove them carefully. Also, make sure the paper is properly aligned and not wrinkled or damaged.
- If your printed documents have streaks or smudges, clean the printhead using the printer’s cleaning utility. This helps remove any dried ink or debris that may be causing the issue.
- In case your printer is not recognizing the new ink cartridges, remove them, clean the contacts, and reinstall them properly. Ensure they are fully seated and clicked into place.
- If you encounter any persistent printing issues, consider updating your printer driver software. Visit the manufacturer’s website to find the latest driver updates for your specific printer model.
Remember, each printer model might have slight variations in the loading process and maintenance procedures. It’s always a good idea to consult your printer manual for detailed instructions specific to your printer model. By properly , maintaining your printer, and troubleshooting common issues, you can ensure optimal performance and longevity for your printer.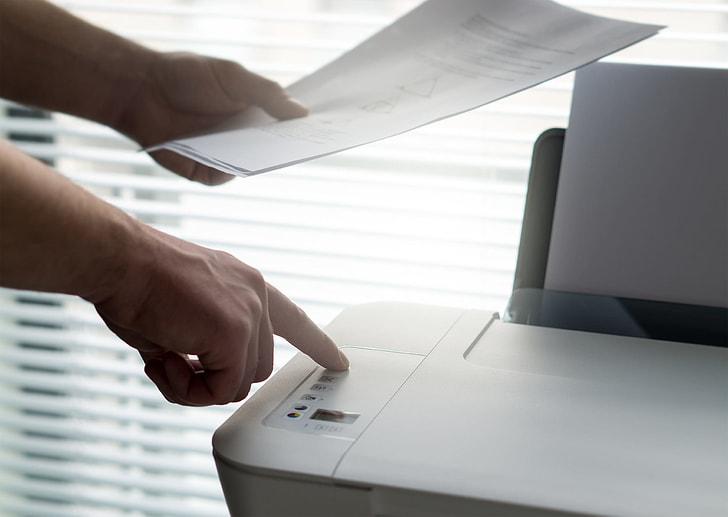
Printing Documents and Photos
is a common task that requires a printer. Knowing how to effectively use a printer can save you time and frustration. In this post, we will provide you with a step-by-step guide on how to use a printer.
Step 1: Install the printer software
The first step to using a printer is to install the printer software on your computer. This software usually comes with the printer or can be downloaded from the manufacturer’s website. Follow the installation instructions provided, and once the software is installed, your computer will be able to communicate with the printer.
Step 2: Load paper into the printer
Before you can print, you need to make sure that there is paper loaded into the printer’s paper tray. Open the tray and adjust the guides to fit the size of your paper. Take a stack of paper and place it neatly into the tray. Be careful not to overload the tray or use wrinkled or damaged paper.
Step 3: Adjust print settings
Once the paper is loaded, you can adjust the print settings according to your needs. Open the document or photo you want to print and select the print option. This will open the print settings menu, where you can choose the paper size, print quality, color options, and other settings. Take a moment to review these settings and make any necessary adjustments.
Step 4: Start the printing process
After you have adjusted the print settings, you are ready to start the printing process. Click on the print button, and your document or photo will be sent to the printer. Depending on the size and complexity of the print job, it may take a few moments for the printer to process and print the document. Be patient and avoid opening the printer or interfering with the printing process.
Step 5: Collect your printed documents and photos
Once the printing process is complete, your documents or photos will be ready to collect. Open the printer’s output tray and carefully remove the printed pages. Be mindful of any other print jobs that may still be in progress, and avoid touching the ink or freshly printed areas to prevent smudging or smearing. Your printed documents and photos are now ready to use or share!
Troubleshooting Common Printer Issues
Printers are an essential part of our daily lives, allowing us to convert digital documents into tangible copies. However, they can sometimes throw up issues that disrupt our printing experience. In this section, we will discuss some common printer problems and provide you with troubleshooting steps to resolve them.
1. Paper Jams
One of the most common issues faced by printer users is paper jams. When the printer is unable to feed the paper properly, it can result in a jam. To fix this issue:
- Turn off the printer and unplug it from the power source.
- Carefully remove any jammed paper by following the printer manufacturer’s instructions.
- Check for any torn pieces of paper and remove them.
- Reload the paper correctly into the printer’s paper tray.
- Plug in the printer and turn it back on. Try printing again.
2. Slow Printing
If your printer takes forever to print, it can be quite frustrating. Here are a few steps to improve printing speed:
- Ensure your printer is set to the appropriate print quality. Lower quality settings can speed up the printing process.
- Clear the print queue on your computer by canceling any pending print jobs.
- Update your printer drivers to the latest version. Visit the manufacturer’s website for any available updates.
- Reduce the number of pages being printed to ease the workload and enhance speed.
3. Poor Print Quality
When your prints come out smudged or faded, it can be an indication of poor print quality. Try these steps to improve it:
- Check your ink or toner levels. Replace or refill them if necessary.
- Run a printer head cleaning cycle to remove any clogged nozzles.
- Ensure you are using the correct paper type and printer settings for the print job.
- Align the printer heads and calibrate the print settings to optimize performance.
4. Connectivity Issues
If you’re unable to connect to your printer or print wirelessly, you may be facing connectivity problems. Here’s what you can do:
- Check if your printer is connected to the correct Wi-Fi network.
- Restart your printer and the Wi-Fi router to refresh the connection.
- Ensure your computer or mobile device is also connected to the same Wi-Fi network.
- Update your printer firmware to the latest version as recommended by the manufacturer.
5. Error Messages
Printer error messages can be confusing and frustrating, but they often provide clues to the underlying issue. Follow these steps to troubleshoot common error messages:
| Error Message | Troubleshooting Steps |
|---|---|
| “Paper Out” or “No Paper” | Make sure there is enough paper in the printer tray and it is inserted correctly. |
| “Low Ink” or “Replace Toner” | Check the ink or toner levels, and replace or refill if necessary. |
| “Paper Jam” | Refer to the earlier section on troubleshooting paper jams for detailed steps. |
| “Connection Failed” | Verify the printer’s connectivity settings and ensure a stable network connection. |
These are just a few common printer issues and troubleshooting steps. If you encounter persisting problems, it’s always recommended to consult your printer’s instruction manual or contact the manufacturer’s support for further assistance.
Q&A
Q: What is the basic concept of a printer?
A: A printer is a device that allows you to transfer digital documents or images onto physical paper or other media.
Q: What are the types of printers available in the market?
A: There are different types of printers available including inkjet, laser, all-in-one, and photo printers. Each has its own advantages and is suited for specific printing needs.
Q: How do I set up a printer for the first time?
A: To set up a printer for the first time, start by unpacking it and following the manufacturer’s instructions. Connect the printer to a power source, install the ink or toner cartridges, and connect it to your computer or network using the provided USB or Ethernet cable.
Q: How do I install printer drivers?
A: Printer drivers are software programs that enable communication between your computer and the printer. They can usually be downloaded from the manufacturer’s website. Once downloaded, follow the installation instructions provided by the driver installer.
Q: How do I connect a wireless printer to my network?
A: To connect a wireless printer to your network, make sure the printer is connected to a power source and turned on. Access the printer’s settings menu and locate the Wi-Fi or network settings. Select your network, enter the password if prompted, and wait for the printer to establish the connection.
Q: What are the steps to print a document?
A: To print a document, begin by opening the document on your computer. Click on the “File” menu, then select “Print” or use the shortcut “Ctrl + P.” In the print settings window, choose the printer you wish to use, select the number of copies, paper size, and other preferences, then click “Print.”
Q: Why is my printer printing blank pages?
A: There could be several reasons for this issue. Check if the printer has enough ink or toner, ensure the cartridges are properly installed, and run a nozzle check or printer alignment test. If the problem persists, consult the printer’s troubleshooting guide or contact customer support.
Q: How can I replace ink or toner cartridges?
A: To replace ink or toner cartridges, power off the printer and open the access panel. Locate the cartridges and gently take them out. Unpack the new cartridges, ensuring to remove any protective tape or covers, and insert them into the correct slots. Close the access panel and power on the printer.
Q: What steps should I follow for printer maintenance?
A: Printer maintenance involves regularly cleaning the printer heads, aligning the printhead if necessary, and keeping the printer free of dust and debris. It’s also important to use high-quality paper and cartridges. Additionally, refer to the printer’s user manual for specific maintenance instructions.
Q: How do I troubleshoot common printer issues?
A: For common printer issues, start by checking the connection between your computer and the printer. Ensure that the printer is turned on and connected to the same network. Restarting your computer and printer, updating printer drivers, and clearing print queues can often resolve common problems. If the issue persists, refer to the printer manufacturer’s troubleshooting guide or contact customer support. In conclusion, learning how to use a printer is an essential skill in today’s digital age. By following a few simple steps, you can effortlessly print documents, photos, and other materials with ease. Begin by setting up your printer correctly, ensuring proper connections and updates. Familiarize yourself with the print settings available to customize your output. Always double-check paper orientation and printer alignment to avoid any unnecessary mistakes. Remember to keep your printer and cartridges well-maintained to maximize its lifespan. Lastly, troubleshooting common issues can save time and frustration. With these handy tips in mind, you are now equipped to confidently operate your printer and effortlessly bring your digital files into the physical realm. Happy printing!


