Microsoft Word is a powerful and widely utilized word processing program that serves as a staple tool for professionals, students, and individuals of all backgrounds. With its myriad of features and functionalities, knowing how to use Microsoft Word proficiently can significantly enhance one’s productivity, efficiency, and document presentation. In this article, we will guide you through the essential aspects of Microsoft Word, providing valuable tips and techniques to help you harness the full potential of this versatile software. Whether you are a beginner eager to grasp the basics or an experienced user looking to explore advanced functionalities, this guide will equip you with the necessary knowledge to navigate through Word effortlessly and make the most out of its many tools and features.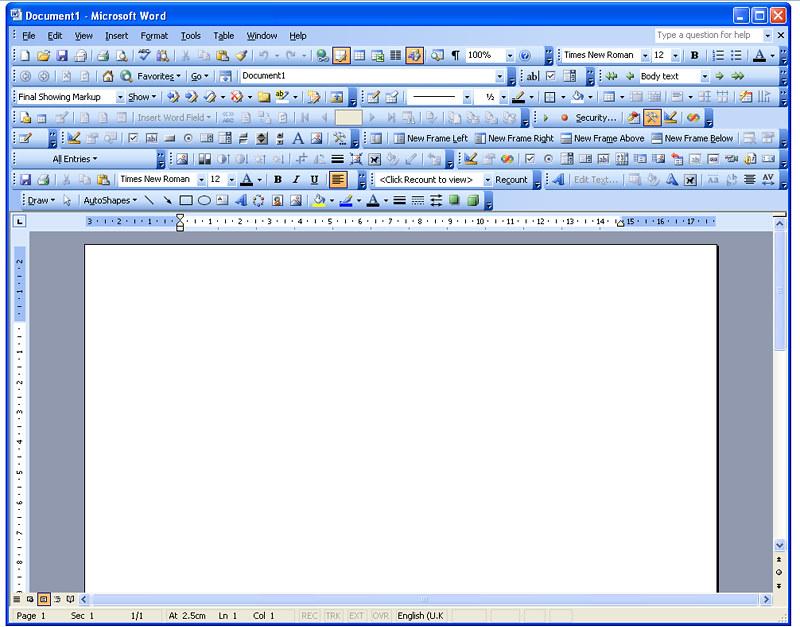
Getting Started with Microsoft Word
Paragraph 1: Microsoft Word is a powerful word processing software that allows you to create and edit documents with ease. Whether you need to write an essay, prepare a professional report, or even design a brochure, Word has all the tools you need to get the job done efficiently. In this post, we will guide you through the process of so you can start maximizing its potential.
Paragraph 2: The first step in using Microsoft Word is to open the application. Once you have launched Word, you will be greeted with a blank document. Take a moment to familiarize yourself with the different sections of the interface. The top of the screen is where you will find the toolbar, containing various commands such as saving, formatting, and inserting elements into your document. The main area in the middle is where you will do most of your work, and the sidebar on the right provides additional options and settings.
Paragraph 3: Now that you are acquainted with the Word interface, let’s start creating your first document. To begin, simply start typing on the blank page. Word automatically adjusts the text as you go, which means you don’t have to worry about line breaks or page sizing. You can apply basic formatting, such as bold, italics, or underline, by selecting the text and using the toolbar at the top. Additionally, you can change the font, font size, and alignment to suit your preferences.
Paragraph 4: One of the key features of Microsoft Word is its ability to assist you with organizing your content. You can create bulleted or numbered lists by using the corresponding buttons on the toolbar. This is particularly useful when creating outlines or presenting information in a structured manner. You can also insert images, tables, and other objects to enhance your document. Simply click on the “Insert” tab on the toolbar and choose the desired element from the options provided.
Paragraph 5: As you become more comfortable with Word, you’ll discover a plethora of advanced features that can take your documents to the next level. You can utilize styles to create consistent formatting throughout your document or insert footnotes and endnotes to provide additional context or references. Word also allows you to track changes made to a document, making collaboration and review processes seamless. Take the time to explore and experiment with the various options and tools available in Microsoft Word, and soon you’ll be creating professional-looking documents in no time.
Navigating the User Interface and Basic Functions
Microsoft Word is a versatile and powerful tool for creating and editing documents. Whether you’re a student, professional, or simply someone who wants to learn how to use this essential software, understanding the user interface and basic functions is crucial. In this post, we will guide you through the various elements of Microsoft Word’s interface and teach you how to perform some essential functions.
The Ribbon
The Ribbon is an important part of the Microsoft Word interface. It is located at the top of the window and is divided into tabs, each containing related commands. To find the command you need, simply click on the appropriate tab. For example, the “Home” tab contains formatting options, while the “Insert” tab is where you can add images, tables, and other objects to your document. Familiarize yourself with the different tabs and explore the wide range of features available.
Creating a New Document
To create a new document, you have two options. You can either click on the “File” tab and select “New” to choose from a variety of templates or start with a blank document. Alternatively, you can use the keyboard shortcut Ctrl + N. Once you have created a new document, you can begin typing directly in the main workspace.
Formatting Text
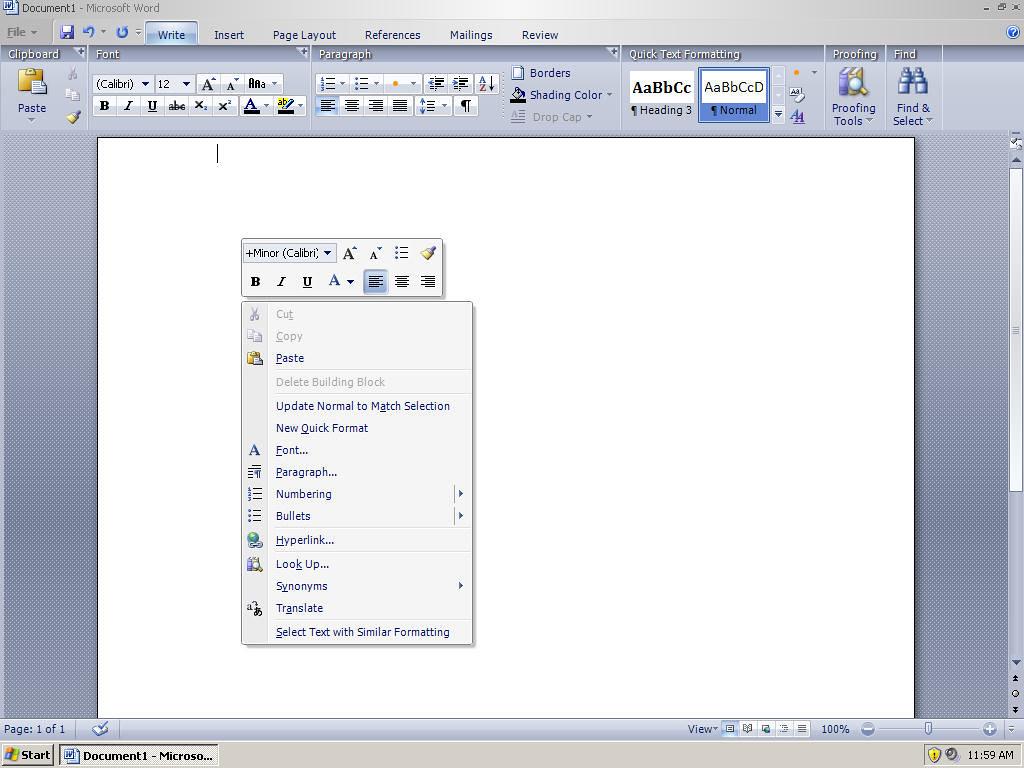
Formatting text in Microsoft Word is easy and allows you to enhance the appearance of your document. To format text, select the desired words or paragraphs and use the formatting options in the “Home” tab of the Ribbon. You can change the font, size, color, and apply various styles such as bold, italic, or underline. Experiment with these options to find the formatting that suits your needs.
Working with Tables
If you need to present data in an organized manner, tables can be incredibly useful. To insert a table, go to the “Insert” tab and click on the “Table” button. Select the number of rows and columns you need, and the table will be inserted into your document. After inserting a table, you can use the table tools in the Ribbon to adjust its appearance, merge or split cells, and perform other operations. Tables are a great way to create visual representations of data in your Word documents.

Customizing Document Formatting and Layout
One of the great features of Microsoft Word is its ability to customize document formatting and layout to meet your specific needs. Whether you’re creating a professional report, a stylish resume, or a personalized invitation, Word has all the tools you need to make your document look just the way you want it. In this post, we’ll explore some of the ways you can tailor your document’s formatting and layout in Word.
-
Page Setup: To start customizing your document’s layout, go to the “Page Layout” tab in the Word toolbar. Here, you can adjust various settings such as page size, orientation (portrait or landscape), margins, and paper source. You can also apply different layouts to specific sections of your document using the “Breaks” option. This is particularly useful when you want to have different page orientations within the same document.
-
Fonts and Styles: Word offers a wide range of font choices to give your document a unique look and feel. To change the font, select the text you want to modify and choose the desired font from the “Font” dropdown menu. Additionally, you can create and apply custom styles to your text, making it easier to maintain consistency throughout your document. To do this, go to the “Home” tab and click on the “Styles” pane where you can create, modify, and apply styles.
-
Headers and Footers: Headers and footers are a great way to add relevant information to the top and bottom of your pages. They can include page numbers, document titles, company logos, and more. To add a header or footer, go to the “Insert” tab and select either “Header” or “Footer”. From there, you can choose from pre-designed options or create your own custom header or footer using text, images, and even tables.
-
Columns and Tables: Columns and tables are effective tools for organizing information in your document. To create columns, go to the “Page Layout” tab and click on the “Columns” dropdown menu. You can select the number of columns, adjust the column width, and even add a line between columns. Tables, on the other hand, are perfect for displaying data or organizing content. To insert a table, go to the “Insert” tab and select “Table”. From there, you can choose the number of rows and columns you need, adjust cell sizes, and apply formatting.
-
Styles and Templates: If you find yourself frequently customizing the same document elements, using styles and templates can save you time and effort. Word offers a variety of pre-designed templates for different types of documents, such as resumes, cover letters, newsletters, and more. You can also create your own custom templates and styles, which can be easily applied to other documents. To access templates and styles, go to the “File” tab and click on “New”. From there, you can choose from existing templates or create your own.
In conclusion, Microsoft Word provides an array of tools and options for customizing your document’s formatting and layout. From page setup adjustments to font styles and headers, you can make your document truly unique. Additionally, the ability to create columns, tables, and templates ensures that your content is well-organized and professional-looking. So go ahead and unleash your creativity with Word, and make your documents stand out!
Mastering Advanced Features and Tools
In today’s digital age, Microsoft Word has become an essential tool for both personal and professional use. While most individuals are familiar with the basic features of this word processing software, it’s time to take your skills to the next level. In this post, we will explore some advanced features and tools in Microsoft Word that will help you maximize your productivity and create impressive documents effortlessly.
Create Stunning Graphics with SmartArt
Graphics are a powerful way to enhance the visual appeal of your documents. Microsoft Word offers an incredible feature called SmartArt that allows you to create and customize professional-looking graphics. Whether you need to showcase a hierarchical structure, illustrate a process, or display data, SmartArt is your go-to tool. Simply click on the “Insert” tab, select “SmartArt,” and choose from a wide variety of options. Customize colors, shapes, and layouts to match your document’s theme and leave a lasting impression on your readers.
Collaborate in Real-Time with Co-Authoring
Gone are the days of sending drafts back and forth for revisions. Microsoft Word’s co-authoring feature enables you to collaborate on documents in real-time with colleagues or classmates. Simply save your document on a cloud storage platform like OneDrive or SharePoint, and invite others to edit or comment on it. You can see each other’s changes as they happen, making the collaboration process smoother and more efficient. Say goodbye to version control headaches and enjoy the convenience of real-time collaboration.
Master Mail Merge for Personalized Communication
Personalized communication can make a significant impact, whether you’re sending out newsletters, invitations, or customer invoices. Microsoft Word’s mail merge feature allows you to merge data from an Excel spreadsheet or another data source into your document, creating customized versions for each recipient. Save time and effort by automatically addressing your documents, adding personalized content, and even including unique barcode or QR code information. Enhance customer experiences and streamline your communication with the power of mail merge.
Manage Complex Documents with Master Documents
When working on lengthy reports or complex projects, organizing your content efficiently is crucial. Microsoft Word’s master document feature helps you manage large documents by breaking them into smaller, more manageable subdocuments. Easily create a master document and add subdocuments to it. You can navigate between different sections, make changes to specific parts without affecting the rest of the document, and even work on individual subdocuments simultaneously with others. Stay organized and maintain control over your extensive documents with the master documents feature.
Achieve Consistency with Styles and Themes
Consistency is key in creating professional-looking documents. With Microsoft Word’s styles and themes, you can achieve a consistent formatting style throughout your document effortlessly. Use predefined styles for headings, paragraphs, quotes, and more to maintain a consistent look and feel. If you want to go a step further, you can create your own custom styles that match your document’s branding or requirements. Additionally, themes allow you to change the overall color scheme, font, and formatting of your entire document in a single click. Maintain a consistent and polished appearance by leveraging the power of styles and themes.

Utilizing Time-Saving Tips and Tricks
Formatting Text
In Microsoft Word, you can easily format your text to make it more visually appealing and easier to read. To make your text bold, simply highlight the desired section and click on the B button in the toolbar. Similarly, you can italicize your text by clicking on the I button. If you want to underline your text, use the U button. You can also change the font, size, and color of your text by selecting the appropriate options from the toolbar.
Inserting Images and Tables
Microsoft Word allows you to add images and tables to enhance your documents. To insert an image, click on the Insert tab and then select Pictures. Choose the desired image and click Insert to add it to your document. To create a table, click on the Insert tab and then select Table in the toolbar. Choose the desired number of rows and columns and click Insert Table. You can then customize your table by adding or removing rows and columns and adjusting the cell sizes.
Using Templates
If you’re short on time and need to create a professional-looking document, Microsoft Word offers a wide range of templates that you can use. To access the templates, click on the File tab and select New. Browse through the available templates and select the one that best suits your needs. Once you’ve selected a template, you can customize it by adding your own text and images. Templates are a great time-saving feature as they provide pre-designed layouts that you can easily modify to create high-quality documents.
Creating Headers and Footers
Headers and footers are useful for adding consistent information to all pages of your document, such as page numbers, document titles, or logos. To create a header or footer, click on the Insert tab and select either Header or Footer in the toolbar. You can choose from predefined options or create a custom header or footer. Once you’ve added the header or footer, you can insert text, images, or other elements into it. Headers and footers are especially handy when working on longer documents as they provide a way to add important information without cluttering up the main content.
Using Keyboard Shortcuts
Keyboard shortcuts are a great way to quickly perform common tasks in Microsoft Word. Instead of navigating through multiple menus and options, you can simply press a few keys on your keyboard. For example, pressing Ctrl + B will make your text bold, and pressing Ctrl + I will italicize it. To undo or redo an action, use Ctrl + Z and Ctrl + Y respectively. To select all text in your document, use Ctrl + A. By utilizing keyboard shortcuts, you can save valuable time and work more efficiently in Microsoft Word.
Q&A
Q: What is Microsoft Word?
A: Microsoft Word is a popular word processing software developed by Microsoft. It is widely used for creating, editing, formatting, and saving textual documents.
Q: How do I open Microsoft Word?
A: To open Microsoft Word, you can either double-click on the Word shortcut icon on your desktop or click on the Windows Start button, type “Microsoft Word” in the search bar, and select it from the list of results.
Q: How do I create a new document in Microsoft Word?
A: After opening Microsoft Word, click on the “New Blank Document” button, usually located at the top left corner of the application window. Alternatively, you can use the keyboard shortcut Ctrl+N.
Q: How do I save a document in Microsoft Word?
A: To save a document, click on the “File” tab in the top left corner of the Word window, then select “Save” or “Save As”. Choose a location on your computer to save the file, give it a name, and click “Save”.
Q: How do I format text in Microsoft Word?
A: To format text in Microsoft Word, simply select the text you want to format and use the formatting options in the “Home” tab. You can change font styles, sizes, colors, adjust alignment, apply bold or italic styles, among other formatting features.
Q: How do I add images or pictures to my Word document?
A: In Microsoft Word, click on the “Insert” tab in the top menu, then select “Pictures” or “Online Pictures”. Browse your computer or search for images online to insert them into your document.
Q: How can I check the spelling and grammar in my Word document?
A: To check spelling and grammar, go to the “Review” tab in the top menu, then click on “Spelling & Grammar”. Word will automatically scan your document and offer suggestions for any errors it detects.
Q: What is the Track Changes feature in Microsoft Word?
A: Track Changes is a valuable feature in Word that enables you to keep track of any changes made to a document. Any modifications made by you or others will be highlighted, allowing easy reviewing and accepting/rejecting of changes.
Q: How can I print my Word document?
A: To print your Word document, go to the ”File” tab and select “Print”. Adjust the print settings like the number of copies, paper size, and orientation, then click on the “Print” button to begin printing.
Q: How do I close Microsoft Word?
A: To close Microsoft Word, click on the “X” button located at the top right corner of the application window. Alternatively, you can use the keyboard shortcut Alt+F4. Ensure you save your document before closing. In conclusion, Microsoft Word is an incredibly powerful and versatile word processing software that can greatly enhance your productivity and efficiency when creating documents. From basic functions like typing and editing, to more complex features such as formatting and collaboration, this comprehensive guide has covered the essentials of how to use Microsoft Word effectively.
By mastering the basics, such as navigating the ribbon, organizing and managing your documents, and utilizing shortcuts and time-saving tools, you can streamline your workflow and produce professional-looking documents in no time.
Additionally, exploring further features such as headers and footers, tables and charts, and Word’s extensive library of templates can help you unlock even more possibilities to customize your documents and make them visually appealing.
Remember that practice makes perfect, so don’t be afraid to experiment and explore the various features and options within Microsoft Word. As you become more familiar with the software, you’ll discover new ways to improve your document creation process and increase your overall efficiency.
Whether you’re a student, professional, or simply someone looking to improve their writing skills, the knowledge and proficiency in using Microsoft Word gained through this guide will undoubtedly prove invaluable in various personal and professional contexts.
So, embrace the power of Microsoft Word, and let this transformative tool simplify and enhance your document creation experience. Happy typing!


