The emergence of technology has drastically changed the way we interact with educational tools in the classroom. One such tool that has gained significant popularity is the Smart Board. This interactive whiteboard has revolutionized teaching and learning, offering endless possibilities for interactive and engaging lessons. If you’re new to using a Smart Board or simply looking to enhance your skills, this article will provide you with a comprehensive guide on how to effectively utilize this innovative device in the classroom. From setting up the Smart Board to utilizing its various features, we will explore step-by-step instructions and practical tips to help you make the most of this powerful educational technology.
Introduction to Smart Boards
Smart boards have become an essential tool in modern classrooms, offering a wide range of interactive features that enhance the learning experience for both teachers and students. Whether you’re new to using smart boards or just need a refresher, this post will guide you on how to effectively use this technology in your teaching.
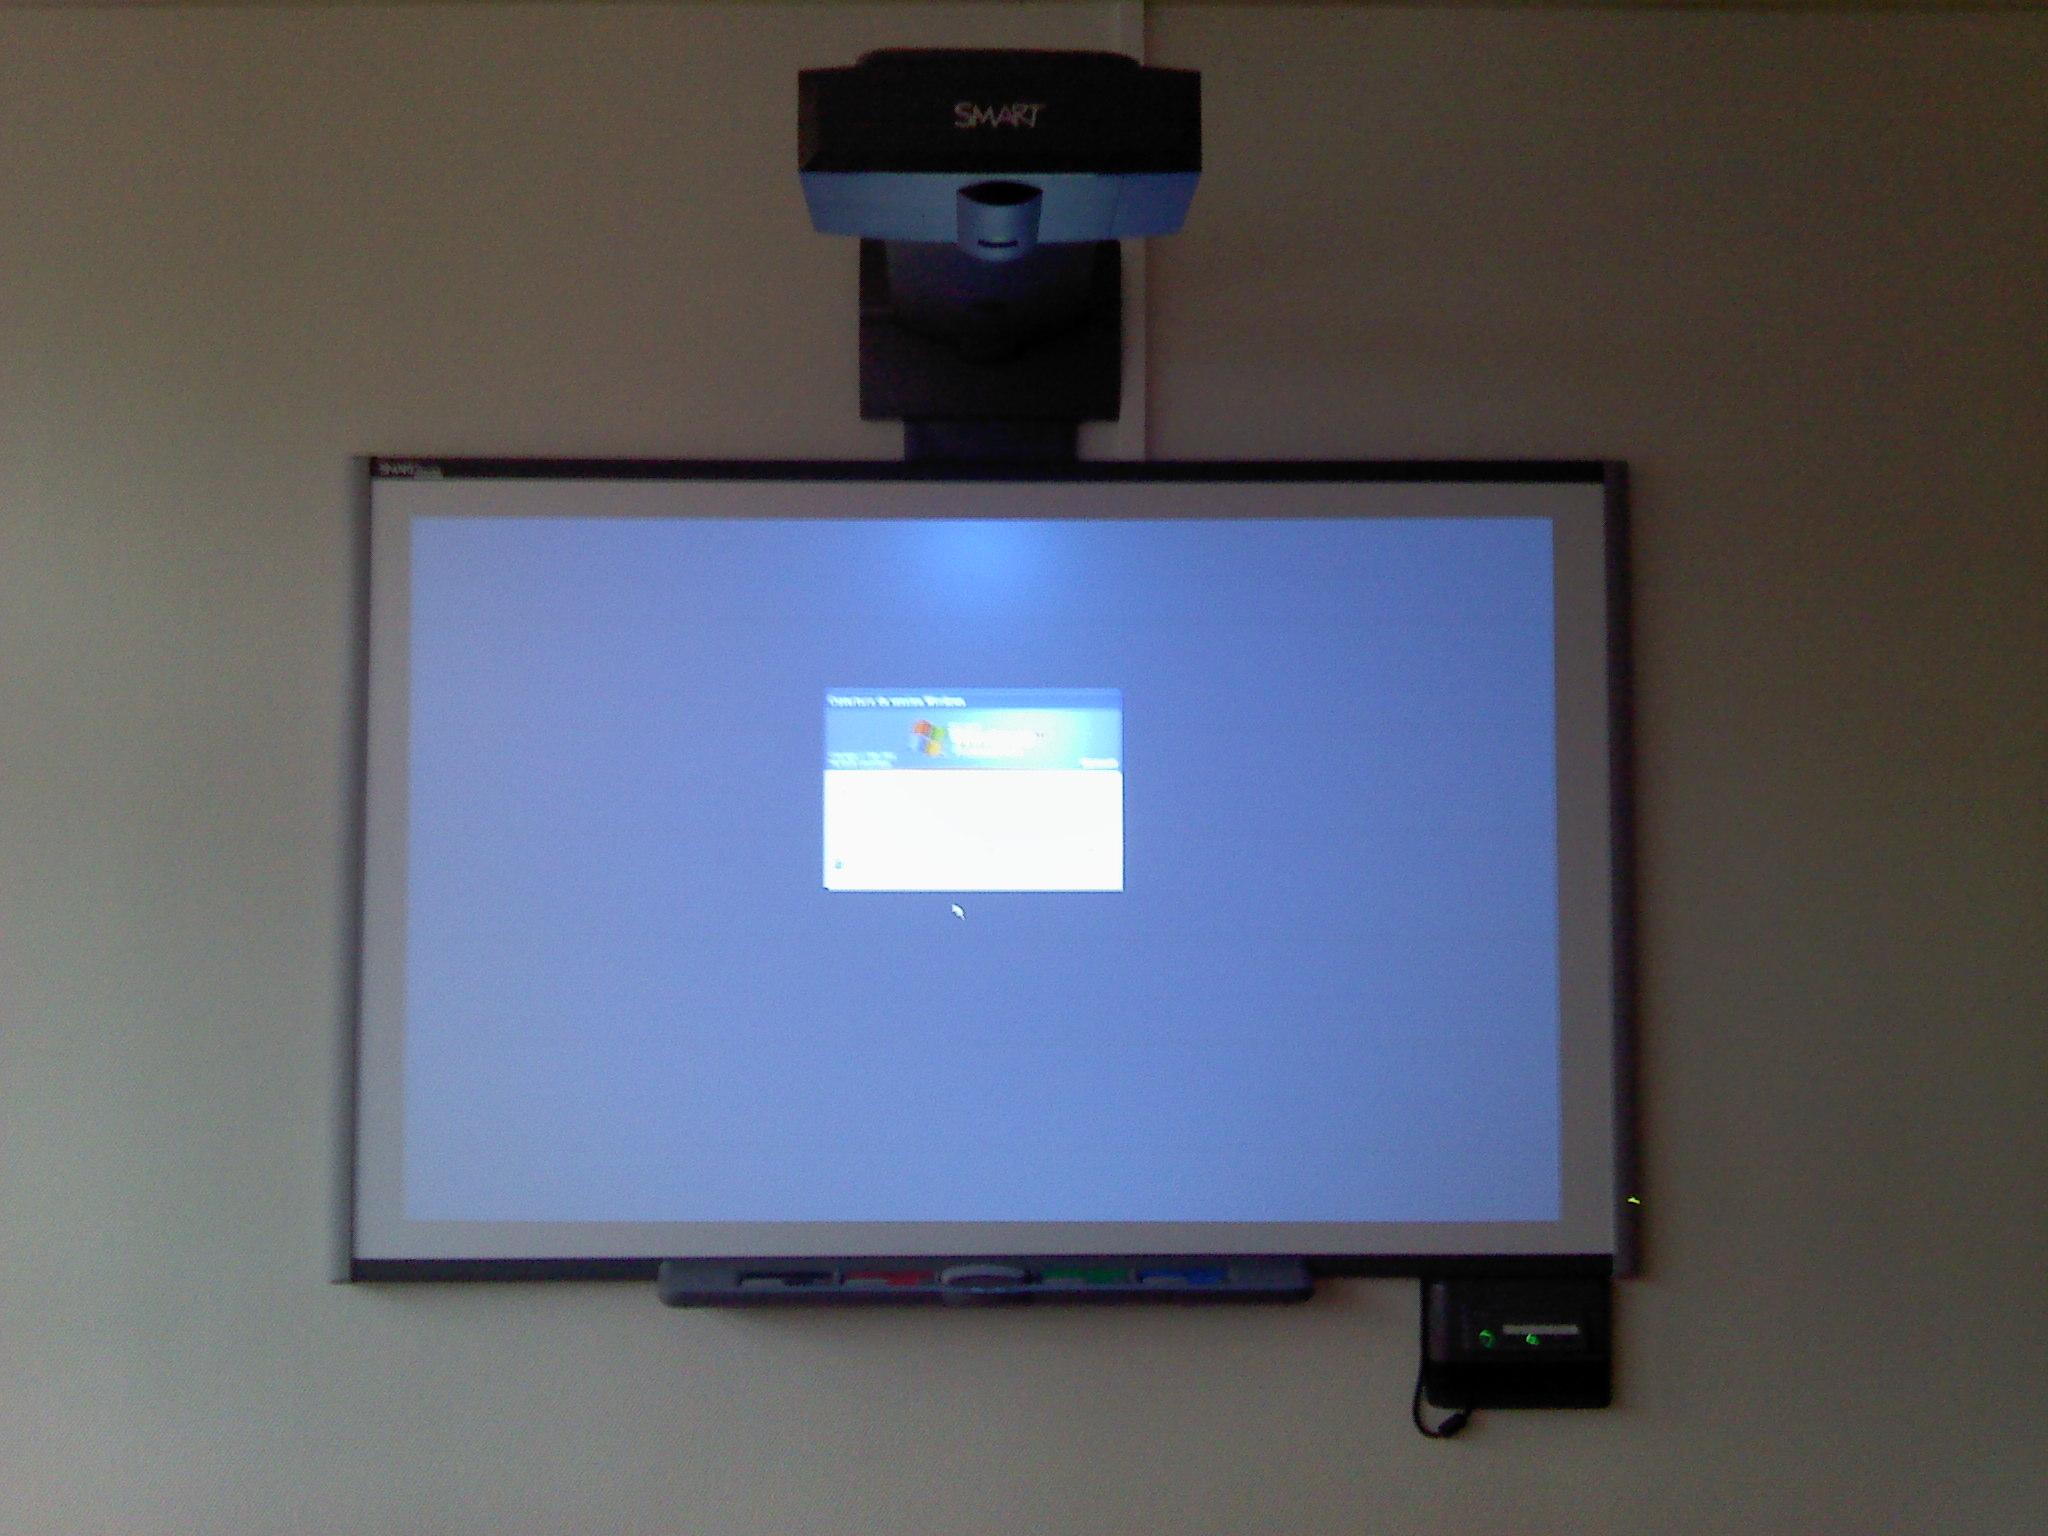
Getting Started: Before you begin using a smart board, make sure it is properly set up and connected to your computer. Ensure that the necessary software is installed and updated. Once everything is ready, turn on the smart board and your computer. You will see the board display come to life, ready for your interaction.
Familiarize Yourself with the Interface: The smart board interface consists of a large touch-sensitive screen accompanied by a set of control buttons. Spend some time exploring these buttons as they will be your gateway to a world of interactive possibilities. Take note of the pen tool, eraser, and selection tool, as they will be your main instruments for interacting with the board.
Utilize the Pen and Eraser Tools: The pen tool allows you to write, draw, highlight, and annotate directly on the smart board. To write or draw, simply grab a stylus or your finger and start writing on the board surface. Adjust the pen thickness or color according to your preference. The eraser tool lets you erase any mistakes or annotations with a swipe, just like a traditional blackboard.
Harness the Power of Touch Gestures: Smart boards are designed to respond to touch gestures, making it easy to navigate through applications and digital content. Pinch to zoom in and out, swipe to move between pages, and tap to open links or launch applications. Explore these gestures to make your lessons more engaging and dynamic.
Collaborate and Interact: One of the key advantages of smart boards is the ability to create an interactive and collaborative learning environment. Encourage student participation by allowing them to interact with the board, solve problems, or contribute to presentations. Utilize the board’s interactive features like quizzes, polls, and games to make the learning process more enjoyable and effective.
In conclusion, smart boards offer a wealth of interactive features that can greatly enhance the teaching and learning experience. By following these steps, you can confidently navigate the smart board’s interface, utilize its tools effectively, and create engaging lessons for your students. Embrace the power of this technology, and watch as it revolutionizes your teaching methods.
Benefits of Using a Smart Board in the Classroom
In today’s technology-driven world, incorporating smart boards into the classroom can greatly enhance the learning experience for both teachers and students. Smart boards are interactive whiteboards that allow for dynamic presentations and engaging activities. Here are several :
1. Enhanced Visual Learning:
Smart boards provide a larger and clearer display compared to traditional whiteboards or projectors. Teachers can present educational content in a visually appealing manner, making it easier for students to understand and retain information. The ability to incorporate visuals, such as images, videos, and interactive diagrams, helps cater to different learning styles and holds students’ attention across various subjects.
2. Increased Classroom Collaboration:
Smart boards encourage active participation and collaboration among students. With touch-screen capabilities, students can come to the board and interact, solving problems, answering questions, or working together on group activities. This interactive aspect sparks discussions, boosts engagement, and enhances critical thinking skills. Through features like virtual sticky notes and voting systems, every student has a voice, fostering a more inclusive and cooperative learning environment.
3. Versatile Teaching Tools:
Smart boards come equipped with a plethora of features and software applications that enrich teaching and facilitate lesson planning. Teachers can create interactive quizzes, games, and puzzles to make learning fun and interactive. These tools make it easy to assess students’ understanding on the spot and adjust instruction accordingly. The ability to save and share lessons digitally also allows for seamless integration of technology into the curriculum.
4. Time and Resource Efficiency:
Using a smart board eliminates the need for traditional teaching aids like transparencies, posters, or physical manipulatives. Teachers can save time by preparing lesson materials digitally and accessing them with a few clicks. Additionally, smart boards can serve as a hub for multiple resources, eliminating the need to switch between different software or equipment during a lesson. This streamlined approach allows teachers to focus more on instruction and student engagement.
5. Promotes 21st Century Skills:
Incorporating smart boards into the classroom prepares students for the digital world they will encounter outside of school. By using technology effectively, students develop essential 21st-century skills such as critical thinking, problem-solving, and digital literacy. These skills are highly valued in today’s job market and help students become well-rounded individuals ready for future success.

Tips for Setting up and Calibrating a Smart Board
One of the most widely used interactive teaching tools in classrooms today is the Smart Board. This innovative technology allows teachers to engage their students through interactive lessons, visual aids, and hands-on activities. Setting up and calibrating a Smart Board properly is essential to ensure optimal functionality. In this post, we will provide you with some helpful tips to get your Smart Board up and running smoothly.
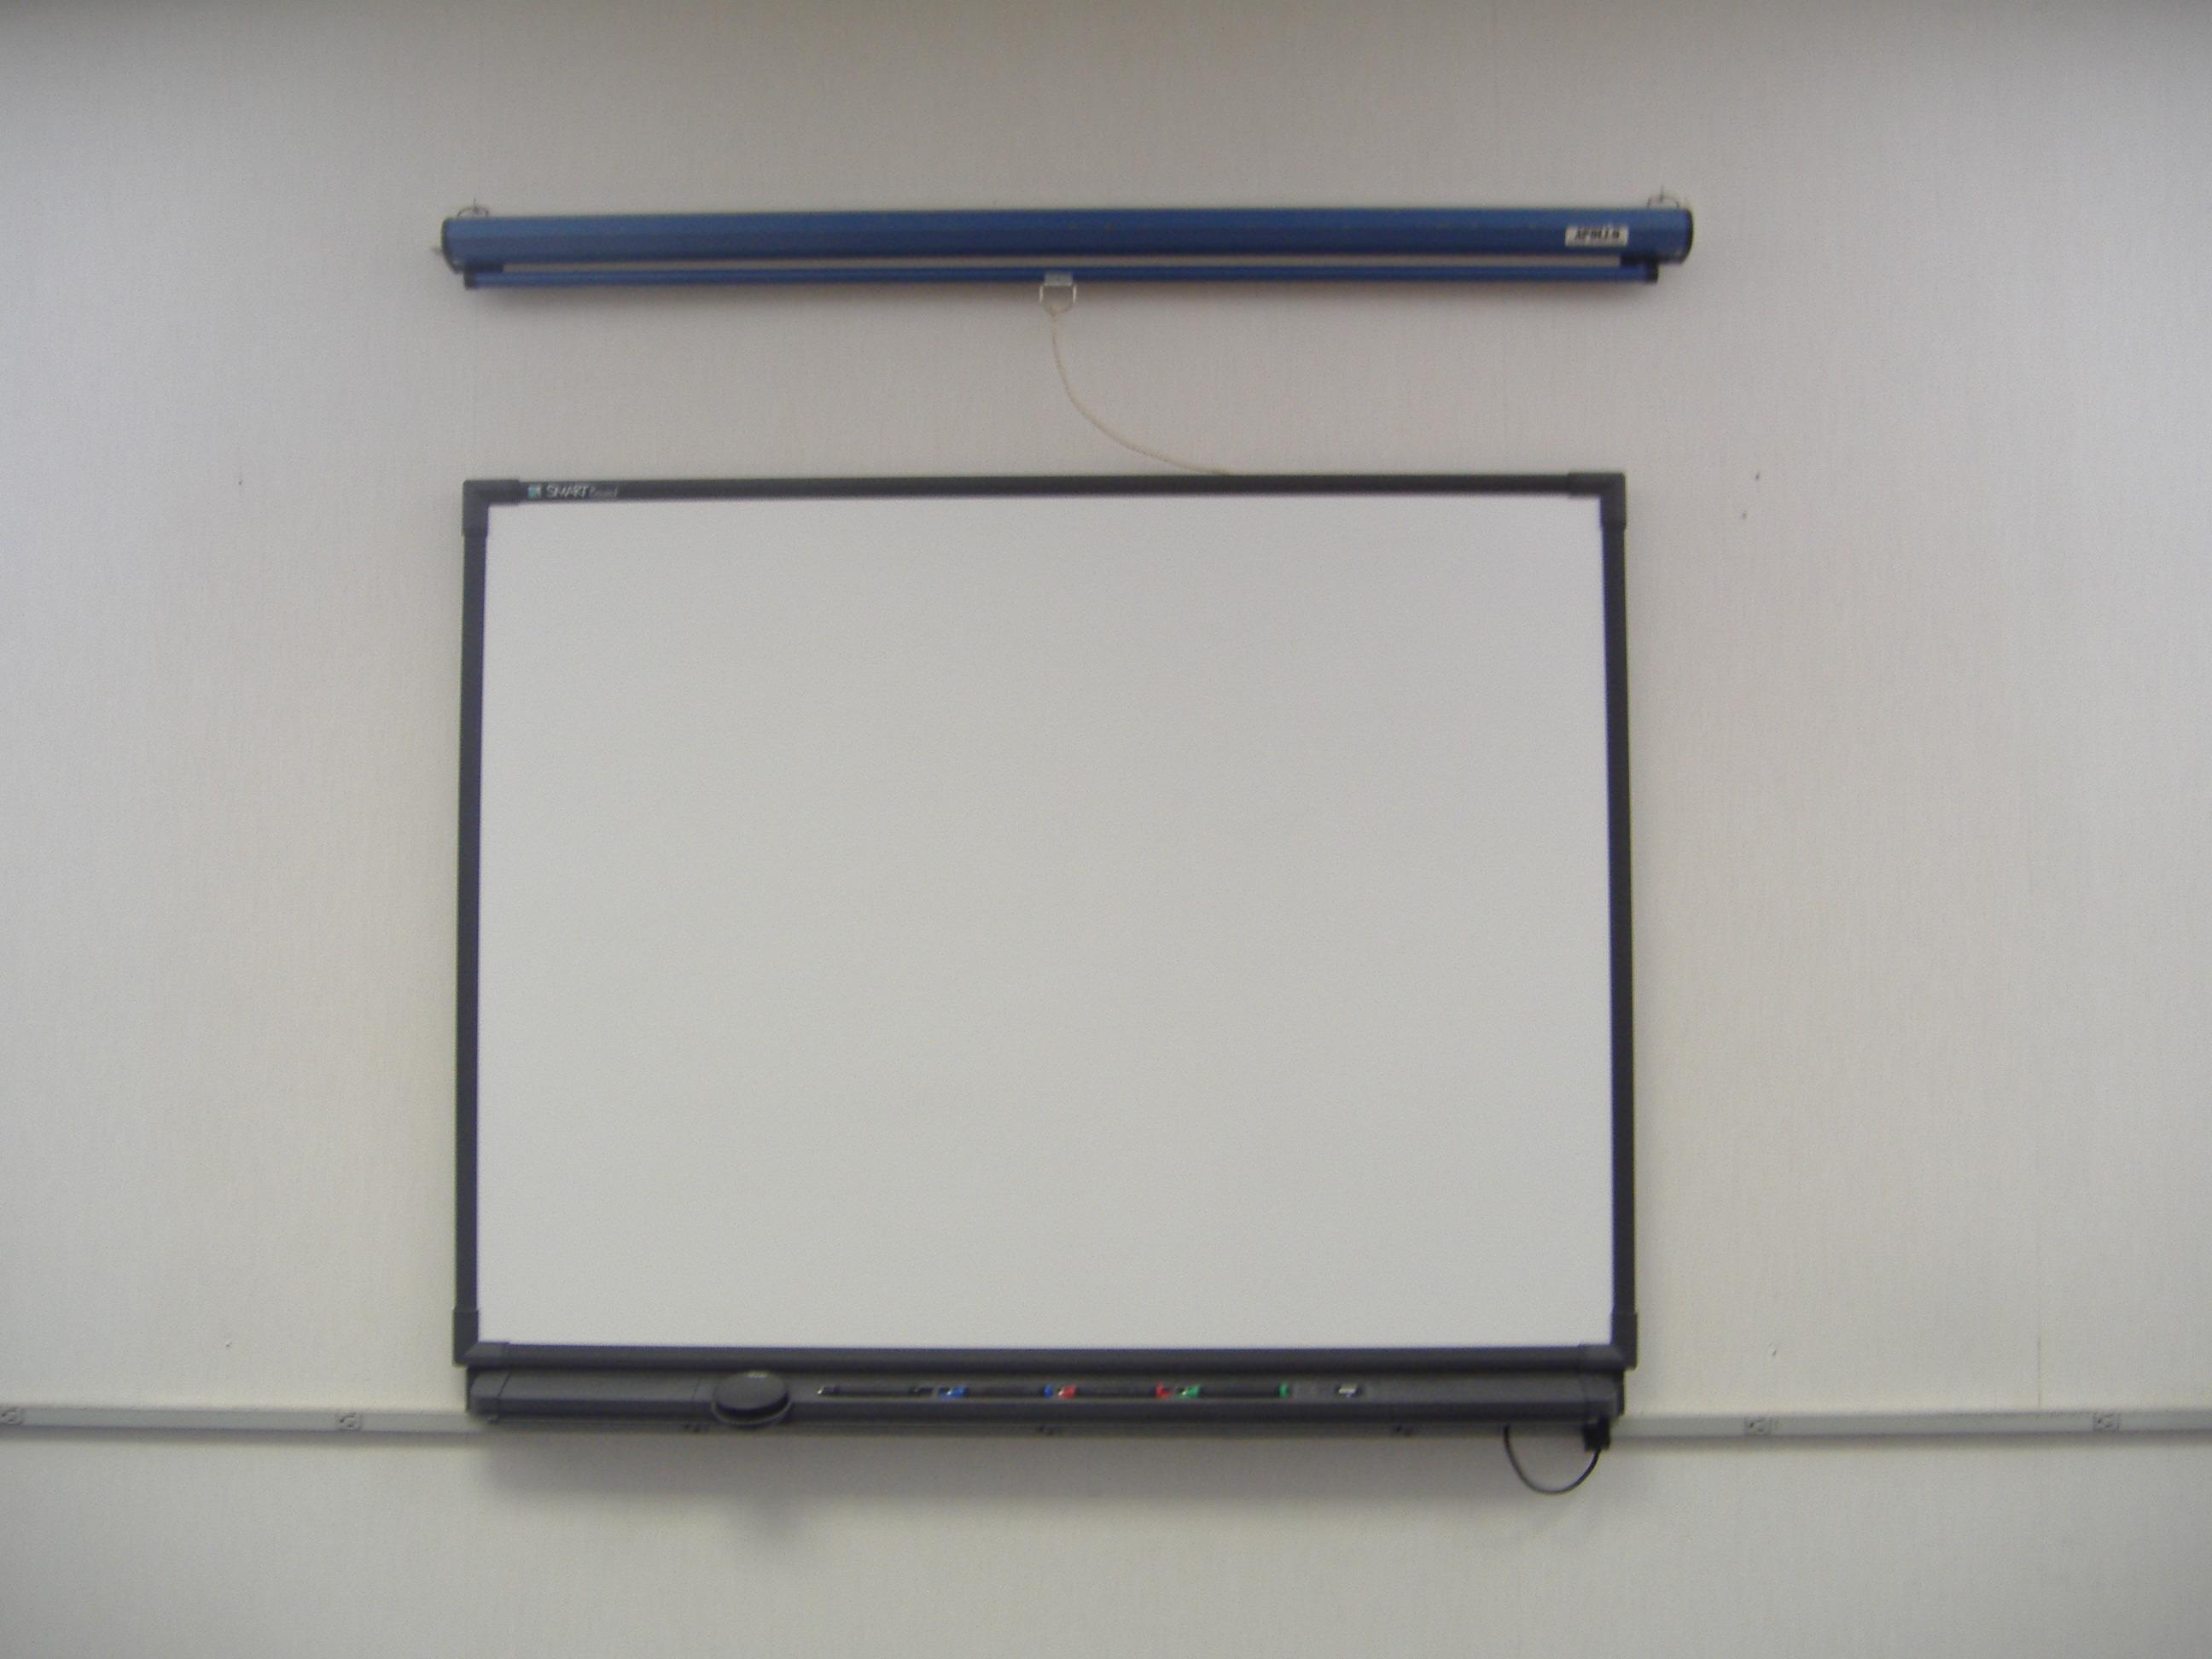
Mounting the Smart Board: Start by selecting the ideal location to mount your Smart Board. Make sure it is at an appropriate height for both students and teachers to easily interact with. Use a level to ensure the board is straight and aligned correctly. Securely fasten the board to the wall or stand to prevent any accidents or damage.
Connecting the necessary cables: Before you can begin using your Smart Board, you’ll need to connect it to your computer. Locate the appropriate cables, which usually include a USB cable and an HDMI or VGA cable depending on your setup. Connect the USB cable from the Smart Board to your computer, and the HDMI or VGA cable from your computer to the projector or monitor.
Calibrating the Smart Board: Calibration is crucial to ensure accurate touch recognition on the Smart Board. Follow the on-screen instructions to calibrate the board properly. Typically, this involves touching specific points on the board with your finger or a special pen. Make sure to apply consistent pressure and touch each point as accurately as possible.
Adjusting the orientation and sensitivity: After calibrating the Smart Board, you may need to adjust the orientation and sensitivity settings. This will ensure that when you touch a specific area on the board, it corresponds correctly with the content displayed on your computer. Use the Smart Board software to access these settings and make any necessary adjustments.
Exploring the Smart Board features: Once your Smart Board is set up and calibrated, it’s time to explore its many features. Get familiar with the different interactive tools available, such as the pen tool, eraser, and spotlight. Discover how to use the Smart Board software to create engaging lessons, annotate over documents, and save your work for future reference. Remember to always keep the Smart Board clean by using a soft, dry cloth or the recommended cleaning solution.
In conclusion, setting up and calibrating a Smart Board is an essential step to ensure its functionality and effectiveness in the classroom. By following these tips, you’ll be able to maximize its interactive capabilities and create engaging and interactive lessons for your students. Embrace the power of technology and make the most of your Smart Board to enhance the learning experience.
Navigating and Using Smart Board Software
Using a Smart Board can greatly enhance your teaching and presentation skills. This interactive tool allows you to engage your students or audience in a more dynamic and immersive way. is essential to make the most out of this powerful tool. In this post, we will guide you through the key features and functions of Smart Board software, helping you become a pro at using a Smart Board.
The Smart Board software comes with a wide range of tools and features that make your presentations and lessons more interactive. Here are some key functions you should familiarize yourself with:
Touch Gestures: The Smart Board software supports touch gestures, allowing you to control your presentations and navigate through slides with simple finger swipes. Tap on the screen to select objects or write on the board, and use two fingers to zoom in and out of content.
Pen and Writing Tools: Smart Board software offers various writing tools that mimic traditional pen and paper. Use different colored pens, highlighters, and erasers to write, draw, or annotate on the board. You can even convert your handwriting into text for a neater presentation.
Import and Manipulate Content: With Smart Board software, you can import various types of content, such as images, videos, and PDF files, directly onto the board. Once imported, you can easily manipulate and resize the content using intuitive touch gestures.
Interactive Widgets: Smart Board software offers a wide range of interactive widgets that you can use to engage your audience. These widgets include timers, dice, calculators, and more. Simply drag and drop the widget onto the board, and customize its appearance and functionality as needed.
Collaborative Features: Smart Board software allows for seamless collaboration with your students or audience. You can invite them to interact with the board from their own devices, enabling real-time collaboration and feedback. This is especially useful for group activities or brainstorming sessions.
To help you easily navigate and organize your content, the Smart Board software also provides a versatile file management system. You can create folders, subfolders, and easily search for specific files. Additionally, the software allows you to save and export your presentations in various formats, making it easy to share or continue working on them.
In conclusion, mastering the Smart Board software is essential for effectively using this interactive tool. By exploring and familiarizing yourself with its features and functions, you can create engaging and interactive presentations and lessons. So, get started today and unlock the full potential of your Smart Board!
Engaging Interactive Activities for Smart Board Lessons
Paragraph 1:
Ready to dive into the world of Smart Board technology? Using a Smart Board in your lessons can enhance student engagement and make learning a truly interactive experience. In this post, we will explore some exciting activities that you can incorporate into your Smart Board lessons to bring your classroom to life!
Paragraph 2:
One of the most popular interactive activities for the Smart Board is a virtual flashcard game. You can create a set of flashcards using images, text, or a combination of both. Display them on the Smart Board and divide your students into teams. Each team takes turns choosing a flashcard and answering the question or solving the problem. This activity promotes friendly competition and helps reinforce key concepts in a fun and interactive way.
Paragraph 3:
Another great interactive activity is a digital sorting game. This activity is perfect for helping students categorize and classify information. For example, if you are teaching a science lesson on animals, you can create a sorting game where students drag and drop different animal pictures into the correct categories such as mammals, birds, reptiles, etc. This activity not only tests their knowledge but also encourages critical thinking and problem-solving skills.
Paragraph 4:
Creating a virtual quiz show is another fantastic way to engage your students using the Smart Board. You can use various online tools to design interactive quizzes with multiple-choice or true/false questions. Display the quiz on the Smart Board and let your students participate individually or in teams. This activity is not only educational but also encourages healthy competition and active participation.
Paragraph 5:
Finally, consider incorporating interactive puzzles and games into your Smart Board lessons. You can find a wide range of online resources that offer educational games and puzzles that can be played directly on the board. These games help develop problem-solving skills, critical thinking, and improve student engagement. Some games even allow students to compete against each other, adding an extra element of excitement to your lessons.
Remember, the possibilities are endless when it comes to using a Smart Board in your classroom. These engaging interactive activities can transform your lessons into dynamic and immersive experiences, ensuring that your students remain captivated and motivated to learn. So, don’t hesitate to explore the world of Smart Board technology and unleash its full potential in your teaching!
Q&A
Q: What is a Smart Board?
A: A Smart Board is an interactive whiteboard that combines a touch-sensitive surface with digital technology to create an engaging learning and collaboration experience.
Q: How does a Smart Board work?
A: A Smart Board connects to a computer and projects the computer’s desktop onto its surface. By using a gesture-based touch system, users can control and interact with the displayed content.
Q: What can you do with a Smart Board?
A: With a Smart Board, you can write or draw using a special pen or your finger, navigate computer applications, browse the internet, play multimedia files, and engage in interactive activities such as quizzes or games.
Q: How do you set up a Smart Board?
A: To set up a Smart Board, connect it to a computer using a USB cable or wireless connection. Install the necessary drivers and software provided by the manufacturer, and then calibrate the board by following the manufacturer’s instructions.
Q: What are the essential tools to use on a Smart Board?
A: The essential tools that you can use on a Smart Board include the interactive pen, finger touch gestures, the on-screen keyboard, the spotlight feature to highlight specific areas, and the screen capture option to save the content.
Q: How do you write or draw on a Smart Board?
A: To write or draw on a Smart Board, select the digital pen tool from the software’s toolbar. Hold the pen perpendicular to the board, gently touch it to the surface, and start writing or drawing.
Q: Can you save or print the content on a Smart Board?
A: Yes, you can save the content by using the software’s save or export function. Additionally, you can capture screenshots or record the screen as video. Printing the content is also possible if the Smart Board is connected to a printer.
Q: Are there any tips for effective use of a Smart Board?
A: Yes, here are a few tips:
- Ensure the board is properly calibrated before use.
- Practice using different gestures and touch functions to become proficient.
- Use the spotlight feature to direct attention to specific areas.
- Incorporate multimedia elements to make the lessons more engaging.
- Encourage student participation by allowing them to interact with the board.
Q: Can a Smart Board be beneficial for distance learning or remote teaching?
A: Absolutely! Smart Boards can be used in distance learning or remote teaching scenarios by using video conferencing software. Teachers can share the board or open applications remotely, allowing students to visually engage and interact with the content.
Q: Are there any alternative options to a Smart Board?
A: Yes, there are alternative options such as interactive flat panels, which offer similar features to Smart Boards, but without the need for a projector. Interactive touchscreens and tablets can also be used as substitutes for a Smart Board in some cases. In conclusion, utilizing a smart board can greatly enhance the teaching and learning experience in the classroom. As we have discussed, these interactive devices offer a myriad of features and benefits that allow for engaging and effective lessons. By following the steps outlined in this article, you can confidently navigate and make the most of your smart board.
Remember, familiarizing yourself with the key functions, such as touch gestures and pen tools, is crucial. Additionally, maximizing the use of software applications tailored for smart boards can offer endless possibilities in content creation and collaboration.
Whether you are a seasoned user or just beginning your smart board journey, ongoing exploration and experimentation will undoubtedly unveil new ways to harness its potential. Embrace the versatility and interactivity that a smart board offers, and watch as it revolutionizes your teaching experience and captivates your students’ attention.
With continuous practice, patience, and an open mind, you will soon become an expert in using a smart board as a powerful educational tool. So, step into the digital age, and embrace the endless possibilities a smart board brings to your classroom.