How to Use a Slide Caliper: A Comprehensive Guide for Accurate Measurements
Accurate measurement is crucial in various fields, from engineering to woodworking and even the culinary arts. And when it comes to obtaining precise and reliable measurements, a slide caliper is a go-to tool for many professionals and DIY enthusiasts alike. Whether you are a beginner or have prior experience with calipers, this article will provide you with a comprehensive guide on how to use a slide caliper effectively and efficiently. From understanding its components to mastering its operation, this informative guide will equip you with the knowledge needed to make accurate measurements like a pro. Let’s dive into the world of slide calipers and unlock the potential for achieving precise measurements in your projects.
Introduction
In the vast world of precision measuring tools, a slide caliper is an essential instrument for accurate measurements. Whether you’re a professional engineer or a DIY enthusiast, understanding how to use a slide caliper is crucial. In this guide, we’ll walk you through the basic steps of utilizing this versatile device, ensuring precise measurements every time.
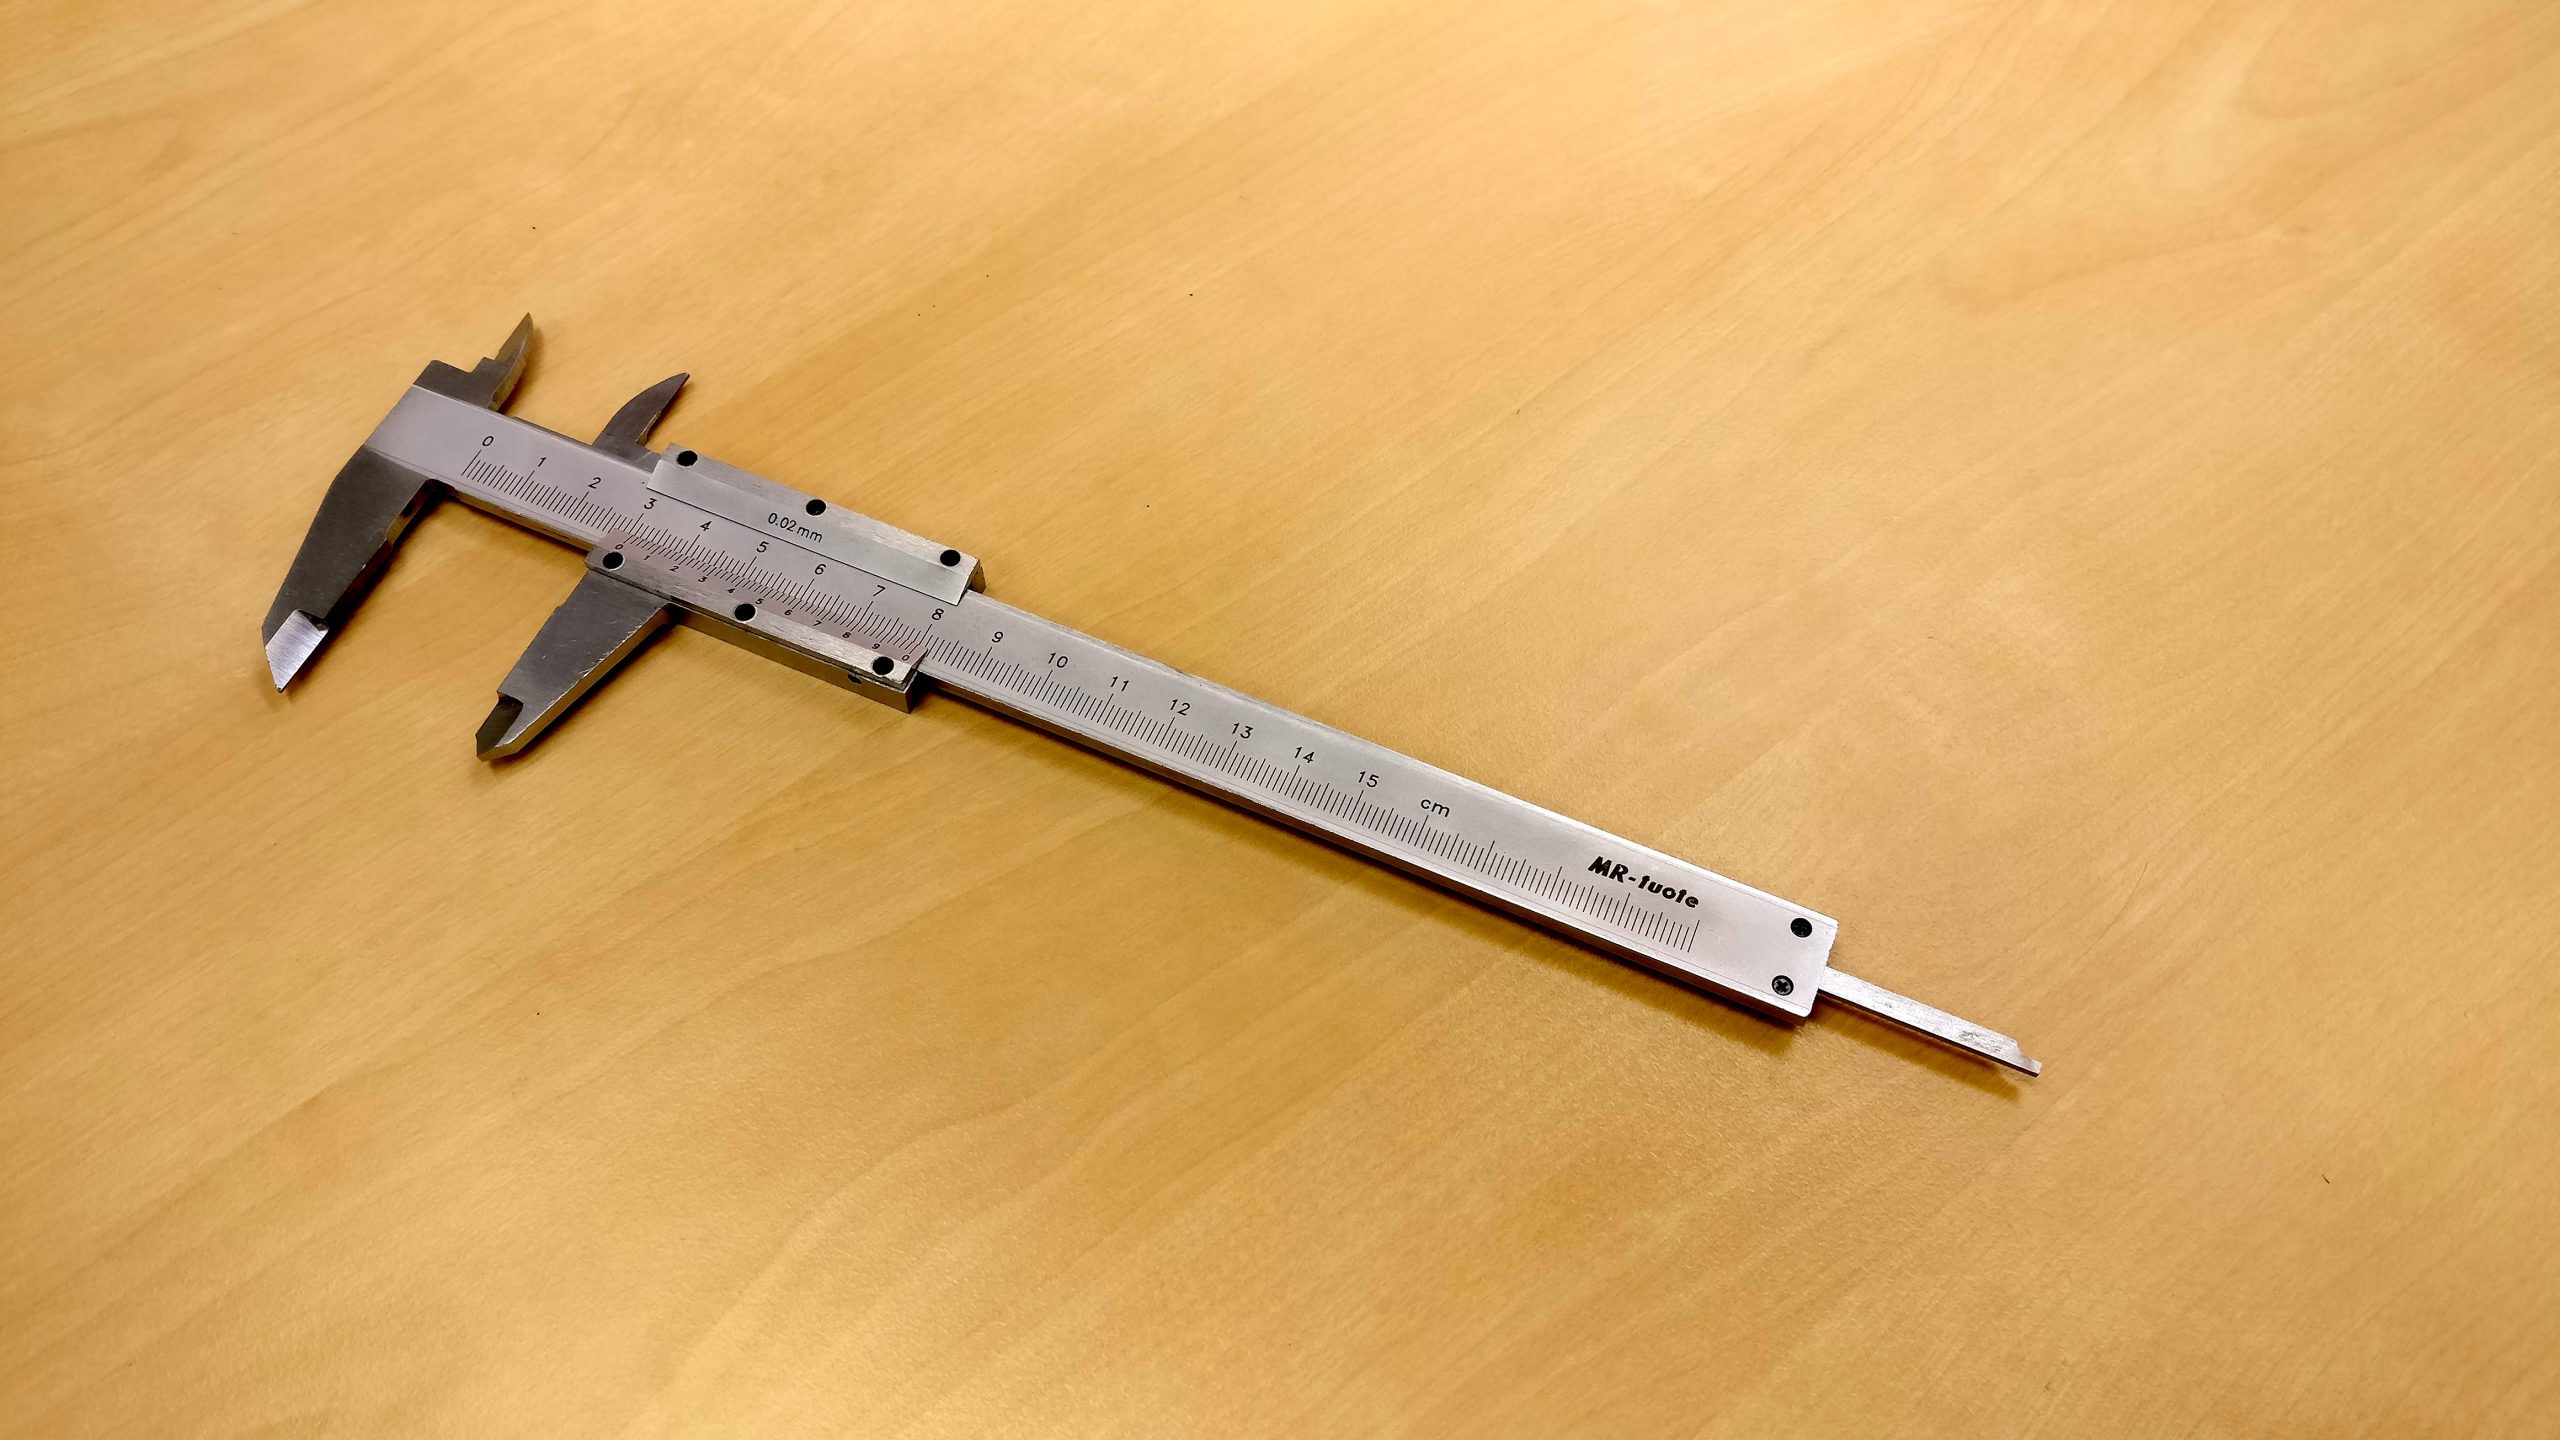
To begin, it’s important to familiarize yourself with the different parts of a slide caliper. The main components include the ruler or scale, the sliding jaw, the fixed jaw, and the locking screw. The ruler is usually marked in both inches and millimeters, allowing for dual unit measurements. The sliding jaw moves along the ruler, allowing you to measure objects of varying thicknesses. The fixed jaw, on the other hand, remains in a fixed position to ensure stability during measurements. Lastly, the locking screw helps secure your desired measurement in place.
Before using a slide caliper, it’s necessary to calibrate the instrument. First, close the jaws and make sure they are properly aligned. If misaligned, gently tap the sliding jaw until it aligns perfectly with the fixed jaw. Once aligned, set the slide caliper to zero by adjusting the ruler or scale until the jaws are closed and aligned at zero.
To take a measurement, select the object you wish to measure and open the jaws accordingly. Gently slide the caliper jaws over the object, ensuring a snug fit without applying excessive pressure. Take note of the scale’s reading on both the ruler and Vernier scale. The Vernier scale provides additional decimal places for more precise measurements. Record the reading for accurate documentation.
When measuring internal dimensions, such as the diameter of a hole, the slide caliper can be used in a different manner. Open the jaws and place the fixed jaw inside the hole, while the sliding jaw rests on the outer edge. Gently close the jaws until both sides make contact with the surface, then take note of the measurement. It’s important to be cautious while taking such measurements to avoid injury or damage to the object.
In conclusion, a slide caliper is an indispensable tool for obtaining accurate measurements in various applications. By familiarizing yourself with its parts, calibrating it properly, and following the correct measurement procedures, you’ll be able to utilize this versatile instrument with ease and precision. Stay tuned for our next article, where we’ll explore further functionalities and advanced techniques for using a slide caliper.
Components and Features of a Slide Caliper
A slide caliper is a versatile measuring tool that is commonly used in engineering, woodworking, and other precision industries. Understanding its components and features is essential for accurate measurements and effective use. In this post, we will explore the key elements that make up a slide caliper and how they contribute to its functionality.
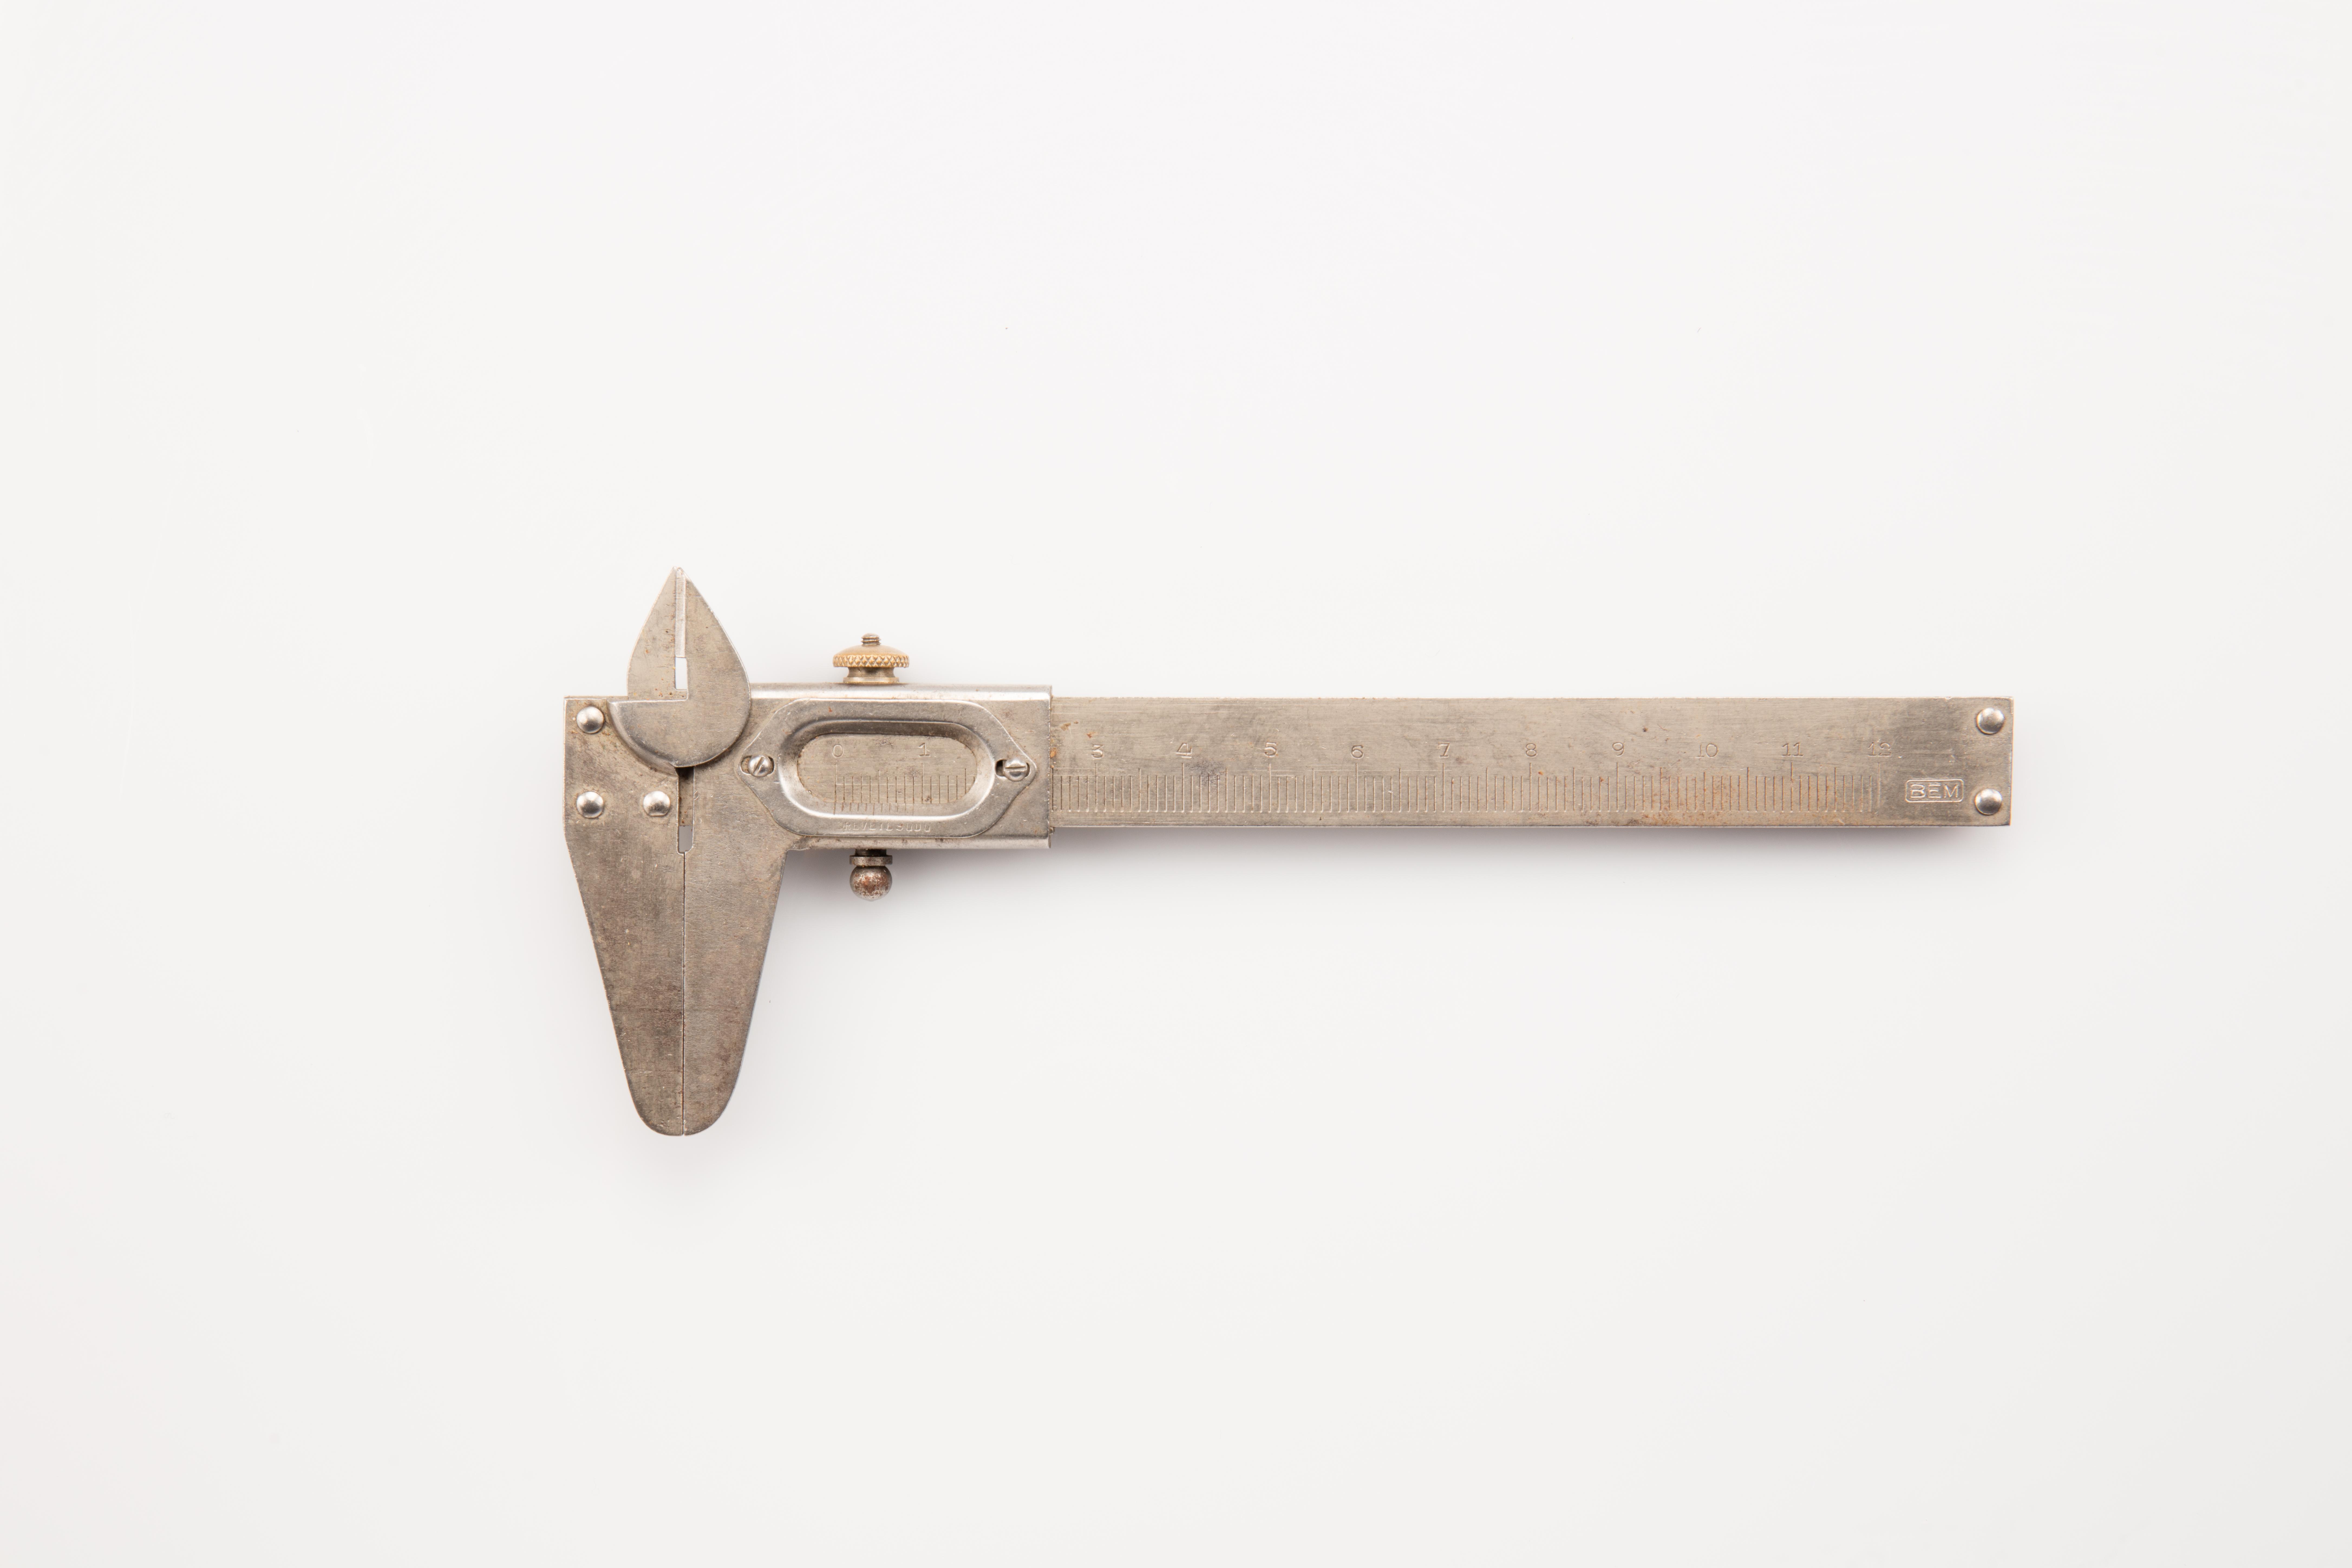
Body: The body of a slide caliper is typically made of stainless steel, ensuring durability and resistance to corrosion. Its slender and straight design allows for precise measurements in tight spaces. The body houses the main scale and sliding jaw, providing a stable base for accurate readings.
Main Scale: The main scale is located on the upper part of the caliper’s body and is marked with units of measurement, such as inches or millimeters. It provides a reference for positioning the sliding jaw and reading the measurements. The main scale is typically divided into smaller increments, allowing for more precise readings.
Sliding Jaw: The sliding jaw is a movable component that slides along the main scale to adjust the caliper for different measurements. It is equipped with a measuring jaw that contacts the object being measured. The sliding jaw is operated by a thumb roller, allowing for smooth and precise adjustments. It can be locked in place to maintain a desired measurement.
Vernier Scale: Many slide calipers are equipped with a vernier scale, also known as a secondary scale. The vernier scale is located on the sliding jaw and is used to further increase the precision of measurements. It consists of a series of smaller increments that align with the main scale, allowing for reading measurements to a greater level of accuracy.
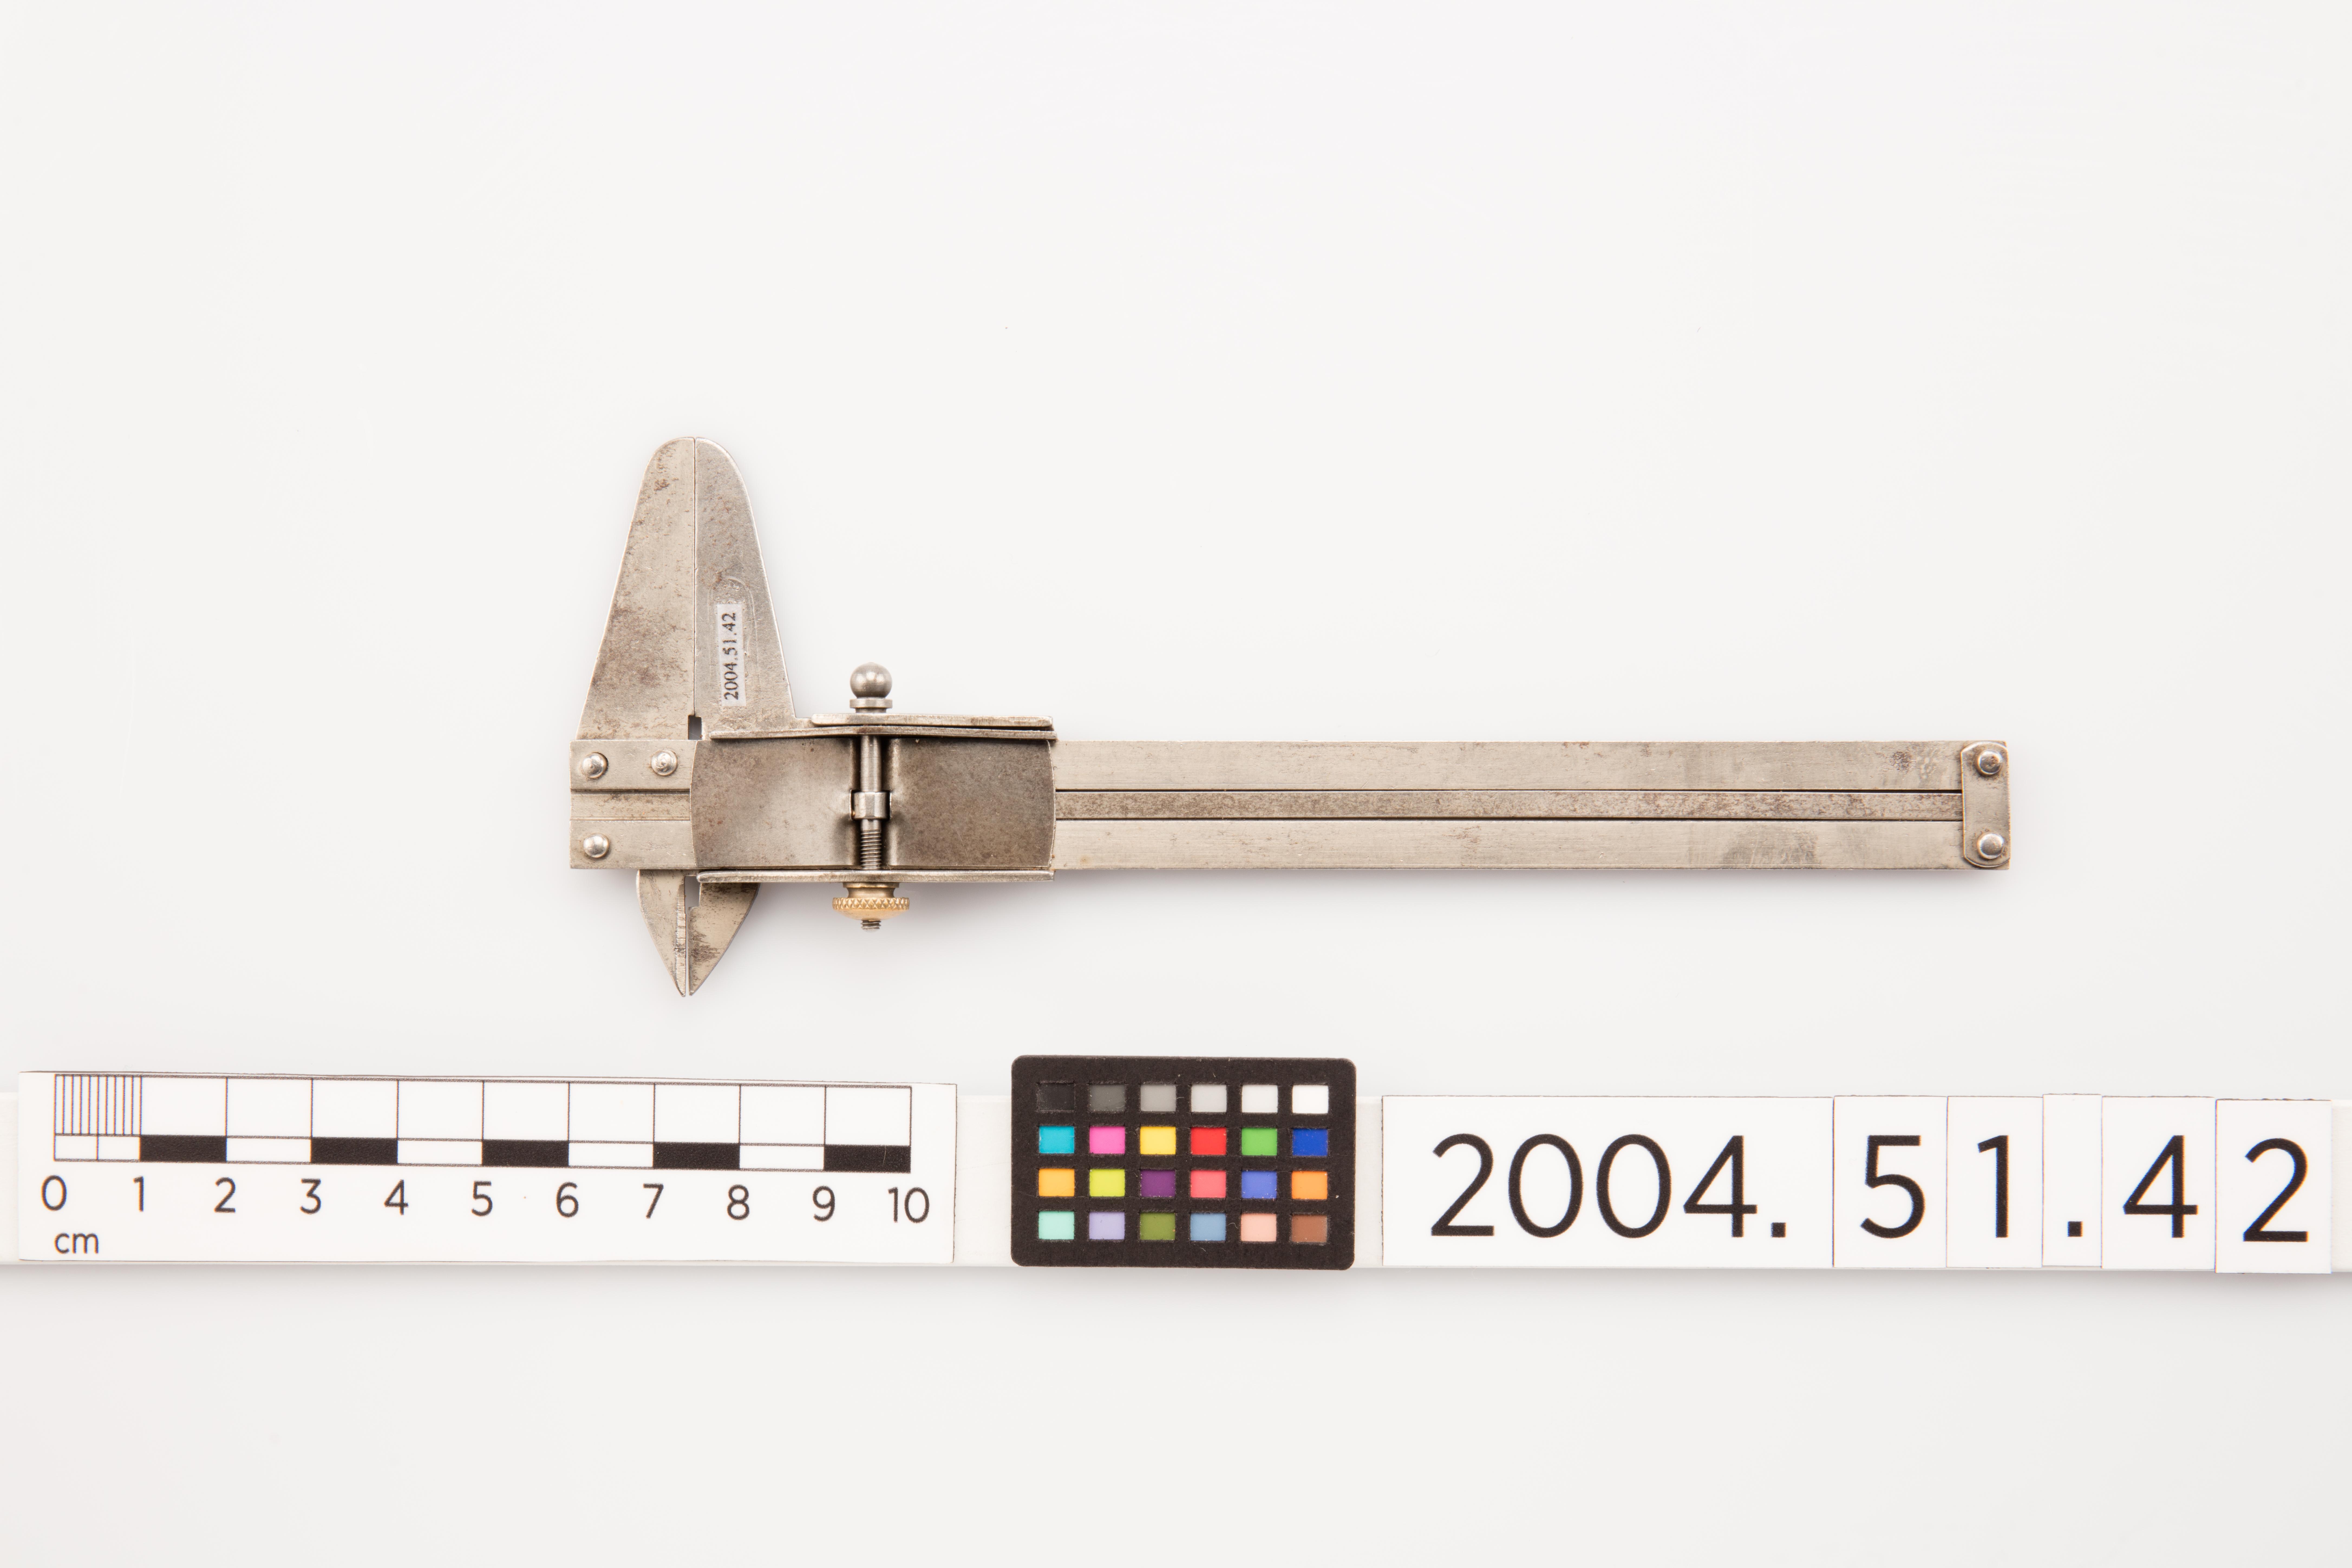
Depth Gauge: A slide caliper may also include a depth gauge feature. The depth gauge is a rod that extends from the caliper’s body, providing the ability to measure the depth of holes or slots. It is useful for tasks such as determining the depth of a drilled hole or checking the thickness of materials.
To effectively use a slide caliper, familiarize yourself with its components and features. Ensure that the main scale and vernier scale are clean and legible for accurate readings. Use the thumb roller to smoothly adjust the sliding jaw and lock it in place when needed. Take advantage of the depth gauge when measuring depths or thicknesses. With these key components and features, a slide caliper becomes an indispensable tool for precision measurements in various industries and applications.
How to Take Measurements with a Slide Caliper
A slide caliper is a versatile measuring tool that can provide precise measurements for a wide range of objects. Whether you’re a professional engineer or a DIY enthusiast, understanding how to use a slide caliper is essential for accurate measurements. In this post, we will guide you through the process of taking measurements with a slide caliper, step by step.
Prepare the slide caliper: Before you start measuring, ensure that the caliper is clean and free from any debris that may affect its accuracy. Open the jaws of the caliper fully, then close them gently to make sure they move smoothly. If the caliper has a depth gauge, reset it to zero. This ensures that your measurements start from a consistent baseline.
Measuring exteriors: To measure the exterior dimensions of an object, hold the caliper firmly and position the jaws around the widest part of the object. Gently close the jaws until they make contact on both sides. Take note of the measurement shown on the scale. For more accuracy, you can also use the digital display if your caliper has one.
Measuring interiors: When measuring the interior dimensions of an object, such as the diameter of a hole, you’ll need to use the upper jaws of the caliper. Insert the upper jaws into the hole, making sure they are parallel to each other. Gradually close the jaws until they fit snugly within the hole. Again, note the measurement displayed on the scale or digital display.
Measuring depth: Slide calipers often come with a depth gauge, which allows you to determine the depth of a hole or the distance from an edge. To measure depth, place the depth gauge perpendicular to the object and lower it until it touches the bottom of the hole or surface. Read the measurement on the scale or digital display, and record it for later use.
Measuring steps: If you need to measure the difference in height between two surfaces, a slide caliper can be a handy tool. Use the step measurement feature by extending the caliper beyond the upper jaws and positioning it on one surface. Lower the caliper until the lower jaws touch the other surface, and read the measurement on the scale or digital display.
Remember to clean your slide caliper and store it in a protective case after each use to maintain its accuracy and prolong its lifespan. With a slide caliper in hand, you can confidently tackle your measurement needs with precision and convenience.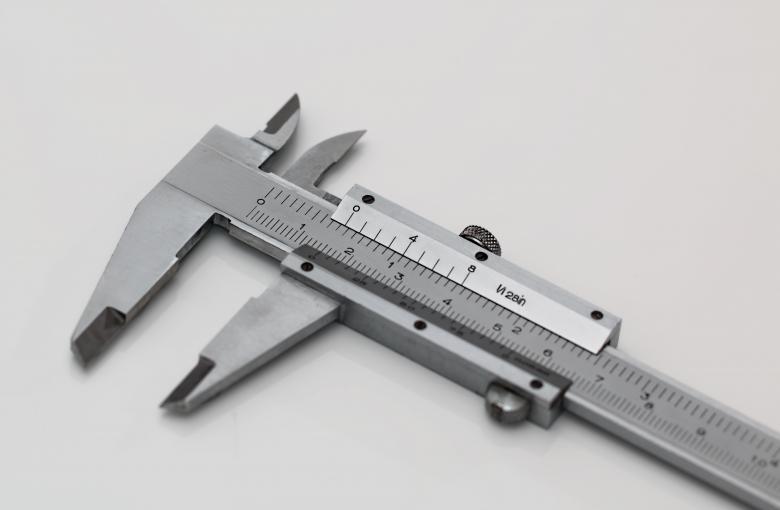
Tips for Accurate Measurements with a Slide Caliper
When it comes to accurate measurements, a slide caliper is an indispensable tool for both professionals and hobbyists alike. This precision instrument allows you to measure dimensions with accuracy and precision, making it an essential tool in various fields such as engineering, woodworking, metalworking, and more. If you’re new to using a slide caliper or looking to improve your measurement skills, here are some useful tips to ensure accurate readings.
1. Familiarize Yourself with the Parts
Before you start using a slide caliper, it’s crucial to understand its key components. The main parts of a slide caliper include the main scale, vernier scale, jaws, depth probe, and locking screw. Take some time to explore each component and its function. This knowledge will help you navigate the caliper smoothly and ensure more accurate measurements.
2. Zero Out the Caliper
To achieve precise measurements, it’s important to zero out the caliper before each use. Simply close the jaws and make sure the main scale aligns with the zero on the vernier scale. If they don’t align perfectly, use the zero adjustment screw, typically located at the top of the caliper, to make necessary adjustments. This step ensures that any previous measurements or discrepancies do not affect your current readings.
3. Choose the Right Measurement Mode
Slide calipers allow you to measure in both inches and millimeters. Depending on your project’s requirements, select the appropriate measurement mode. It’s crucial to be consistent with your units throughout a project to avoid errors. If you need to switch units mid-measurement, make sure to convert appropriately and double-check for accuracy.
4. Handle with Care and Stability
When using a slide caliper, it’s important to maintain a steady hand and avoid applying excessive force. Sudden movements or excessive pressure can lead to inaccurate readings and damage to the caliper itself. Ensure that the object you’re measuring is stable and secure to get precise measurements. Slow, steady movements with gentle pressure will yield better results.
5. Use the Depth Probe Correctly
The depth probe on a slide caliper is essential for measuring the depth of holes, slots, or recesses. To get accurate depth measurements, insert the depth probe into the hole or recess and hold it steady. Make sure the depth probe is perpendicular to the surface for precise readings. Take extra care to avoid tilting or skewing the caliper during these measurements.

Maintenance and Care of a Slide Caliper
Keep it Clean:
To ensure the longevity and accurate performance of your slide caliper, it is crucial to keep it clean. After each use, wipe off any debris or dust with a soft cloth. If there are stubborn stains, use a mild cleaning solution and gently scrub it away. Avoid using harsh chemicals or abrasive materials that may damage the caliper’s delicate components.
Protect from Moisture:
Avoid exposing your slide caliper to excessive moisture or water. Moisture can cause corrosion, which can affect the accuracy of the measurements. Store the caliper in a dry area, preferably in a protective case or pouch when not in use. If the caliper accidentally gets wet, dry it immediately with a clean cloth. Applying a light coat of anti-corrosion spray can also provide an extra layer of protection.
Regular Calibration:
Periodically calibrating your slide caliper is essential to ensure precise readings. Use a calibration standard, like gauge blocks, to verify the accuracy of the caliper. Follow the manufacturer’s guidelines for calibration frequency and procedure to maintain optimal performance. If you notice any inconsistencies or deviations during calibration, contact a professional for adjustments or repairs.
Handle with Care:
When using a slide caliper, always handle it with care. Avoid dropping or knocking it against hard surfaces, as this can cause misalignment or damage to the measuring jaw. Be mindful of the sliding mechanism and gently slide the caliper to prevent any abrupt or jerky movements. Additionally, avoid applying excessive force while taking measurements, as it can affect the accuracy and lifespan of the tool.
Proper Storage:
Proper storage is essential to protect the slide caliper from damage. When not in use, store it in a designated area away from extreme temperatures, direct sunlight, and humidity. Avoid stacking or piling other tools on top of the caliper to prevent any potential damage. Consider using a padded case or foam inserts for added protection. By storing your caliper correctly, you can extend its lifespan and ensure accurate measurements for years to come.
Q&A
Q: What is a slide caliper and what is its purpose?
A: A slide caliper, also known as a Vernier caliper, is a precision measurement tool used to accurately measure the internal and external dimensions of various objects. Its purpose is to provide precise measurements in millimeters or inches.
Q: How do I use a slide caliper?
A: To use a slide caliper, start by opening the jaws by adjusting the slider until they are slightly wider than the object you want to measure. Place the object between the jaws and close them until they securely grip the object. Read the measurement off the scale, aligning the zero mark on the main scale with the corresponding mark on the sliding scale.
Q: What are the different features of a slide caliper?
A: A slide caliper typically consists of two main jaws, an inside measuring jaw, and an outside measuring jaw. The jaws are attached to a sliding scale that moves along a fixed main scale. The sliding scale usually has both metric and imperial units of measurement. Some slide calipers may also include a depth gauge and a step gauge for added versatility.
Q: How can I ensure accurate measurements with a slide caliper?
A: To ensure accurate measurements, make sure the jaws are clean and free from debris that could affect the gripping capability. Keep the measuring surfaces of the jaws in good condition and free from scratches. Make sure the caliper is correctly zeroed before every use. Additionally, hold the caliper properly and apply consistent pressure while taking measurements.
Q: What are the advantages of using a slide caliper?
A: Slide calipers offer numerous advantages, such as high accuracy, precise measurements, and the ability to measure both internal and external dimensions. They are versatile tools suitable for various applications, including woodworking, metalworking, engineering, and scientific research.
Q: Can a slide caliper measure depths?
A: Yes, many slide calipers come equipped with a depth gauge feature that allows you to measure depths by using the rod on the backside of the caliper. This enables the user to accurately measure the depth of holes, slots, and other recessed areas.
Q: Are there any precautions to take when using a slide caliper?
A: Yes, there are a few precautions to keep in mind. Avoid excessive force while gripping objects with the jaws, as it may damage them. Avoid dropping the caliper, as it can affect its accuracy. Store the slide caliper in a protective case when not in use to prevent damage to the delicate measuring surfaces. Regularly clean and lubricate the moving parts for smooth operation.
Q: Can a slide caliper be used by beginners?
A: Absolutely! Slide calipers are user-friendly tools suitable for both beginners and professionals. With a little practice, anyone can learn to use a slide caliper effectively and achieve accurate measurements. Following the manufacturer’s instructions and taking proper care of the tool will further enhance its performance and longevity. In conclusion, mastering the use of a slide caliper can greatly enhance your precision and accuracy in various measurements. By following the steps outlined above, you can confidently utilize this versatile measuring tool for a range of applications. Remember to familiarize yourself with the different parts of the caliper, ensure proper zeroing, and practice consistent measuring techniques. With time and practice, you will become proficient in using a slide caliper and achieve remarkable results in your measurements. So, next time you encounter a task that demands accurate measurements, reach for your slide caliper and let it become your trusted ally in achieving precision. Happy measuring!


