A multimeter, also known as a volt-ohm meter, is an indispensable tool for any novice or expert in the field of electronics. It provides the means to measure voltage, current, and resistance, allowing us to troubleshoot circuits, test components, and ensure the safety of electrical installations. Understanding how to use a multimeter correctly is fundamental for anyone venturing into the fascinating world of electrical engineering. In this article, we will explore the essentials of using a multimeter, guiding you step by step through the process, so you can confidently wield this versatile instrument with ease and precision.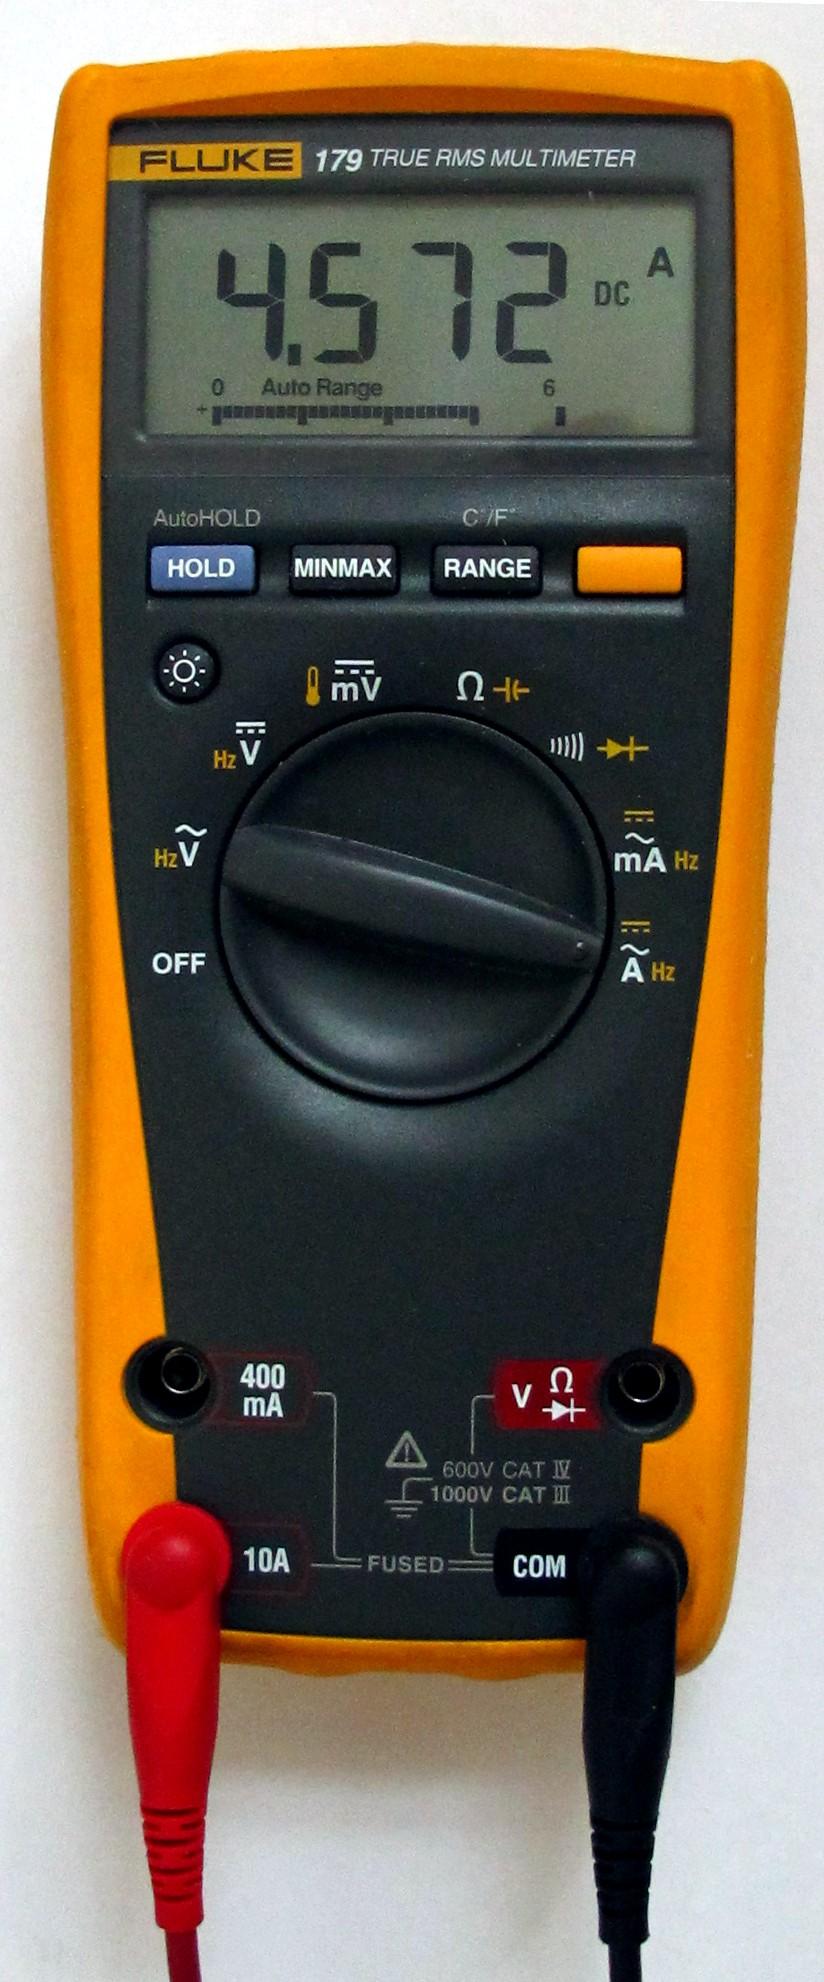
Understanding the Basics of a Multimeter
Using a multimeter can seem daunting at first, but once you understand the basics, it becomes a powerful tool for electrical testing and troubleshooting. In this post, we will dive into the fundamental concepts of a multimeter and how to use it effectively.
1. What is a Multimeter?
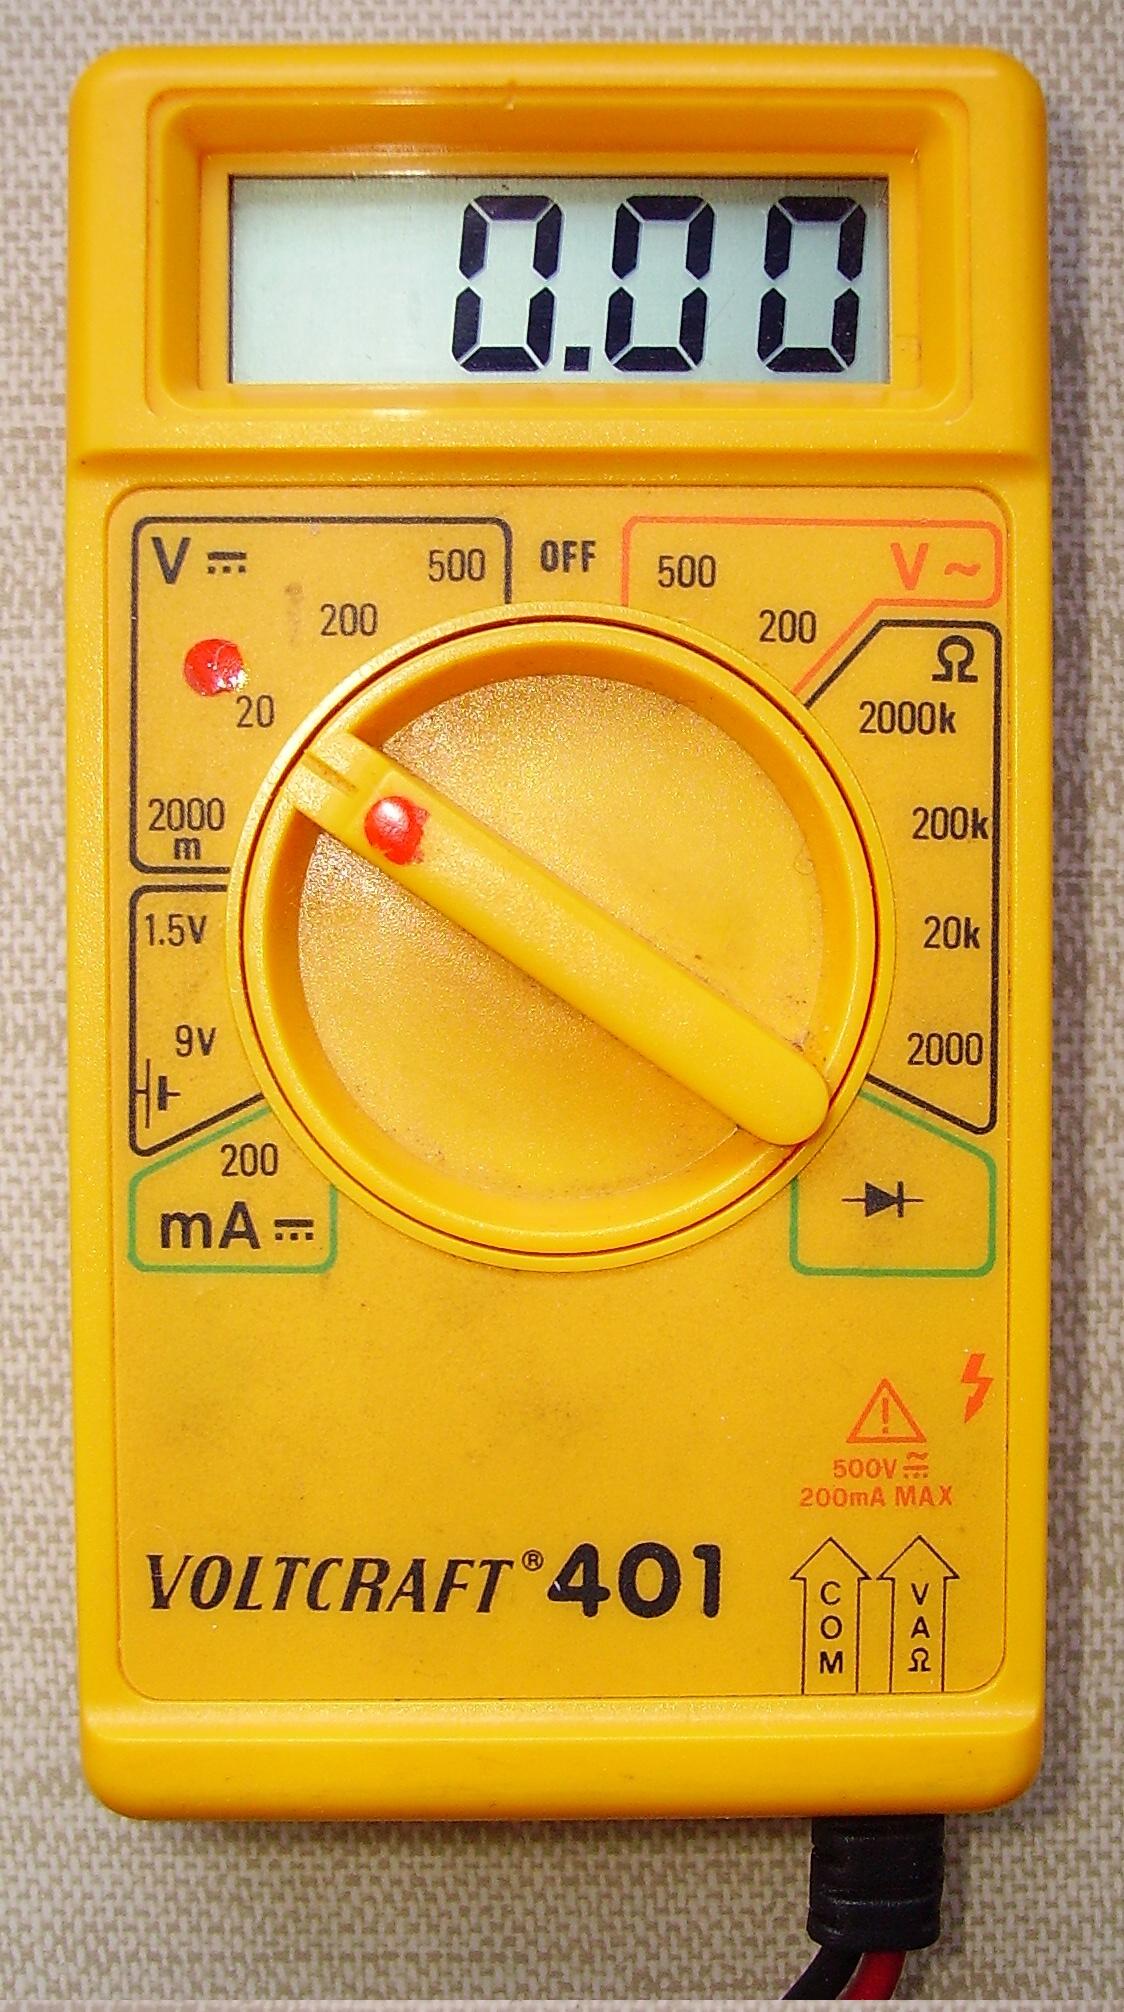
A multimeter is an electronic device used to measure voltage, current, and resistance in electrical circuits. It consists of a display screen, selection knob, and various probes or test leads. With different settings and modes, a multimeter can be used to perform a wide range of electrical tests.
2. Safety First
Before using a multimeter, it’s crucial to ensure your safety. Always start by turning off the power supply to the circuit you’re testing. Double-check that your multimeter is in a proper working condition, including functioning batteries and no damaged cables or probes. Additionally, always wear appropriate personal protective equipment (PPE) such as gloves and goggles when working with live circuits.
3. Measuring Voltage and Current
To measure voltage, set the multimeter to the DC or AC voltage mode, depending on the type of voltage you want to measure. Connect the positive (red) probe to the positive side of the circuit and the negative (black) probe to the negative side. The multimeter will display the voltage reading on the screen.
For measuring current, switch the multimeter to the current mode and select the appropriate range for your test. Connect the multimeter in series with the circuit you want to measure. Be mindful of the current range your multimeter can handle to prevent any damage to the device.
4. Testing Resistance
To measure the resistance, place the multimeter dial in the resistance mode (Ω). It’s important to disconnect the power source from the circuit before measuring resistance. Touch the probes to the two points across the component you want to measure. The multimeter will display the resistance value on the screen.
5. Additional Features
Apart from the basic functions, multimeters can often offer additional features like continuity testing, diode testing, and capacitance measurement. Continuity testing helps identify if there is a continuous path between two points, diode testing allows you to check the integrity of a diode, and capacitance measurement helps determine the capacitance value of a capacitor.
Remember, practice makes perfect when it comes to using a multimeter. Familiarize yourself with the different functions and their uses. By , you’ll gain confidence in using this versatile tool for all your electrical needs.
Choosing the Right Multimeter for Your Needs
<p>When it comes to selecting a multimeter, it's important to find the one that best suits your specific needs. With so many options available on the market, it can be overwhelming to make the right choice. Here are a few key factors to consider before making your decision:</p>

<h3>1. Type of Measurements</h3>
<p>First and foremost, think about the type of measurements you will be performing. Different multimeters offer various features that cater to specific measurement needs. Some key measurements to consider include voltage, current, resistance, capacitance, and temperature. Determine which measurements are essential for your tasks, and choose a multimeter that supports those measurements.</p>

<h3>2. Accuracy and Resolution</h3>
<p>For accurate measurements, it's crucial to select a multimeter with good precision. Look for a model that offers a high level of accuracy and a suitable resolution for your requirements. A higher accuracy ensures more reliable readings, while sufficient resolution allows for detailed measurements.</p>

<h3>3. Safety Features</h3>
<p>While working with electrical systems, safety should always be a priority. Ensure that the multimeter you choose has safety features such as overload protection, fused inputs, and CAT ratings (category ratings) to guarantee your safety while measuring potentially dangerous electrical components or circuits.</p>

<h3>4. User-Friendly Interface</h3>
<p>Having a multimeter with an intuitive and user-friendly interface can significantly ease your measuring tasks. Look for a model that has a clear digital display with large, easy-to-read numbers. An auto-ranging feature can also be beneficial, as it automatically selects the appropriate measurement range without any manual adjustments.</p>

<h3>5. Build Quality and Durability</h3>
<p>Investing in a multimeter that is built to last is always a wise decision. Look for a device made with high-quality materials that can withstand the demands of your work environment. Check for features like reinforced casing, rubber protective coating, and strong probes to ensure durability.</p>

<table class="wp-block-table">
    <caption>Comparison of Selected Multimeters</caption>
    <thead>
        <tr>
            <th></th>
            <th>Model A</th>
            <th>Model B</th>
            <th>Model C</th>
        </tr>
    </thead>
    <tbody>
        <tr>
            <td>Measurement Types</td>
            <td>Voltage, Resistance, Current</td>
            <td>Voltage, Current, Capacitance</td>
            <td>Voltage, Resistance, Temperature</td>
        </tr>
        <tr>
            <td>Accuracy</td>
            <td>±0.05%</td>
            <td>±0.1%</td>
            <td>±0.02%</td>
        </tr>
        <tr>
            <td>Safety Features</td>
            <td>Fused Inputs, CAT III</td>
            <td>Overload Protection, CAT IV</td>
            <td>Fused Inputs, CAT II</td>
        </tr>
        <tr>
            <td>User-Friendly</td>
            <td>Auto-Ranging, Digital Display</td>
            <td>Digital Display, Manual Range</td>
            <td>Auto-Ranging, Digital Display</td>
        </tr>
        <tr>
            <td>Durability</td>
            <td>Reinforced Casing, Rubber Coating</td>
            <td>Strong Probes</td>
            <td>Strong Probes, Rubber Coating</td>
        </tr>
    </tbody>
</table>

<p>By considering the type of measurements you need, accuracy, safety features, user-friendly interface, and build quality, you can confidently choose the perfect multimeter that suits your specific needs. Remember, investing in a reliable and quality multimeter is an investment in your work safety and accuracy.</p>
Step-by-Step Guide: Using a Multimeter to Measure Voltage
Multimeters are incredibly useful tools for measuring electrical quantities, and one of their most common uses is measuring voltage. In this step-by-step guide, we will walk you through the process of using a multimeter to measure voltage accurately.
Before you begin, make sure your multimeter is properly calibrated and set to the voltage measurement mode. Ensure that you are working with a multimeter that has the necessary voltage range to accommodate the voltage you will be measuring. If you’re unsure, consult the manual or look for the voltage range switch on the device.
Step 1: Prepare the Multimeter
To start, insert the black probe into the COM (common) port on the multimeter. This black probe represents the ground or negative terminal. Then, insert the red probe into the VΩmA port, which is used for measuring voltage. The red probe is typically associated with the positive terminal.
Step 2: Select the Voltage Range
Next, select the appropriate voltage range on your multimeter by turning the rotary dial or using the designated buttons. It’s recommended to start with a higher range and adjust as needed for greater accuracy. Make sure to choose a range higher than the voltage you expect to measure to prevent damage to the device.
Step 3: Connect the Probes
Take the black probe and touch it to the negative terminal or ground of the circuit or component you want to measure. Then, take the red probe and touch it to the positive terminal or the point where you want to measure the voltage. Ensure the probes are making good contact to get an accurate reading.
Step 4: Read the Voltage
Now, it’s time to read the voltage on your multimeter’s display. The voltage value will be shown with the correct units, such as volts (V) or millivolts (mV). If the voltage exceeds the selected range, you need to switch to a higher range to get an accurate reading.
Step 5: Interpret the Measurement
Once you have obtained the voltage reading, you can interpret it based on your requirements. If the voltage is within the expected range, great! If it’s too high or too low, you may need to troubleshoot the circuit or component to identify and address any potential issues.
Using a multimeter to measure voltage may seem daunting at first, but by following these step-by-step instructions, you’ll gain confidence and be able to perform voltage measurements with ease. Remember to practice caution when working with electricity and always prioritize safety.
Accurate Measurements: Tips and Techniques
Tips and Techniques for Accurate Measurements
Accurate measurements are crucial in many fields and industries, especially when it comes to electronics and electrical work. One essential tool for achieving precision is a multimeter. Whether you are a beginner or an experienced professional, understanding how to use a multimeter properly is essential. In this post, we will provide you with some tips and techniques to help you utilize this versatile device effectively.
1. Familiarize Yourself with the Multimeter
Before diving into measurement tasks, take some time to get to know your multimeter. Read the instruction manual carefully and learn about the different functions and settings. Familiarize yourself with the various parts, such as the display, dial, and probes. Understanding the basic features and functions will greatly enhance your measurement accuracy.
2. Ensure Proper Connections
To obtain accurate measurements, it is crucial to establish secure and proper connections. Start by selecting the appropriate measurement mode on your multimeter based on the type of test you are performing, such as voltage, current, or resistance. Ensure that the probes are fully plugged into the correct ports and that they are making firm touches with the test points. Loose connections can lead to faulty readings.
3. Take Safety Precautions
Safety should always be a top priority when working with multimeters or any electrical devices. Make sure to turn off the power before making any measurements. When handling live circuits, wear appropriate protective gear, such as safety goggles and insulated gloves. Avoid working in wet or damp conditions, and never touch the metal parts of probes with your bare hands during a measurement.
4. Practice Consistency
To ensure accurate readings, it’s essential to practice consistency in your measurements. Start by zeroing the multimeter readings when possible. For instance, measure resistance immediately before using the probes to eliminate any residual measurements. Additionally, maintain a steady hand and avoid unnecessary movements while taking measurements. Consistency will help eliminate potential errors and give you more reliable results.
5. Calibrate and Validate
Regular calibration and validation enhance the accuracy of your multimeter. Depending on the model, you may need to calibrate it periodically to maintain its precision. Use calibration sources that are traceable to national standards to ensure the highest level of accuracy. Additionally, comparing your measurements with another known testing source can help validate your multimeter’s readings, providing you with even more confidence in your measurements.
| Advantages | Disadvantages | |
|---|---|---|
| Digital Multimeters |
|
|
| Analog Multimeters |
|
|
Remember, mastering the use of a multimeter takes practice and experience. By following these tips and techniques, you can ensure accurate measurements and enhance your effectiveness in various electrical tasks. Stay safe, be consistent, and always validate your measurements for reliable results.

Common Mistakes to Avoid While Using a Multimeter
Using a multimeter can be a handy tool when it comes to troubleshooting electrical issues or measuring different parameters. However, there are a few common mistakes that users often make, which can affect the accuracy of the readings or even damage the multimeter. To ensure that you get reliable results and avoid any mishaps, here are some things to keep in mind:
1. Selecting the Wrong Range
One of the most common mistakes when using a multimeter is selecting the wrong range. Each parameter being measured requires a specific range setting. If the range is set too high, the readings may appear inaccurate or non-existent. On the other hand, setting the range too low can overload the multimeter and potentially damage it. Always refer to the user manual or check the parameter’s expected values before selecting the range.
2. Forgetting to Zero the Meter
Before taking any measurements, it is crucial to zero the multimeter. This means adjusting the meter to read zero when there is no voltage or current being measured. Neglecting this step can introduce an offset error, resulting in inaccurate readings. To zero the meter, simply touch the two leads together and adjust the zero-adjust dial or press the zero button if available.
3. Neglecting Safety Precautions
Using a multimeter involves working with electricity, so it’s important to prioritize safety. Always ensure that the device is in good working condition, the leads are properly insulated, and you are wearing appropriate protective gear. Avoid measuring high voltages or currents without proper training or qualifications. Safety should never be compromised when using a multimeter.
4. Measuring Live Circuits
Attempting to measure live circuits without proper precautions is another common mistake. Before connecting the multimeter to a circuit, make sure to turn off the power and discharge any capacitors if necessary. Failing to do so can result in electric shocks or damage to the multimeter. Remember to always follow safety guidelines and best practices when working with live circuits.
5. Mishandling the Multimeter
Your multimeter is a delicate instrument and mishandling it can lead to inaccurate readings or even permanent damage. Avoid dropping or subjecting the device to excessive force. Always store it in a safe and dry place, away from extreme temperatures. Additionally, handle the probes and connectors with care to prevent any unnecessary wear and tear. Treat your multimeter like the valuable tool it is.
Q&A
Q: What is a multimeter and why is it important?
A: A multimeter is a versatile electronic measuring device used to measure voltage, current, and resistance in electrical circuits. It is an essential tool for both professionals and DIY enthusiasts to troubleshoot and repair electrical systems accurately.
Q: How does a multimeter work?
A: A multimeter combines the functions of an ammeter (measures current), a voltmeter (measures voltage), and an ohmmeter (measures resistance) into a single device. By connecting the multimeter probes to various parts of an electrical circuit, it can provide the necessary measurements, which indicate the state and values of different components.
Q: What are the basic components of a multimeter?
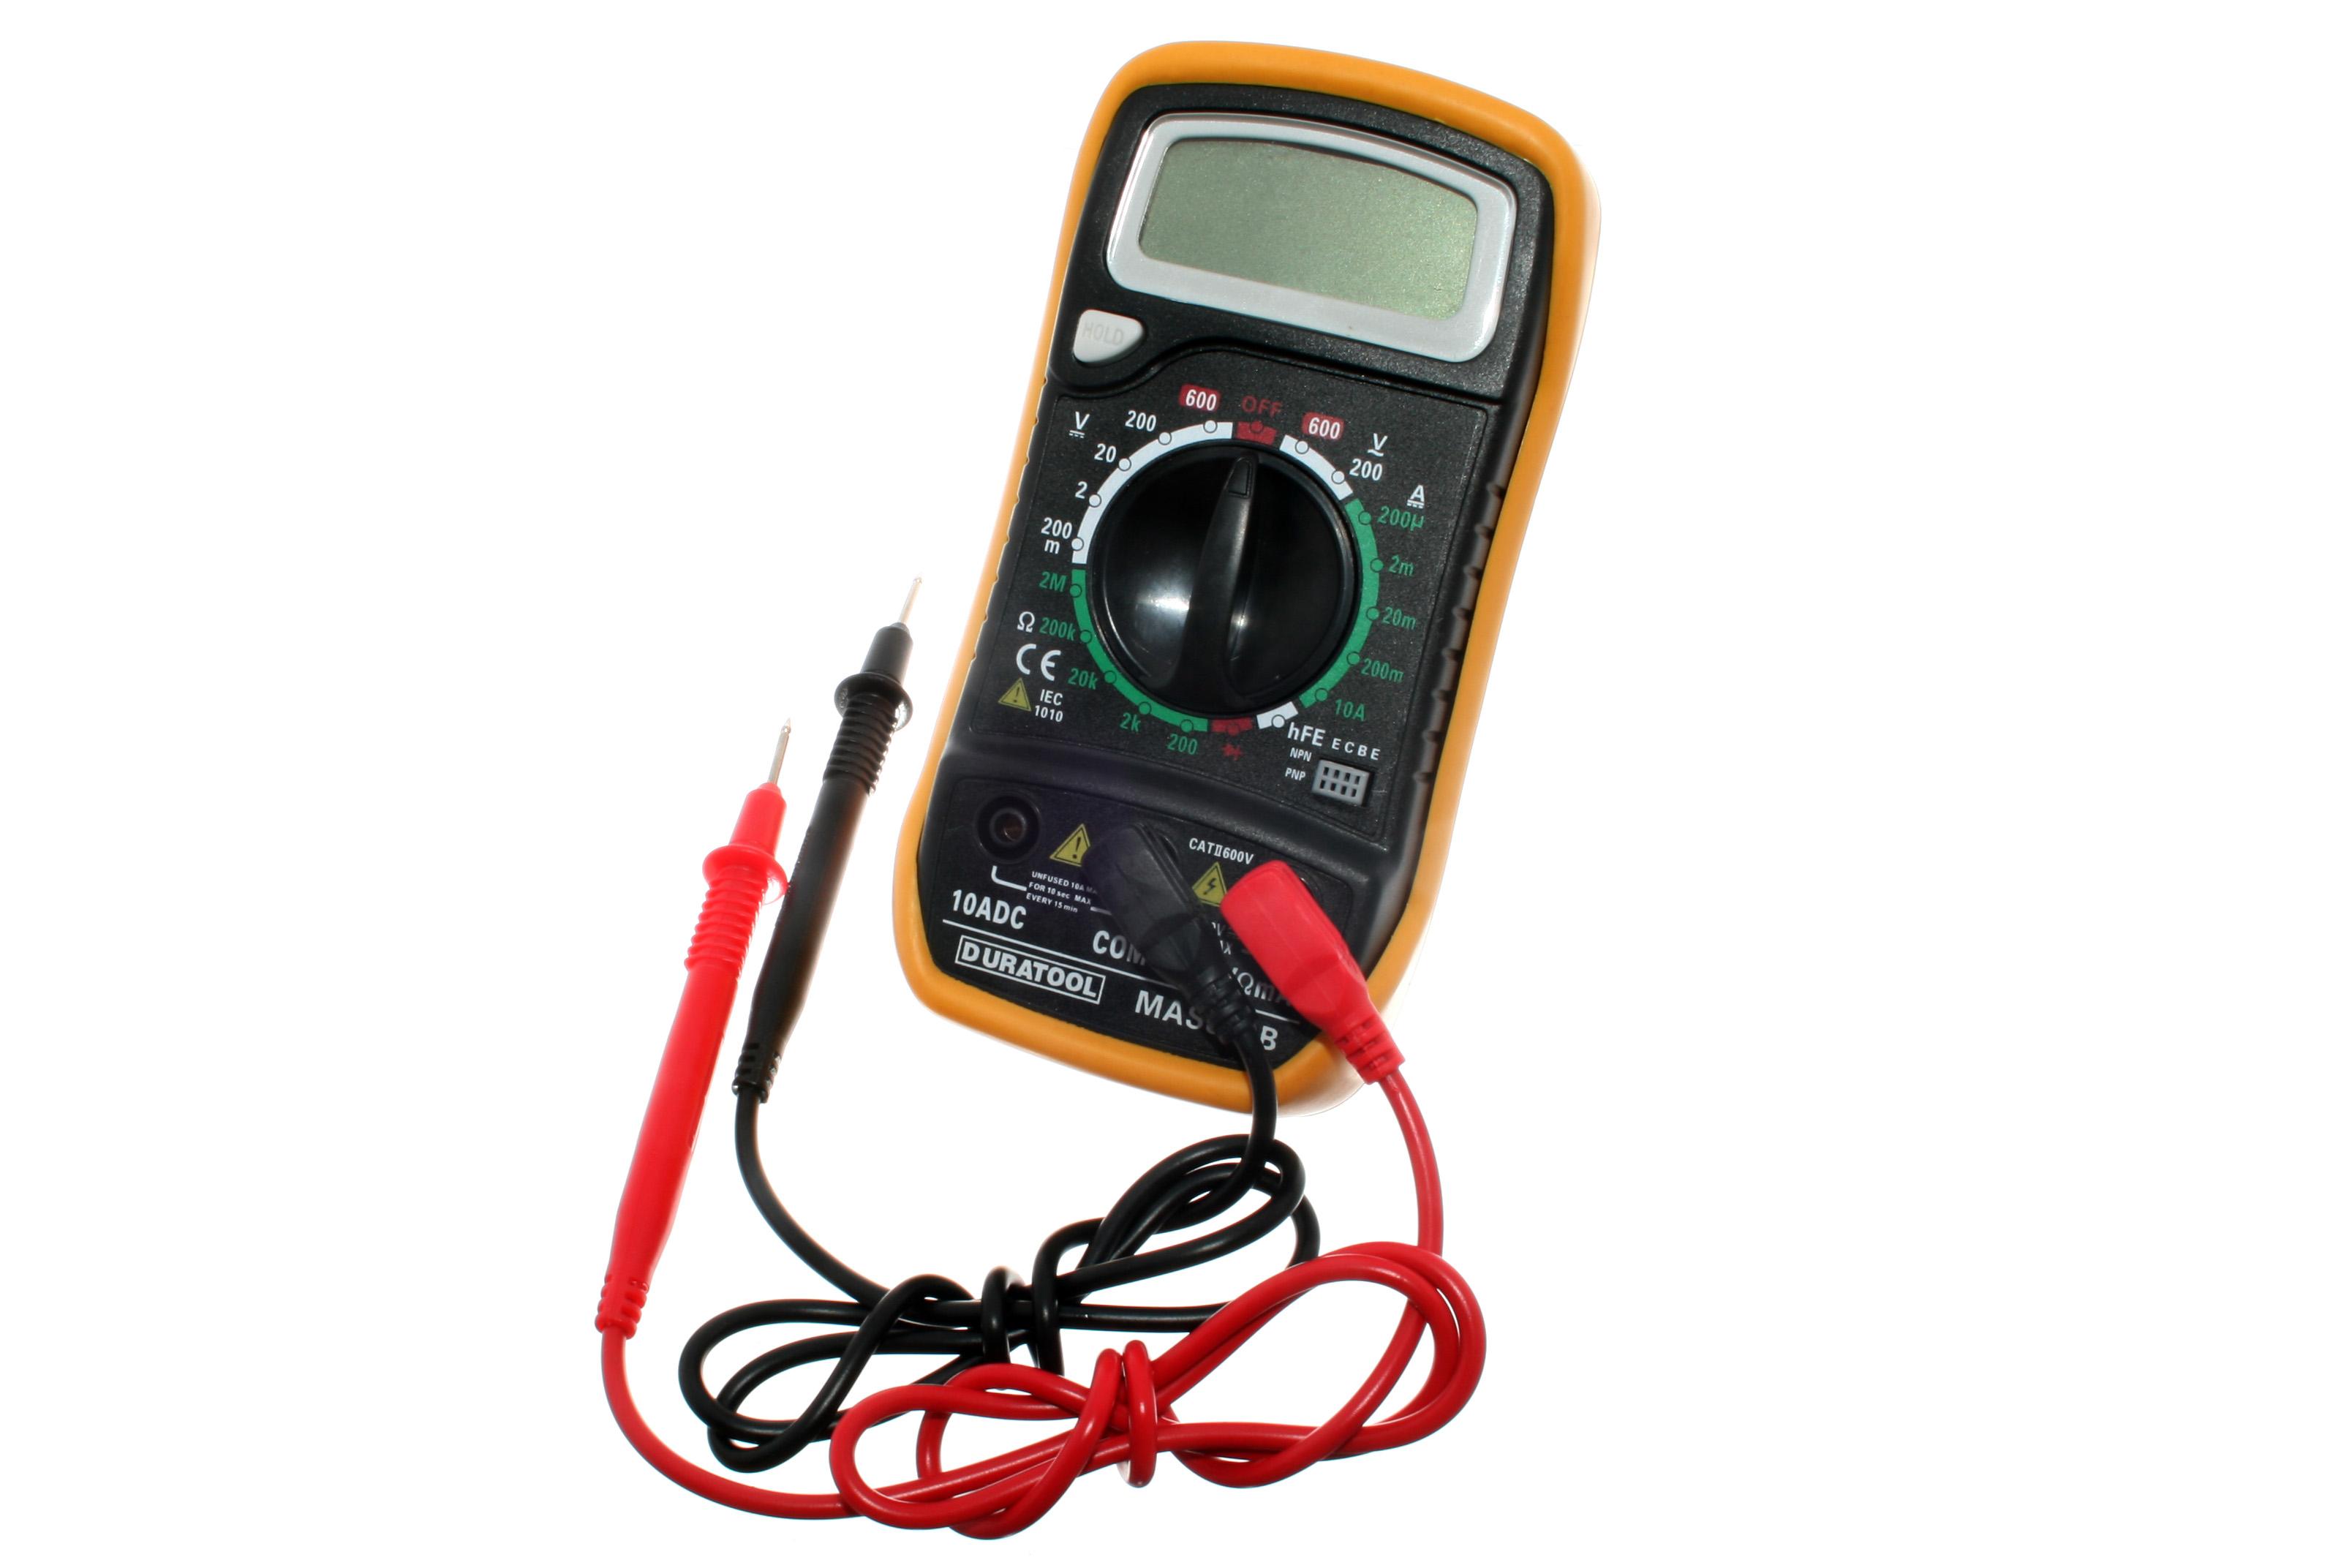
A: A typical multimeter consists of a display screen, a rotary selector switch, and two probes – a black one (commonly connected to the “COM” port) and a red one (connected to different ports based on the measurement being performed). The display shows the readings in numerical form and may also include symbols indicating the type of measurement being taken.
Q: How do I use a multimeter to measure voltage?
A: To measure voltage, set the dial of the multimeter to the appropriate AC (alternating current) or DC (direct current) voltage range. Next, connect the black probe to the “COM” port and the red probe to the voltage measurement port (often labelled “VΩmA”). Finally, touch the red probe to the positive terminal of the circuit or component you want to measure, and the black probe to the negative terminal. The multimeter will then display the voltage reading on its screen.
Q: How can I use a multimeter to measure current?
A: Measuring current requires breaking the circuit to insert the multimeter in series. First, switch off the power supply and ensure the multimeter is set to measure current in the appropriate range. Connect the black probe to the “COM” port and the red probe to the measuring current port, usually labelled ”mA” or “A”. Then, disconnect one element of the circuit and connect the multimeter probes in place of that element. Turn on the power supply, and the multimeter will display the current flowing through the circuit.
Q: How do I measure resistance with a multimeter?
A: Set the multimeter dial to the resistance (Ω) range you expect the resistance value to be within. Connect the black probe to the “COM” port and the red probe to the resistance measurement port (often labelled “VΩmA”). Touch the probes across the component or resistor you want to measure, and the multimeter will display the resistance value on its screen. It is crucial to ensure that the circuit or component being measured is disconnected from any power source.
Q: Can a multimeter be used to test continuity?
A: Yes, a multimeter can be utilized to test continuity. Set the dial to the continuity symbol (usually represented by a diode or sound wave), if available. Connect the probes to the circuit or component being tested, with the black probe on the negative side and the red probe on the positive side. If there is continuity, the multimeter will emit a beep or display a value close to zero resistance; otherwise, it will show an infinite resistance or no sound.
Q: What precautions should I take while using a multimeter?
A: It is important to exercise caution while using a multimeter to prevent accidents or damage. First, always ensure the circuit is de-energized before connecting or disconnecting the multimeter probes. Additionally, use the correct range and settings to avoid overpowering the equipment or obtaining inaccurate readings. Finally, always refer to the instruction manual for specific safety instructions and be aware of the potential risks associated with your electrical work. In conclusion, learning how to use a multimeter can be a valuable skill for both professionals and hobbyists alike. By understanding its various functions and following proper safety precautions, you can confidently measure electrical quantities, troubleshoot circuits, and ensure the safety of your electrical devices. Remember to always start with the basic settings, select the appropriate range, and follow the manufacturer’s instructions. With practice and patience, you will become proficient at using a multimeter and gain a deeper understanding of electrical systems. So, grab your multimeter and start measuring with confidence!


