In the ever-evolving world of photography, digital cameras have become an essential tool for both amateurs and professionals alike. Understanding how to effectively use a digital camera is the first step towards capturing breathtaking images and embarking on a journey of visual storytelling. Whether you’re a novice eager to explore the capabilities of your newly acquired camera or seeking to enhance your photography skills, this informative article will provide you with a comprehensive guide on utilizing a digital camera to its fullest potential. From understanding the basic functionalities to mastering advanced settings, this article equips you with the knowledge and techniques necessary to navigate the digital realm of photography with confidence. So, grab your camera and let’s dive into the exciting world of digital photography!
Understanding the Basics of a Digital Camera
Paragraph 1: Types of Digital Cameras
There are several types of digital cameras available on the market today. The most common ones include point-and-shoot cameras, DSLRs (Digital Single Lens Reflex), and mirrorless cameras. Point-and-shoot cameras are compact and easy to use, making them perfect for beginners. DSLRs, on the other hand, provide more control and are preferred by professional photographers. Mirrorless cameras combine the best features of both types and are gaining popularity due to their portability and high image quality.
Paragraph 2: Camera Modes
Digital cameras offer various shooting modes to suit different situations. The most common ones are Auto, Program (P), Aperture Priority (A/Av), Shutter Priority (S/Tv), and Manual (M). Auto mode is ideal for beginners as it takes care of all the settings, allowing you to focus on composition. Program mode gives you some control over settings while still letting the camera do the majority of the work. Aperture Priority mode allows you to control the aperture, affecting the depth of field. Shutter Priority mode, on the other hand, lets you control the shutter speed for freezing or blurring motion. Manual mode gives you full control over both aperture and shutter speed.
Paragraph 3: Understanding Exposure
Exposure is a fundamental concept in photography and refers to the amount of light that hits the camera sensor. It is determined by three factors: aperture, shutter speed, and ISO. Aperture controls the amount of light coming through the lens by adjusting the size of the lens opening. Shutter speed determines the duration for which the sensor is exposed to light. ISO measures the sensitivity of the sensor to light. Finding the right balance between these three factors is key to achieving well-exposed photos.
Paragraph 4: Composition Techniques
Composition plays a crucial role in creating visually pleasing photographs. Some popular composition techniques include the rule of thirds, leading lines, framing, and symmetry. The rule of thirds involves dividing the frame into a grid of nine equal parts and placing the main subject along the gridlines or at their intersections. Leading lines help draw the viewer’s attention to the main subject, while framing involves using elements in the environment to frame the subject. Symmetry, on the other hand, creates a sense of balance and harmony in your photos.
Paragraph 5: Post-processing and Accessories
After capturing your photos, post-processing can enhance their overall look and feel. There are various photo editing software available, ranging from beginner-friendly to professional-grade. To get the most out of your digital camera, consider investing in accessories such as additional lenses, tripods for stability, and memory cards with ample storage capacity. These accessories can expand your creative possibilities and ensure you never miss a moment due to limited storage or blurry shots caused by camera shake. Remember to experiment and have fun with your digital camera to unleash your inner photographer.

Selecting the Right Settings for your Photography Needs
When it comes to using a digital camera, is essential to capture stunning images. Here are some tips to help you make the most out of your camera:
1. Understand the Exposure Triangle
The exposure triangle consists of three key elements: aperture, shutter speed, and ISO. Adjusting these settings will directly impact the brightness, depth of field, and noise level of your photos. Take some time to understand how each of these factors works and experiment with different combinations to achieve the desired effect.
2. Choose the Right Aperture
Aperture refers to the size of the lens opening through which light enters the camera. A wider aperture (lower f-stop number) will result in a shallow depth of field, blurring out the background and highlighting the subject. On the other hand, a smaller aperture (higher f-stop number) will provide a larger depth of field, keeping both the subject and background in focus.
3. Adjust Shutter Speed
Shutter speed determines how long the camera’s sensor is exposed to light. A fast shutter speed (e.g., 1/1000th of a second) is ideal for freezing motion, while a slower shutter speed (e.g., 1/30th of a second) can create a sense of movement. Play around with different shutter speeds to capture the desired effect, whether it’s a sharp image or a creative blurred motion.
4. Set the Appropriate ISO
ISO determines the camera’s sensitivity to light. A low ISO (e.g., 100) is suitable for well-lit environments, reducing the presence of noise in your photos. However, in darker conditions, increasing the ISO (e.g., 800 or higher) can help capture brighter images. Keep in mind that higher ISO settings may introduce grain or noise, so finding the right balance is crucial.
5. Use White Balance for Accurate Colors
White balance ensures that the colors in your images appear as they do in real life. Different lighting conditions can cast a color temperature on your photos, such as a warm orange hue in sunset shots. Adjusting the white balance setting on your camera helps neutralize these color shifts and produce more accurate and natural-looking images.

Mastering Composition and Framing Techniques
When it comes to taking stunning photographs, understanding composition and framing techniques is essential. It allows you to create visually appealing and well-balanced images that captivate viewers and tell a story. Whether you’re a beginner or a seasoned photographer, the following tips will help you master these techniques and take your digital camera skills to the next level.
1. Rule of Thirds
The rule of thirds is a fundamental principle in composition that involves dividing your frame into a 3×3 grid. By placing your subject along the intersection points or along the gridlines, you can create a more interesting and dynamic composition. Remember to adjust your camera’s focus and exposure accordingly to highlight the main subject.
2. Framing with Leading Lines
Leading lines are powerful elements that guide the viewer’s eye towards the main subject. Use natural or man-made lines, such as roads, fences, or rivers, to create depth and draw attention to your focal point. Experiment with different angles and perspectives to find the most engaging composition.
3. Using Symmetry and Patterns
Seeking symmetry and patterns in your composition can add a sense of harmony and balance to your photos. Look for reflective surfaces, architectural structures, or repetitive objects to create visually pleasing images. Remember to pay attention to the details and make adjustments for perfect alignment.
4. Negative Space
Don’t be afraid of empty spaces! Negative space refers to the empty areas surrounding your subject. Utilizing negative space can provide a sense of simplicity, emphasize your subject, and create a more impactful image. Experiment with different focal lengths and positions to find the perfect balance between subject and negative space.
5. Framing with Foreground Elements
Add depth and dimension to your photos by framing your subject with foreground elements. This technique gives a sense of context to your image and helps create a well-rounded composition. Use objects like arches, windows, or branches to frame your subject and direct the viewer’s attention to it.
| Technique | Description |
|---|---|
| Rule of Thirds | Divide the frame into a 3×3 grid and position subject along the intersections or gridlines. |
| Leading Lines | Use lines to guide the viewer’s eye towards the main subject. |
| Symmetry and Patterns | Seek repetitive elements or reflective surfaces for a sense of harmony. |
| Negative Space | Embrace the empty areas to create simplicity and emphasize the subject. |
| Foreground Elements | Frame your subject with objects to add depth and context to the composition. |
By practicing and experimenting with these composition and framing techniques, you’ll be able to take visually compelling photos that stand out from the crowd. Remember, photography is an art form, and mastering these techniques will help you unleash your creativity and tell compelling stories through your lens.

Utilizing Advanced Features to Enhance Your Photos
Once you have mastered the basics of using a digital camera, it’s time to explore the advanced features that can take your photography to the next level. These features allow you to have more control over the outcome of your photos and can help you capture stunning images. In this post, we will walk you through some of the advanced features available on most digital cameras and how you can use them to enhance your photos.
1. Manual Mode:
One of the most powerful features of a digital camera is the manual mode. This mode allows you to manually adjust the aperture, shutter speed, and ISO. By taking control of these settings, you can achieve the desired depth of field, control motion blur, and improve image quality in various lighting conditions. Experimenting and understanding the relationship between these settings will give you more creative freedom and allow you to capture the perfect shot.
2. White Balance:
White balance is a feature that allows you to adjust the color temperature of your photos. Different lighting conditions can cast a warm or cool hue on your images, which may not accurately represent the scene. By using the white balance feature, you can ensure that whites appear white and colors are true to life. Experiment with different white balance settings such as daylight, cloudy, fluorescent, or custom to achieve the desired effect in your photographs.
3. Picture Styles:
Most digital cameras come with preset picture styles that allow you to enhance the look of your photos. These styles include options like vivid, landscape, portrait, black and white, and more. Each style has its own unique characteristics that can elevate the mood and impact of your images. Explore these different picture styles and see which one best suits the subject or the atmosphere you want to convey.
4. Focus Modes:
The focus mode on your camera determines how the camera focuses on the subject. By using the autofocus mode, the camera automatically analyzes the scene and focuses on the subject. However, for more precise control, you can switch to manual focus mode. Manual focus allows you to select the exact focus point, especially useful when shooting subjects with high contrast or in low light conditions. Experiment with both focus modes to achieve sharp and well-defined images.
5. Creative Filters:
Adding creative filters to your photos can instantly transform them into unique works of art. Digital cameras often come with a range of built-in filters such as sepia, toy camera, fisheye, or miniature effect. These filters can add a vintage, surreal, or playful touch to your images. Try applying different filters to your photos and see how they can enhance the mood and tell a different story.
| Experiment with different settings to understand their impact on your photos. |
| Read your camera’s manual to learn about the specific features and functions it offers. |
| Take the time to practice and explore these advanced features in various shooting scenarios. |
| Don’t be afraid to push the boundaries and try new techniques to create exceptional photos. |
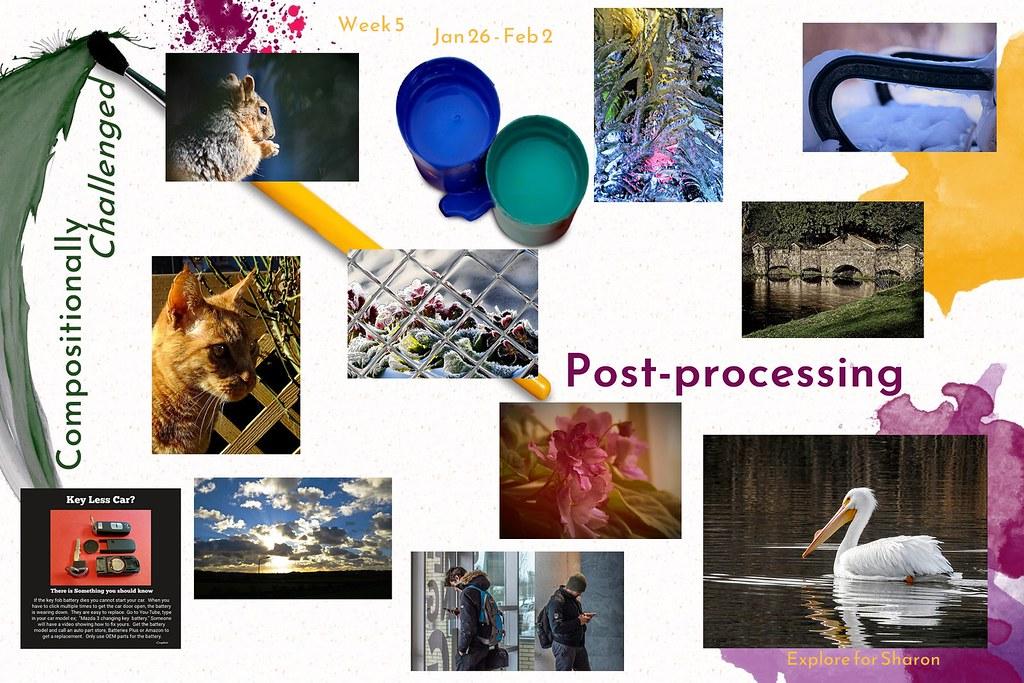
Post-Processing Tips for Perfecting Your Digital Images
Capturing great photos with your digital camera is just the first step in creating stunning visuals. To truly bring out the best in your images, post-processing is essential. Whether you’re a beginner or an experienced photographer, these tips will help you take your digital images from good to great.
1. Shoot in RAW Format
Shooting in RAW format gives you maximum flexibility when it comes to post-processing. Unlike JPEG, RAW files retain all the information captured by your camera’s image sensor, allowing you to make more precise adjustments later. This format is especially useful when dealing with exposure, white balance, and color corrections.
2. Master the Basics of Editing Software
Investing time in learning a powerful editing software such as Adobe Photoshop or Lightroom can significantly improve your post-processing skills. Familiarize yourself with the essential tools, like cropping, adjusting exposure, contrast, and saturation. Experiment with different techniques to find your own editing style.
3. Utilize Adjustment Layers
Adjustment layers are an invaluable tool for non-destructive editing. Instead of altering the original image, they allow you to apply adjustments on separate layers. This way, you can easily fine-tune your edits or revert back to the original image if needed. Adjustment layers also enable you to selectively modify specific areas of your photo, enhancing control and creativity.
4. Don’t Overdo It
While it’s tempting to go overboard with effects and filters, a little restraint goes a long way. Avoid excessive saturation, sharpness, or noise reduction, as it can make your images look unnatural. Remember, the goal of post-processing is to enhance the existing beauty, not to create a completely new visual. Less is often more when it comes to editing.
5. Get Feedback and Iterate
Don’t hesitate to seek feedback from fellow photographers or online communities. Sharing your work and receiving constructive criticism can help you refine your post-processing skills. Take their suggestions into consideration and iterate on your edits. This iterative process will not only improve your current work but also train your eye for future projects.
By following these post-processing tips, you’ll be well on your way to perfecting your digital images. Remember, post-processing is an art in itself, so allow your creativity to shine through while maintaining a balanced and natural look in your final images.
Q&A
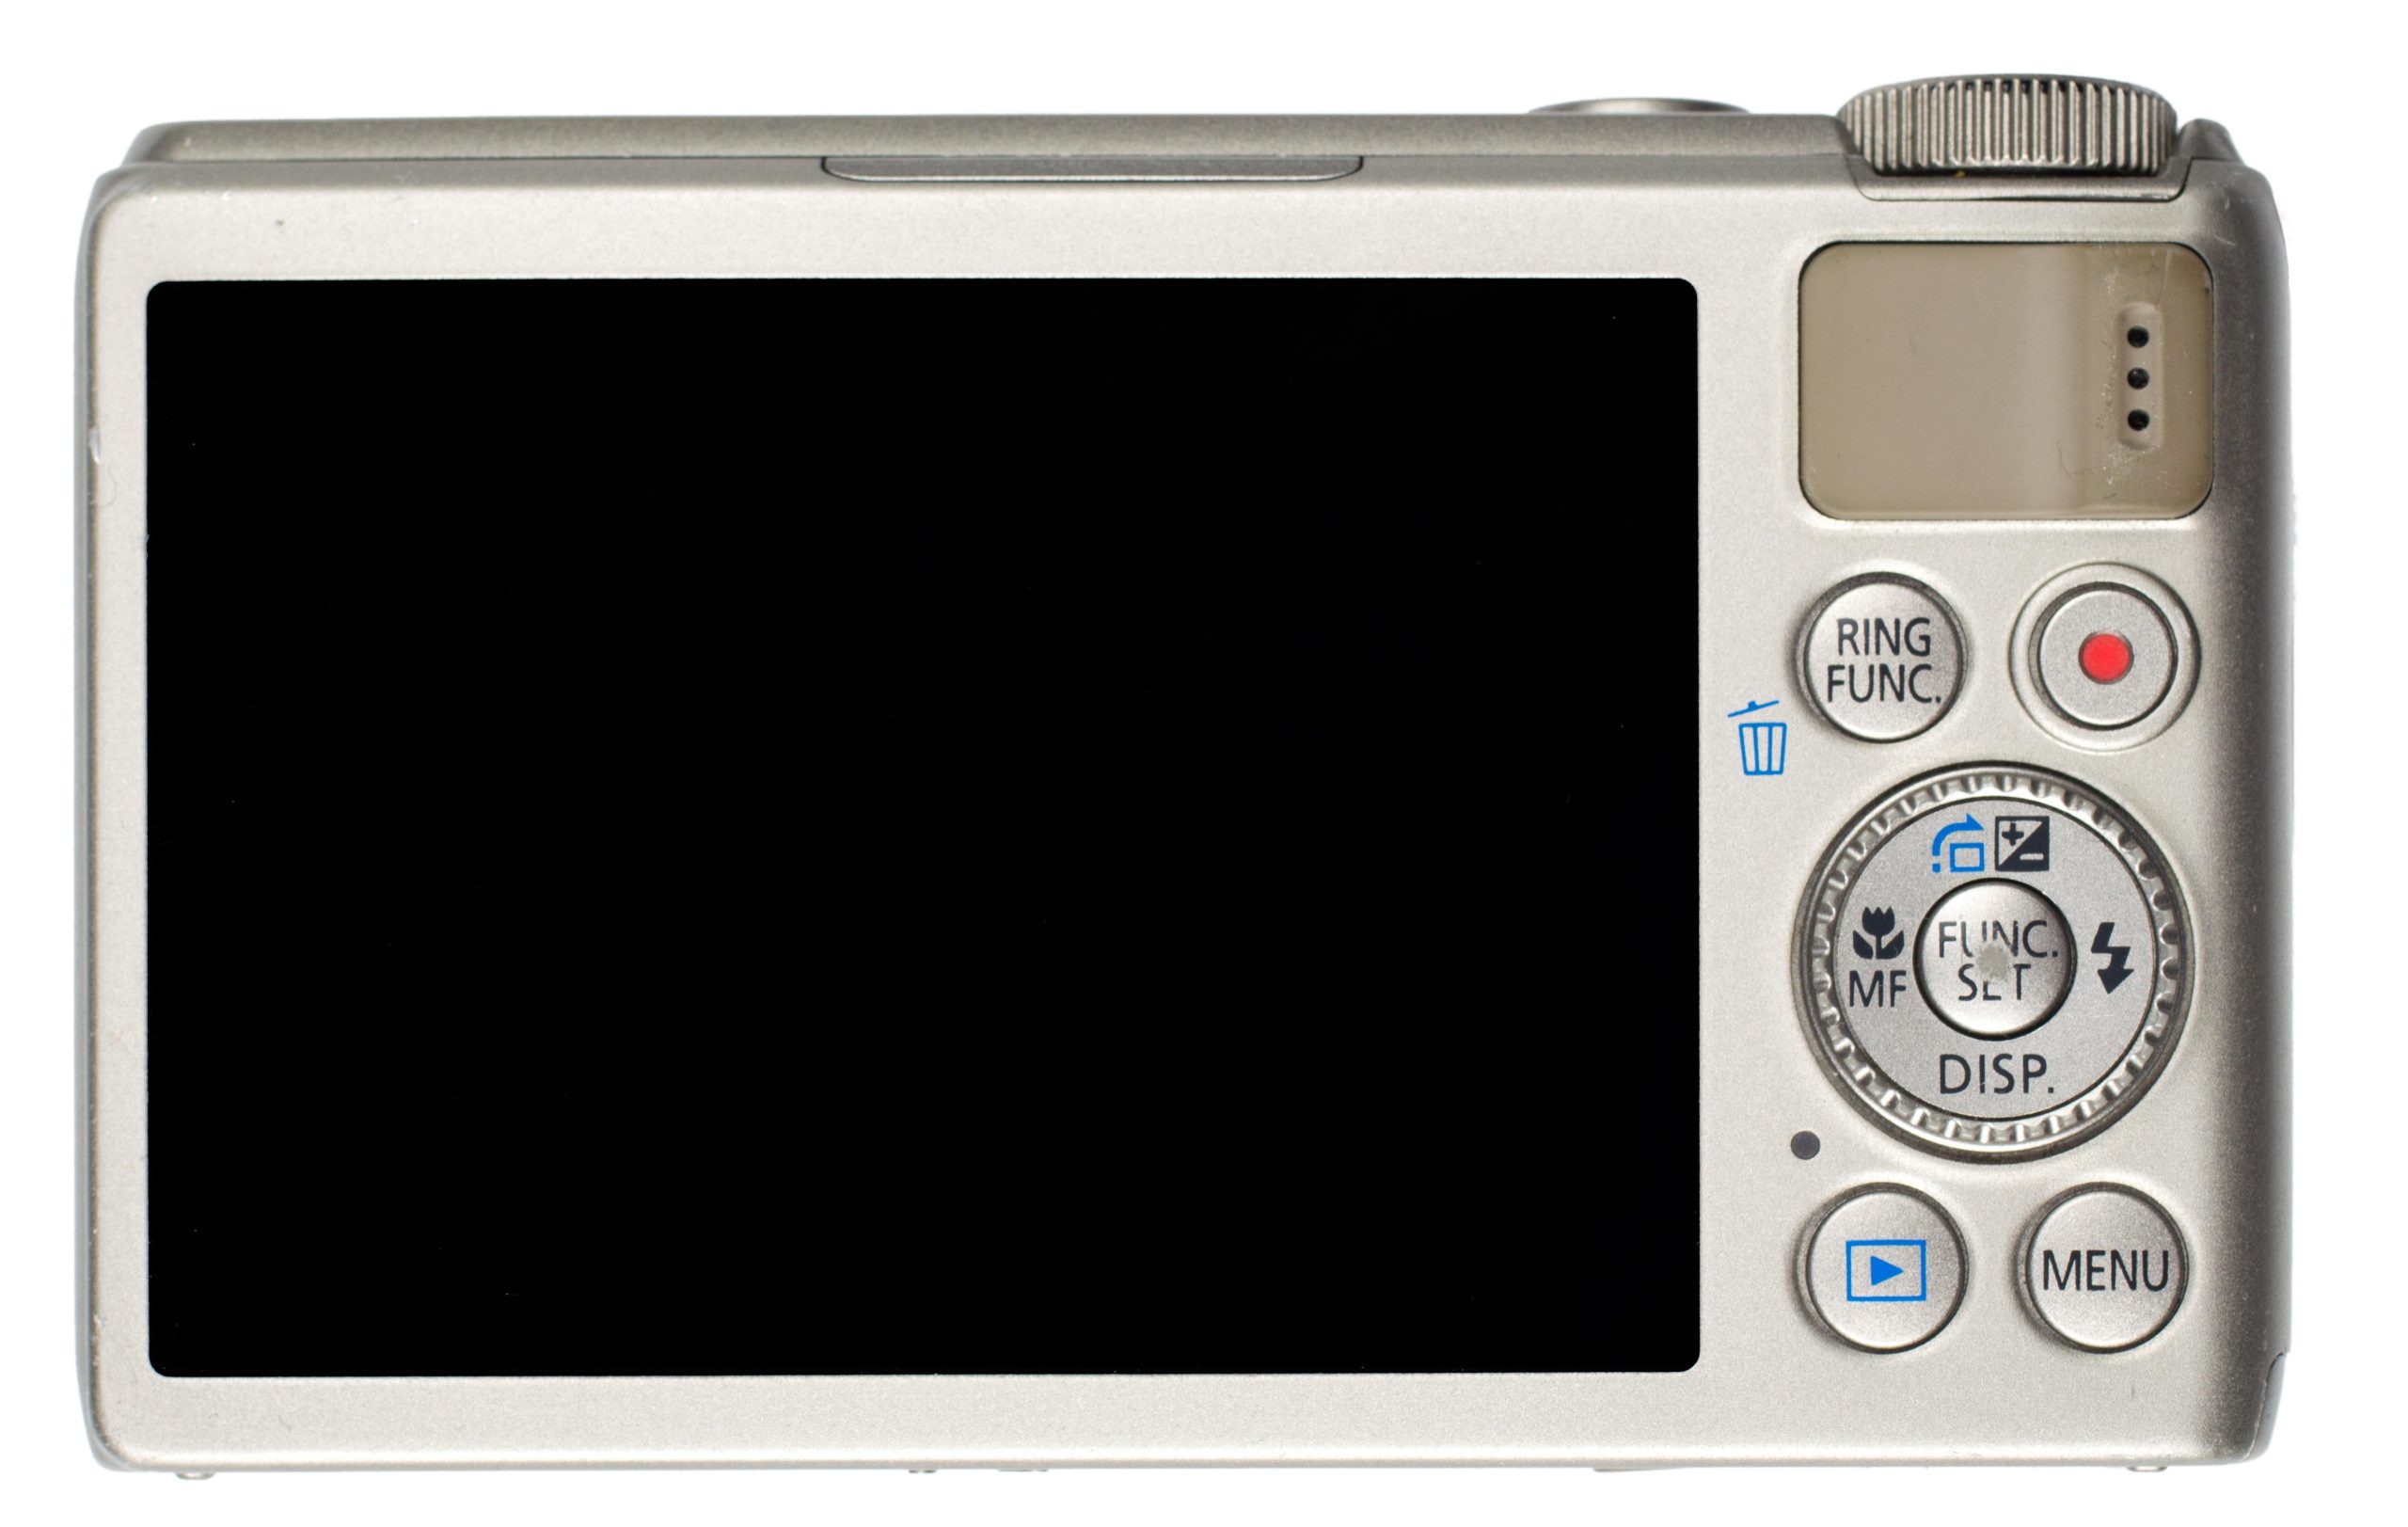
Q: What are the basic features of a digital camera?
A: Digital cameras typically have features such as a lens, image sensor, viewfinder, LCD screen, memory card slot, and various buttons and controls.
Q: How do I turn on and off a digital camera?
A: To turn on most digital cameras, locate the power button, usually denoted by a small icon resembling a circle. Press and hold the power button until the camera’s display screen or indicator lights up. To turn off the camera, repeat the process by holding down the power button until it shuts down.
Q: How do I adjust the settings on my digital camera?
A: Digital cameras have different ways to adjust settings, but most commonly, there is a dedicated mode dial or menu button that lets you access and modify settings. Consult your camera’s instruction manual to identify the specific buttons or menu options for adjusting settings like ISO, exposure, white balance, and image quality.
Q: What is the purpose of the viewfinder on a digital camera?
A: The viewfinder allows you to frame your shot by providing a visual representation of what the camera lens sees. It helps you compose your photo precisely and offers a convenient alternative to using the LCD screen, especially in bright outdoor conditions.
Q: How do I transfer photos from my digital camera to a computer?
A: To transfer photos to a computer, you usually need a USB cable that matches the camera’s port. Connect one end of the cable to your camera and the other end to a USB port on your computer. Once connected, the camera should be recognized as a storage device. Open the file explorer or photo management software on your computer, navigate to the camera’s folder, and copy the desired photos to your computer.
Q: What is the purpose of a memory card in a digital camera?
A: A memory card provides removable storage for your digital camera. It allows you to save photos and videos taken with the camera. The larger the memory card capacity, the more images and videos you can store before needing to transfer them to a computer or other storage device.
Q: Can I delete photos directly from my digital camera?
A: Yes, most digital cameras allow you to delete photos directly. To delete a single photo, access the playback mode or the review feature, navigate to the desired photo, and locate the delete button. To delete multiple photos simultaneously, consult your camera’s manual as the procedure might vary depending on the model.
Q: How do I preserve the battery life of my digital camera?
A: To extend the battery life of your digital camera, consider the following tips: turn off Wi-Fi, Bluetooth, or any wireless features when not in use, reduce the LCD brightness or use the viewfinder instead, avoid excessive use of the flash, and always carry spare batteries or have a charger handy.
Q: What should I do if my digital camera stops working or encounters an error?
A: If your camera encounters an error or stops working, try these troubleshooting steps: remove and reinsert the battery, check that the memory card is properly inserted, restart the camera, reset it to factory settings (if available), and consult the camera’s user manual or contact customer support if the issue persists.
Q: Are there any additional accessories that can enhance my digital camera experience?
A: Yes, there are several accessories available to enhance your digital camera experience. Some popular options include external flashes, lens filters, tripods, memory card readers, and camera bags for protection and portability. It’s important to ensure that these accessories are compatible with your particular camera model. In conclusion, mastering the art of using a digital camera should no longer be an intimidating feat. By understanding the fundamental features and settings, you can easily capture stunning photographs and videos, and immortalize your precious moments with friends and family. Remember to familiarize yourself with the different buttons and controls, adjust the appropriate settings, and experiment with various composition techniques to truly unleash your creative potential. With practice and patience, you will soon find yourself capturing memories like a professional photographer. So, what are you waiting for? Grab your digital camera, step out into the world, and start capturing the beauty that surrounds you! Happy shooting!


