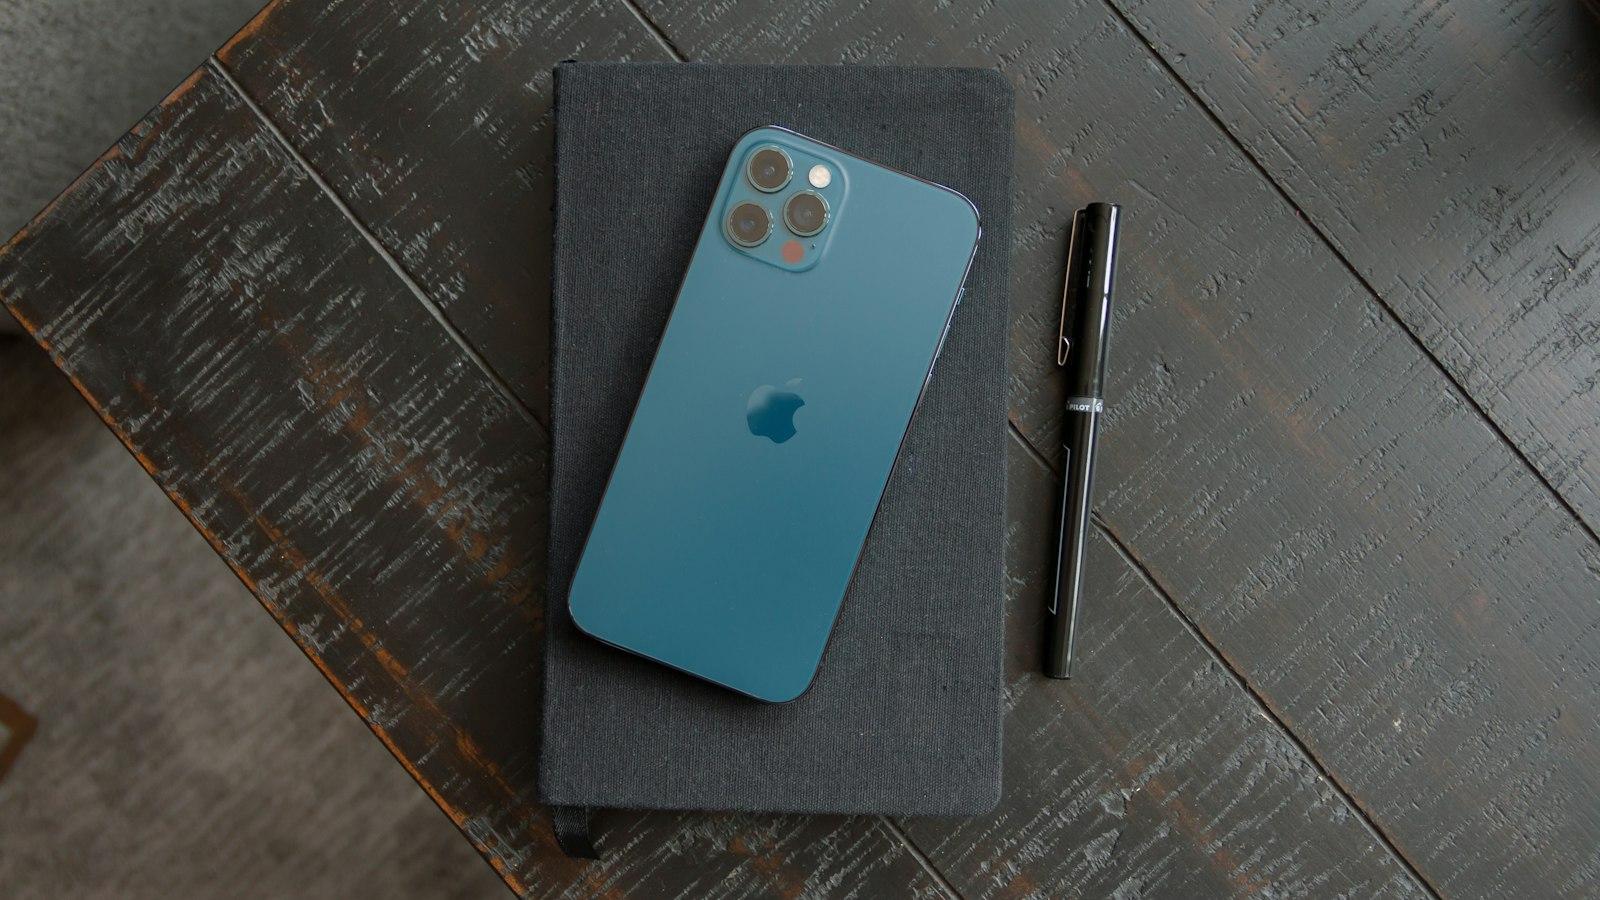
The iPod, one of Apple’s signature innovations, has become a ubiquitous gadget in the realm of portable music. With its sleek design, seamless interface, and extensive storage capacity, the iPod continues to captivate music enthusiasts of all ages. Whether you are a new owner or have been using an iPod for some time, this article aims to provide an informative guide on how to use your iPod to its fullest potential. From loading music onto your device to mastering navigation and making use of various features, this comprehensive tutorial will equip you with the knowledge and skills necessary to harness the power of your iPod, ensuring an enhanced music listening experience like never before.
The Basic Functions of an iPod
An iPod is a popular device that allows you to listen to music, watch videos, and more. Understanding can help you navigate the device with ease and make the most out of its features.
1. Music Playback
The primary function of an iPod is to play music. To start playing music on your iPod, simply open the Music app and navigate to your music library. You can browse your songs by artist, album, or genre. Use the search function to find specific songs or create playlists to organize your music. To control the playback, use the play/pause, skip forward, and skip backward buttons.
2. Video Playback
In addition to music, iPods also support video playback. Whether it’s movies, TV shows, or music videos, you can enjoy them on the go with your iPod. To watch videos, open the Videos app and select the video you want to watch. You can control the playback using the on-screen controls, such as play/pause, fast-forward, and rewind. You can also adjust the volume and screen brightness.
3. Photos and Slideshows
Your iPod can also serve as a portable photo viewer. To access your photos, open the Photos app and browse through your albums. You can view individual photos or create a slideshow with your favorite images. Customize the slideshow settings, such as duration, transition effects, and background music, to make it more enjoyable. You can even connect your iPod to a TV or projector to share your photos on a larger screen.
4. Podcasts and Audiobooks
Podcasts and audiobooks are another great feature of iPods. With the dedicated Podcasts and Audiobooks apps, you can listen to your favorite podcasts or audiobooks anytime, anywhere. Subscribe to podcasts and automatically download new episodes, or import audiobooks from your computer. Adjust playback speed, bookmark your spot, and control the audio using the intuitive interface of these apps.
5. Additional Features
Aside from the core functions, iPods offer various additional features. These can include a built-in FM radio, games, calendar, notes, and even a voice recording option. Explore these features through the respective apps on your iPod to enhance your experience and make the most out of this versatile device. Remember to keep your iPod charged and synced with a computer to update your content and take full advantage of its capabilities.

Exploring the User Interface and Navigation Features
Paragraph 1:
The user interface and navigation features on an iPod are designed to make it easy for you to navigate through the device and find exactly what you’re looking for. When you first turn on your iPod, you’ll be greeted with the home screen, which is where you’ll find all your apps and settings. The home screen is divided into several pages, which you can swipe left or right to access. Each page can hold up to 16 apps, but you can rearrange them however you like by pressing and holding on an app icon until they all start shaking. From there, you can drag the app icons around to organize them to your preference.
Paragraph 2:
To navigate within an app, you can simply tap on the app icon to open it. Once you’re inside the app, you will usually see a navigation bar at the top of the screen. This bar may contain different options depending on the app you’re using, such as back buttons, search bars, or even a menu button. It’s always a good idea to explore these options to get a better understanding of what the app offers. Additionally, many apps use tabs or a bottom navigation bar to help you easily switch between different sections or features within the app.
Paragraph 3:
If you ever find yourself needing to go back to a previous screen or page, you can usually do so by tapping the back button, which is typically represented by an arrow pointing to the left. This will take you back to the previous screen you were on. Alternatively, some apps may use swipe gestures to go back. For example, you can swipe from the left edge of the screen towards the right to go back in some apps. Keep in mind that these gestures may vary depending on the app and the version of iOS you’re using.
Paragraph 4:
In addition to navigation buttons, many iPods also feature a physical home button located at the bottom center of the device. Pressing this button once will always take you back to the home screen, no matter where you are or what app you’re using. This makes it easy to quickly return to the main screen and find a different app or setting. On newer iPod models without a physical home button, you can use gestures such as swiping up from the bottom edge of the screen to access the home screen.
Paragraph 5:
To make navigation even smoother, iPods often include search functionalities. You can usually find a search bar either at the top of the home screen or within specific apps. Using the search feature, you can enter keywords or phrases to quickly find apps, contacts, songs, or any content stored on your iPod. This can be especially handy if you have a large library of files or if you’re looking for a specific item but don’t want to scroll through multiple pages to find it. So, take advantage of the search feature to save time and quickly find what you’re looking for on your iPod.

Optimizing Sound Quality and Customizing Settings
When it comes to using an iPod, can greatly enhance your listening experience. Whether you’re a music enthusiast or simply enjoy listening to audio content, here are some tips and tricks to help you make the most out of your device.
1. Equalizer Settings:
Did you know that iPods come equipped with an equalizer? This feature allows you to adjust the sound frequencies to suit your personal preferences or the type of music you’re listening to. To access the equalizer settings, go to the “Settings” menu, select “Music,” and then tap on ”Equalizer.” From there, you can choose from a range of presets like Rock, Pop, or Jazz, or create a custom equalizer setting of your own.
2. Improve Audio Quality:
If you’re looking to enhance the overall audio quality of your iPod, consider investing in a pair of high-quality headphones or earphones. The right set of audio accessories can make a significant difference in sound clarity and depth. Additionally, you may want to explore audio enhancement apps or plugins that are compatible with your iPod, designed to further improve the sound quality.
3. Volume Limit:
To protect your hearing, iPods have a built-in feature called “Volume Limit.” This feature allows you to set a maximum volume level to prevent the volume from going too high. To adjust the volume limit, go to the “Settings” menu, tap on “Music,” and select “Volume Limit.” From there, you can set a limit using the slider. It’s a helpful feature to keep in mind, especially if you listen to music at higher volumes for extended periods.
4. Sound Check:
Ever notice how some songs are louder than others? iPod’s “Sound Check” feature helps to normalize the volume levels across your music library. This ensures a more consistent listening experience as you transition from one track to another. To enable Sound Check, go to the “Settings” menu, tap on “Music,” and toggle the switch for “Sound Check” to the on position.
5. Customizing Settings:
Your iPod allows you to customize various settings according to your preferences. From adjusting display brightness to setting a sleep timer, taking advantage of these customization options can greatly enhance your overall user experience. To access the settings menu, go to the “Settings” app on your iPod’s home screen and explore the various options available.

Syncing and Managing Your Music Library
on your iPod allows you to have all your favorite songs and playlists conveniently organized in one place. Here’s a step-by-step guide on how to effectively sync and manage your music library on your device.
Step 1: Connect your iPod to your computer
To begin syncing your music library, connect your iPod to your computer using the USB cable that came with your device. Ensure that your computer recognizes the iPod and that iTunes is installed on your computer.
Step 2: Open iTunes and select your iPod
Once you’ve connected your iPod, open iTunes on your computer. In the top left corner, you’ll see a small icon that represents your iPod. Click on it to access your device’s settings and options.
Step 3: Choose your syncing preferences
In the left sidebar of the iTunes window, click on ‘Music’ to access your music library. Here, you can choose to sync your entire music library or select specific songs, playlists, or artists to sync. Make sure to check the box next to ‘Sync Music’ to enable syncing.
Step 4: Customize your sync settings
Under the ‘Options’ section, you can further customize your syncing preferences. You can choose to automatically fill your iPod with random songs from your library, as well as limit the storage capacity used for music. This is particularly useful if you have a large music library and want to reserve space for other files on your device.
Step 5: Start the sync process
Once you’ve selected your syncing preferences, click on the ‘Apply’ or ‘Sync’ button to start the synchronization process. iTunes will begin transferring your selected music to your iPod. Make sure to keep your iPod connected to your computer until the sync is complete.
Remember, syncing your music library not only allows you to enjoy your favorite tunes on the go, but it also helps keep your library organized and up to date. By following these steps, you’ll have your music library synchronized with your iPod effortlessly.

Tips and Tricks for Making the Most of Your iPod
Here are some helpful tips and tricks to maximize your iPod experience and make the most out of its amazing features.
Tips for Managing Your Music
1. Create personalized playlists: Organize your favorite songs into playlists to easily access the music you love. To create a playlist, go to the “Music” tab in iTunes, select your desired songs, and click “New Playlist.”
2. Shuffle your library: If you’re in the mood for a surprise, enable the shuffle feature to randomize the playback order of your entire music collection. Shake things up and rediscover hidden gems!
3. Use Smart Playlists: Take advantage of the intelligent features of your iPod by creating Smart Playlists. Set criteria such as genre, artist, or rating to automatically curate playlists based on your preferences.
Tricks for Optimal Battery Life
1. Adjust the brightness: Lowering the screen brightness on your iPod can significantly extend its battery life. Go to “Settings,” then “Display & Brightness,” and reduce the brightness slider to a comfortable level.
2. Disable unnecessary features: Turning off Wi-Fi, Bluetooth, and location services when you don’t need them can conserve battery power. These options can be found in the “Settings” app.
3. Enable Low Power Mode: When you’re running low on battery, activate Low Power Mode from the Control Center. It temporarily reduces power consumption by disabling background app refresh and mail fetch.
Get the Most Out of Your iPod Apps
1. Explore the App Store: Discover a vast selection of apps specially optimized for your iPod. From music streaming services to social media, there’s an app for every interest to enhance your iPod experience.
2. Use AirPlay to connect: Make your iPod a hub for entertainment by wirelessly streaming music or videos to compatible devices using AirPlay. Simply tap the AirPlay icon in supported apps to get started.
Troubleshooting Common Issues
1. Restart your iPod: If you encounter any glitches or unresponsive apps, a simple restart can often resolve the issue. Press and hold the power button until the “slide to power off” slider appears, then slide to turn off. Press the power button again to turn it back on.
2. Update your software: Ensure your iPod has the latest software updates to benefit from bug fixes and improvements. Go to “Settings,” then “General,” and select “Software Update” to check for available updates.
3. Reset settings as a last resort: If you’re experiencing persistent problems, you can reset your iPod to its factory settings. This should only be done as a last resort, as it erases all data and settings. Go to “Settings,” then “General,” “Reset,” and choose “Erase All Content and Settings.”
Q&A
Q: What is an iPod and what can it be used for?
A: An iPod is a portable media player developed by Apple Inc. It can be used to listen to music, podcasts, audiobooks, and even watch videos.
Q: How do I turn on my iPod?
A: To turn on your iPod, simply press and hold the power button until the Apple logo appears on the screen. The device will then boot up and be ready for use.
Q: How do I charge my iPod?
A: Connect your iPod to a power source using the USB cable and power adapter that came with it. Plug one end of the USB cable into your iPod and the other end into the power adapter. Then, plug the power adapter into a standard wall outlet. The iPod will start charging automatically.
Q: How do I add music to my iPod?
A: There are multiple ways to add music to your iPod. One common method is to use iTunes, which allows you to sync your music library from your computer to your iPod. Simply connect your iPod to your computer using the USB cable and launch iTunes. Select your iPod from the device menu, then choose the music you want to add and click on the “Sync” button.
Q: How can I navigate through the iPod’s menu?
A: The iPod’s menu is controlled through the device’s touch screen or click wheel, depending on the model. Simply swipe left or right or scroll up and down to navigate through menus and lists. Pressing the center button or tapping the screen will select or play the highlighted item.
Q: Can I use my iPod to listen to podcasts or audiobooks?
A: Yes, definitely! Once you have downloaded podcasts or audiobooks from the iTunes Store or your computer, you can sync them to your iPod and listen to them anytime. Simply follow the same steps as adding music to your iPod.
Q: How can I watch videos on my iPod?
A: To watch videos on your iPod, first, make sure they are in a supported format (such as MP4). Connect your iPod to your computer, launch iTunes, and select your device. Then, select the videos you want to add and click on the “Sync” button. Once synced, you can access and watch the videos from the “Videos” app on your iPod.
Q: Can I personalize the settings of my iPod?
A: Absolutely! You can personalize various settings on your iPod, such as the language, screen brightness, sound equalizer, and more. Go to the “Settings” app on your iPod and explore the available options to customize your device according to your preferences.
Q: How do I safely disconnect my iPod from the computer?
A: To safely disconnect your iPod from the computer, first, make sure that any syncing or transferring processes are complete. Then, locate the “Eject” button next to your iPod’s name in iTunes or simply drag the iPod’s icon from your desktop to the trash bin (Mac) or right-click and select ”Eject” (Windows). Once the device is safely disconnected, you can unplug the USB cable from your iPod.
Q: Are there any additional accessories I can use with my iPod?
A: Yes, there are various accessories available for iPods, including protective cases, armbands for workouts, wireless headphones, external speakers, and more. These accessories can enhance your iPod experience based on your needs and preferences. In conclusion, mastering the basics of using an iPod is within your reach. By following these simple steps, you can unlock a world of endless entertainment and convenience. Remember to keep your iPod updated with the latest software, charge it regularly, and maintain a suitable storage capacity for optimal performance. Whether you’re a music lover, podcast enthusiast, or avid audiobook listener, your iPod will be your faithful companion. With its intuitive interface and user-friendly features, navigating through your favorite songs, playlists, videos, and more becomes a seamless experience. Embrace the power of Apple’s iconic device and indulge in a personalized musical journey like never before. So go ahead, delve into the vast ocean of digital music, and let your iPod be the gateway to a symphony of emotions, memories, and pure audio bliss. Happy listening!


